13: Projection
( \newcommand{\kernel}{\mathrm{null}\,}\)
Video projections are a powerful tool that – as with any design element – can be used to help tell the story of a play and create a more immersive experience for the audience. Projections are often used to enhance the world-building of a production, by providing visual elements that help to set the scene and create a sense of place. Video projections can also be used to add visual interest and dynamic movement to a production, and to create special effects that might be difficult or impossible to achieve with physical sets and props. Modern projections are so powerful, in fact, that they can be a crutch for directors and designers who often find themselves solving design challenges with the mantra “let’s just use projections for that.” Nevertheless, by carefully considering how to use video projections in a production, designers can create powerful and effective designs that enhance the overall impact of the production.
When used effectively, projections can create a sense of place and help to set the scene for the action on stage. They can also be used to create visual interest and movement, and to add special effects that help to engage the audience's senses and create a more immersive experience. For example, projections can be used to create the illusion of a moving expansive landscape or cityscape, or to bring elements of the natural world onto the stage. They can also be used to create abstract visual effects, such as swirling patterns or pulsing light, that help to create a sense of atmosphere and mood. By using projections in these ways, designers can create an immersive experience for the audience that helps to draw them into the story and enhance their engagement with the production.
Designers can also use projections to provide additional information or context that helps to deepen the audience's understanding and appreciation of the production. For example, projections can be used to display images or text that help to provide background information or to illustrate certain points in the story. In Nick Stafford’s War horse at London’s National Theatre, designers projected soldiers’ diaries above the stage in their own handwriting, so the audience could read along while the pages were being written or read onstage.
Video projections are very powerful and versatile, the possibilities are nearly endless, which is perhaps why they are so loved as a design element. They can be used as live video feeds, pre-recorded video displays, set design elements, and special effects. When used well, they can even be combined with other design elements such as sets, costumes, and lighting to create a unified and engaging production.
Projection History
When most people think of the term “projections,” the first thing that comes to mind are modern digital video projections. In fact, projections are over 2,000 years old, originating far before the advent of modern theatre technology. Shadow puppetry – the mother to modern projections – is believed to have originated during the Han Dynasty (140-87 BCE). The legend goes that the Emperor Han Wudi was devastated by the loss of his concubine so his advisor came up with the idea of using shadows to bring her image back to life. Shadow puppetry (projection) can be used to create a sense of intimacy and connection with the audience.
By simply using shadows and light, designers can create the illusion of depth, movement, and transformation, and can bring elements of the natural world or the imagination onto the stage. It is also very cost effective because its only requirements are simple paper cutouts and an imagination.
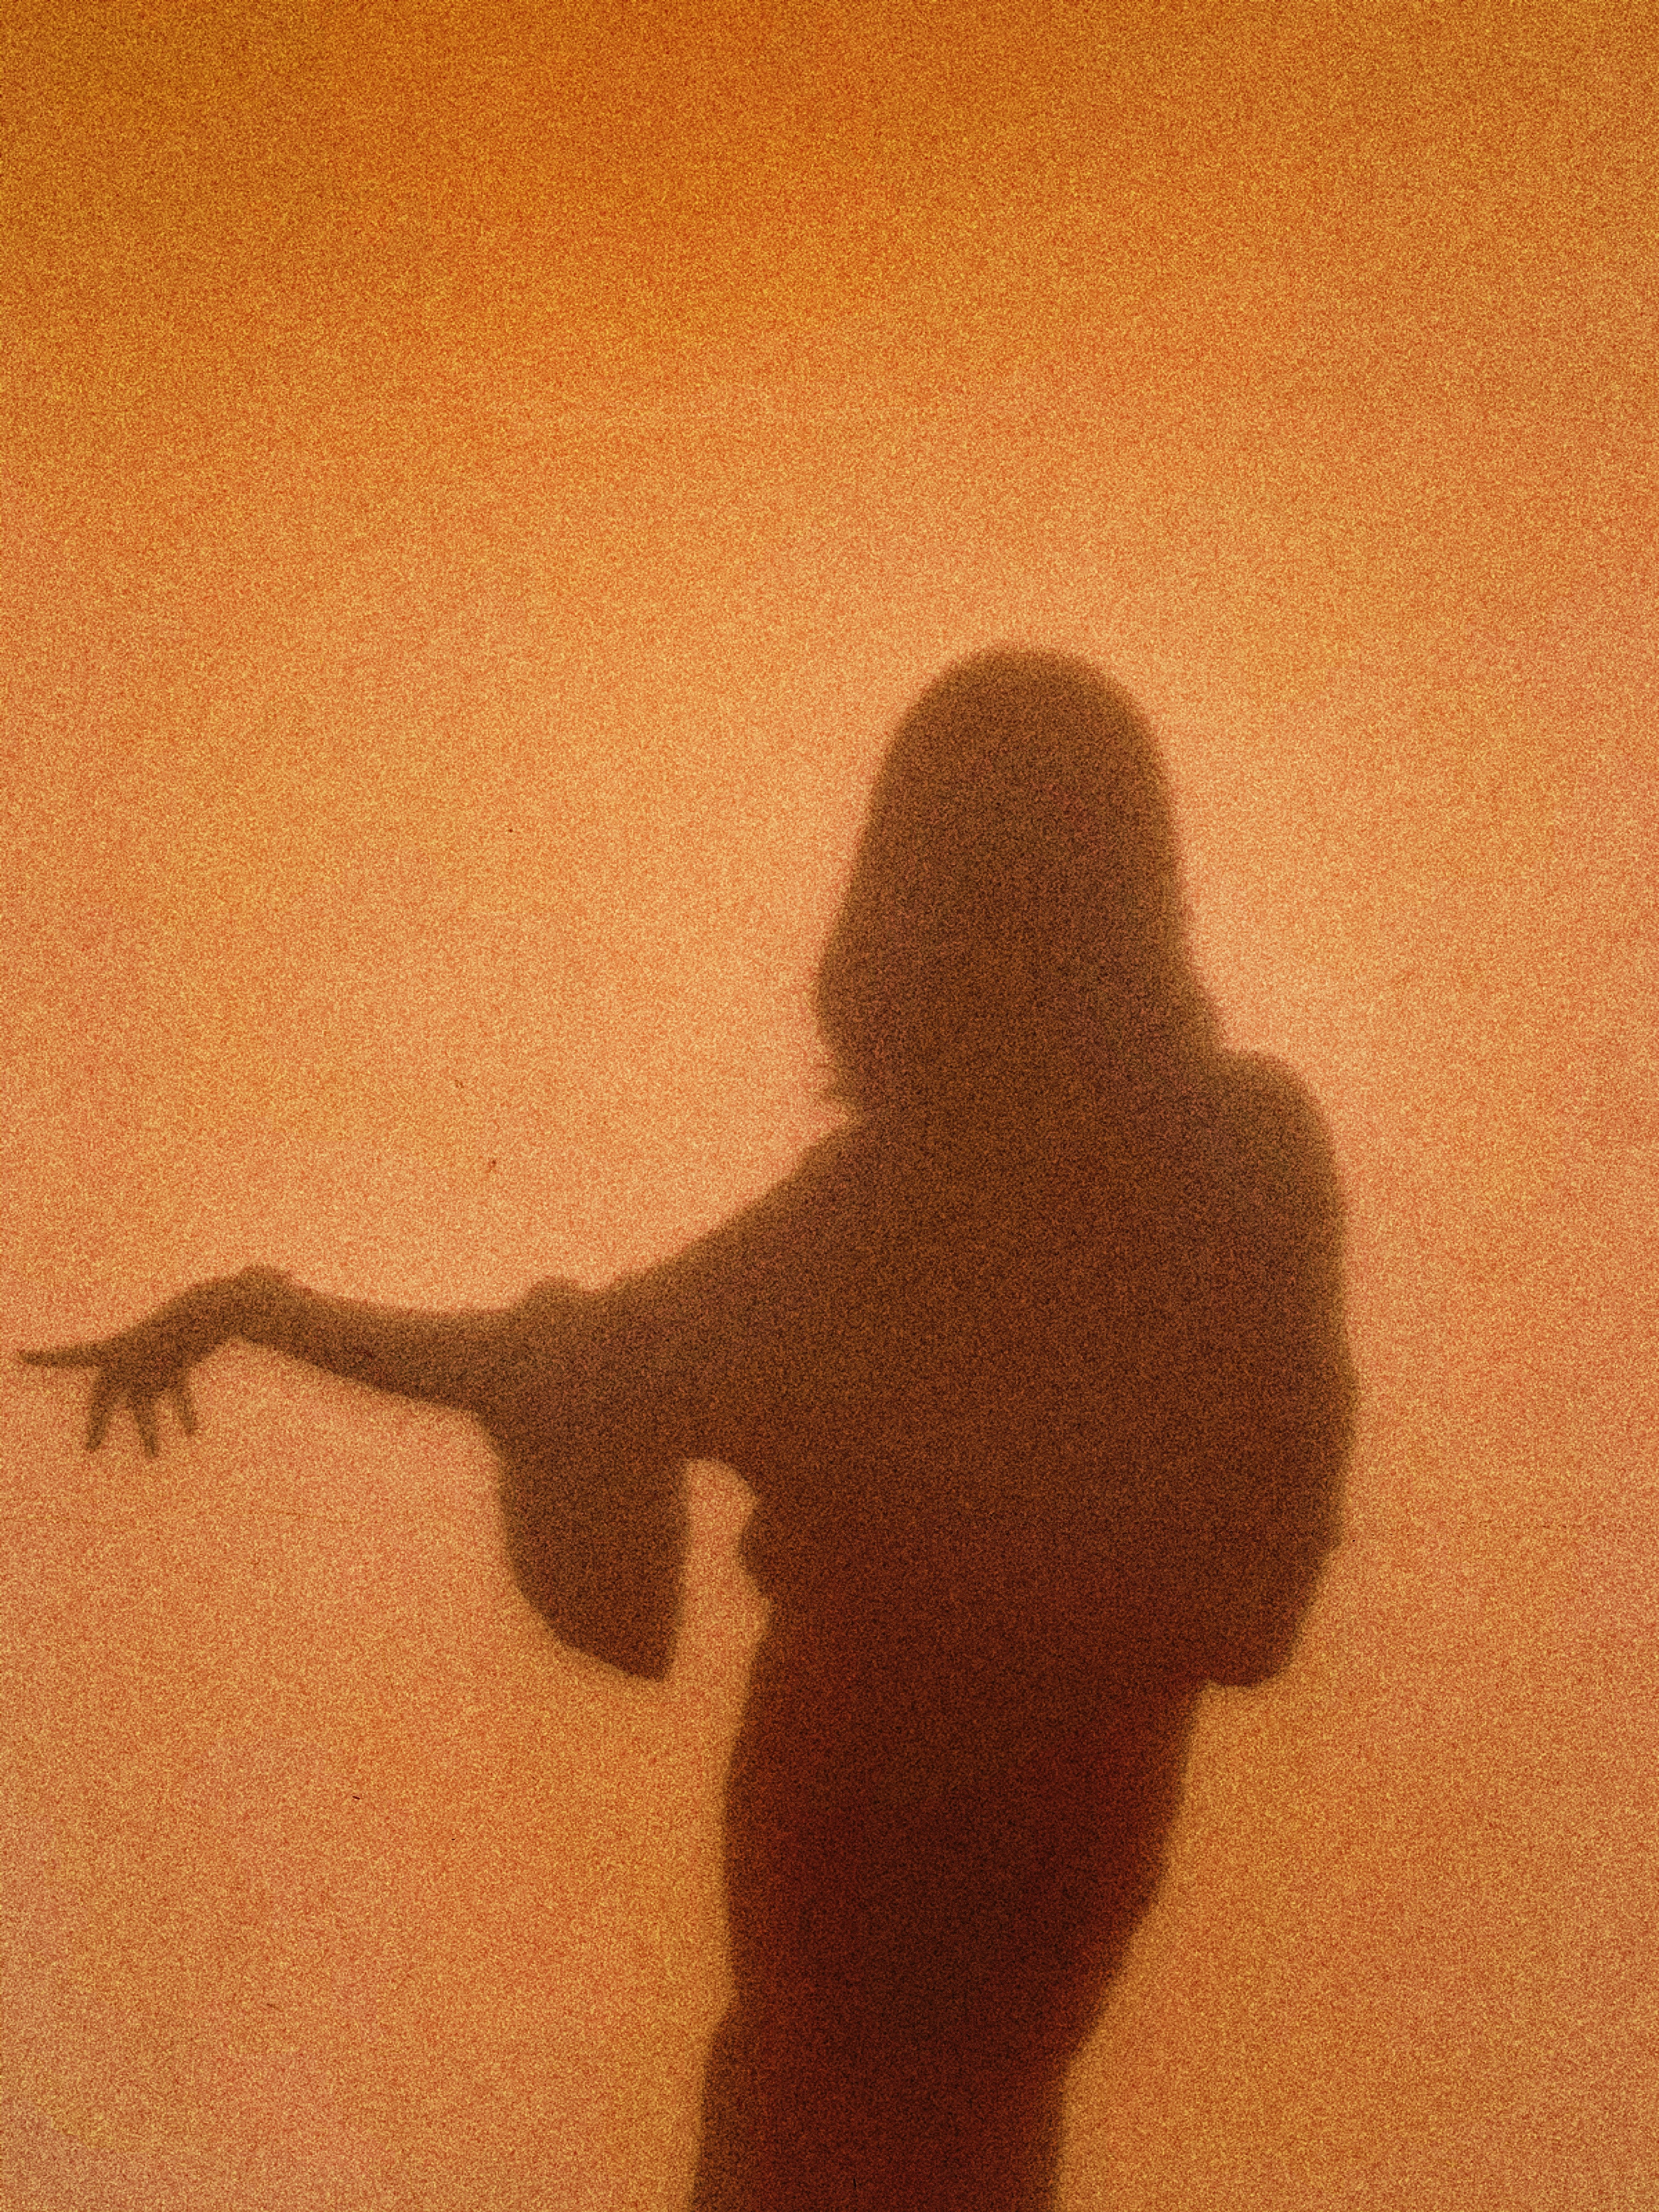 Figure \PageIndex{1}: Shadow Puppetry, Photo by Stacey Gabrielle Koenitz Rozells on Unsplash
Shadow Boxes
Shadow boxes were popular in Europe in the 1800’s. Not too different from shadow puppetry, Shadow Boxes were usually backlit wooden boxes with layers of wood or paper to create depth and form. In the early 1900’s, artist Joseph Cornell popularized shadow box art pieces and we can see his influence in theatre. One of the most common uses of the shadow box was to create an illuminated moon with depth and form. Many artists created shadow box dioramas of forests or other scenes to show depth and further display form.
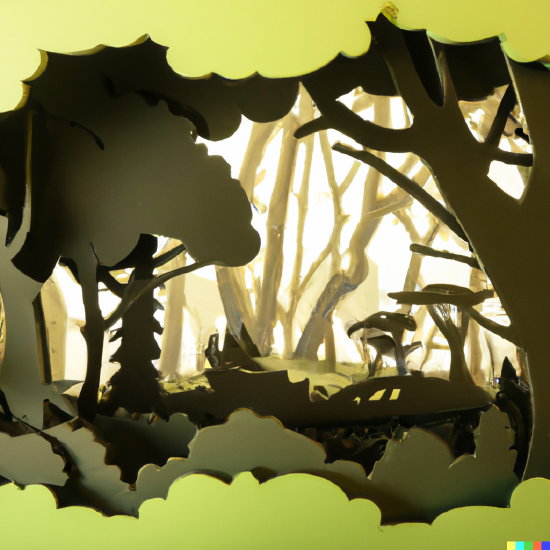
Figure \PageIndex{2}: A backlit shadow box of a forest
Shadow Boxes influenced the way stories were told and the types of stories that were told in the theatre. By using abstract or symbolic imagery, shadow boxes and shadow puppetry could be used to convey ideas and themes in a more subtle and indirect way, which opened new possibilities for storytelling and allowed for more experimental approaches to theatre.
Gobos
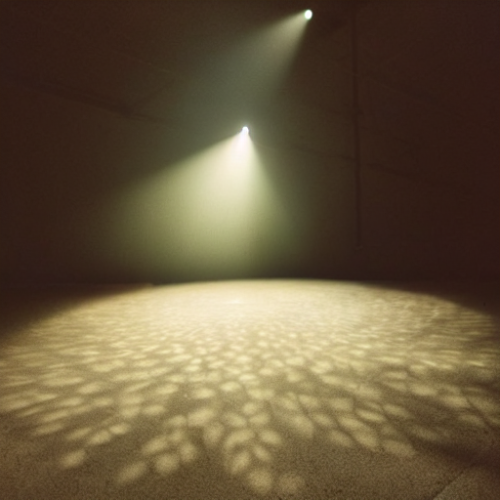
Still widely used today, gobos are thin sheets of metal cut out into a shape. This template is placed in a theatrical light between the lamp and lens. Now, instead of a cutout being placed between the light and screen, designers can project a pattern of light anywhere on the stage. The pattern can move, change color or intensity, and have a greater impact on the mood and modeling of the play. Gobos made it even easier for audiences to suspend their disbelief. Designers can easily make it seem like light is passing through a forest canopy, or a factory ceiling. A moon pattern can project on a backdrop and fade in intensity as the designer desires. Traditionally, gobos have the limitation that they are only one solid color at a time, not a photorealistic image.
Slide Projectors
When 35mm film was invented in 1925, technicians began placing developed images between a light source and lens, not dissimilar to the gobo, leading to the then modern slide projector. From the 1950’s until round the 1990’s, slide projectors were used in theatre. An expensive and clumsy technology, their adoption was not nearly as great as the modern digital projectors we have today. Projectors bright enough to compete with the lights on the stage could be very expensive, yet they created one of the only ways to project a full color image on to the stage. While slide projectors could only project one image at a time (aside from the reel-to-reel projectors, not commonly used), their influence in theatre was significant. They helped develop techniques that served as a baseline for modern digital projection systems.
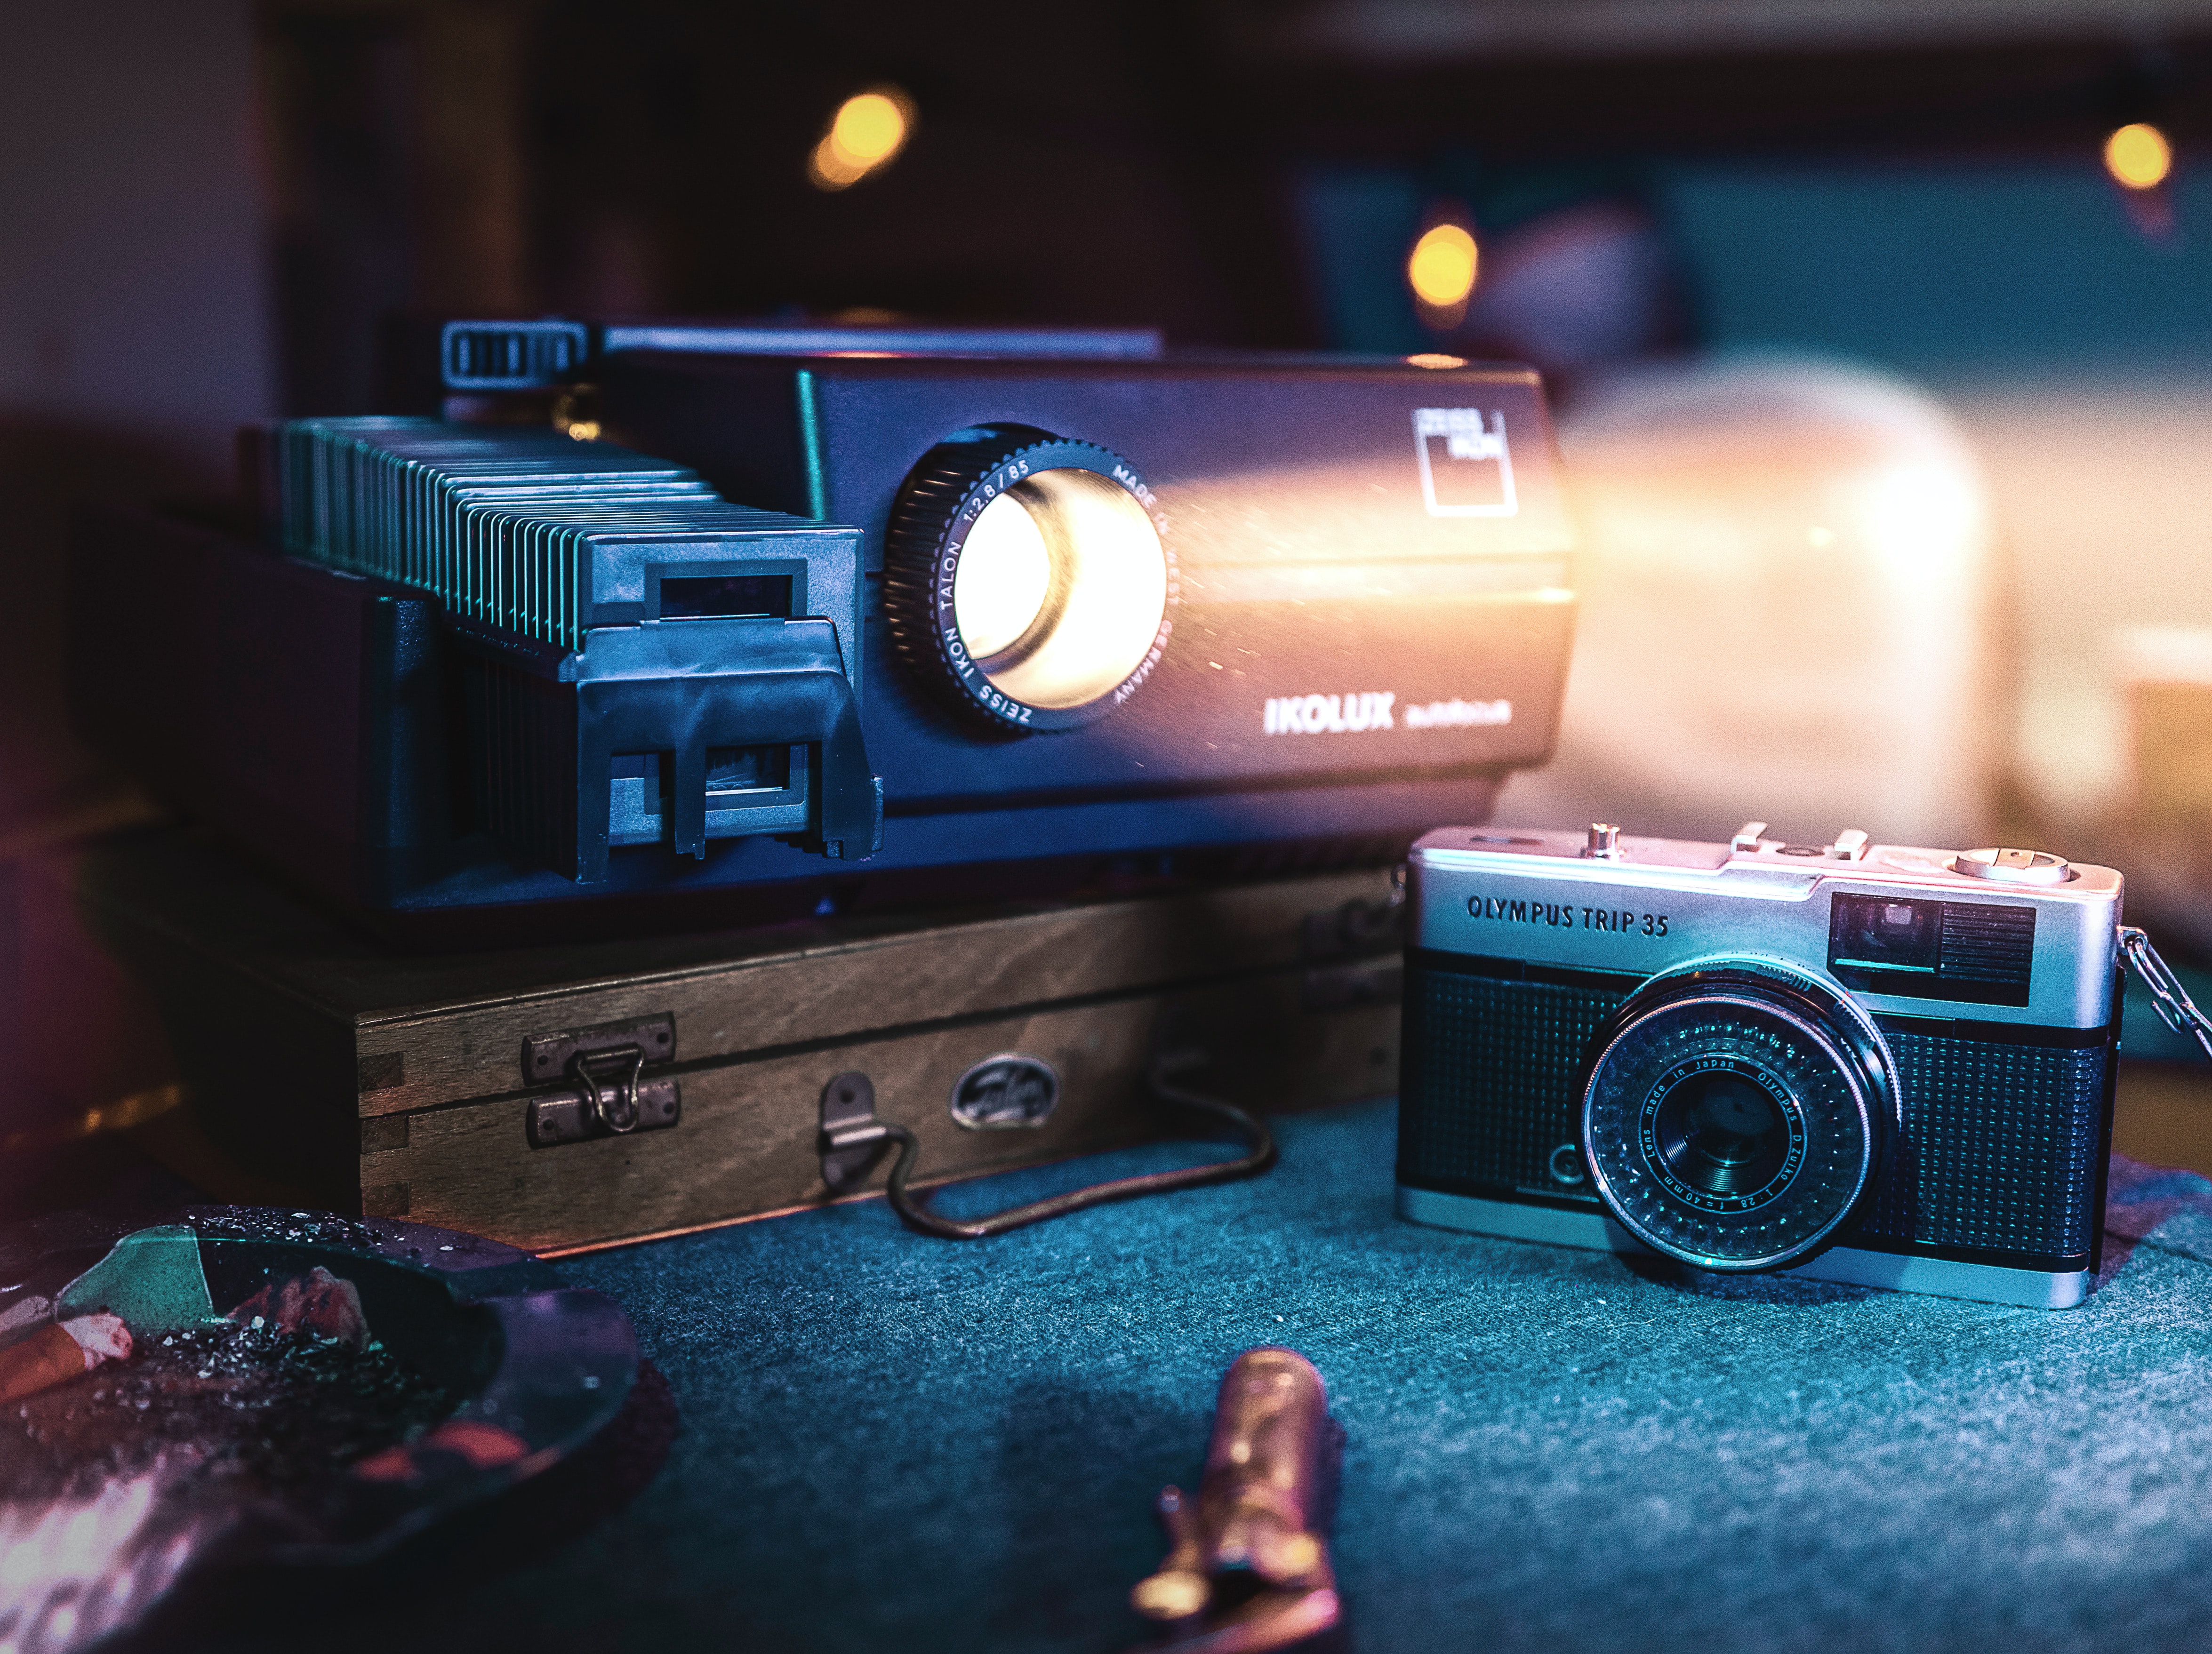 Figure \PageIndex{4}: A Slide projector and 35mm film camera, Photo by Berend van Rossum on Unsplash
Digital Projectors
Whenever you hear that projections are being used for a show, more than likely, those projections come from digital projectors. Not to be confused with an LED display like an LED Video Wall or even a flat-screen TV, digital projectors focus many pixels through a lens as a beam of colored lights on to the stage. Traditionally controlled by computers, they can project everything from full 8K videos, still images and even interactive video elements. Modern projectors have forever changed the way contemporary theatre is producd.
There are five primary types of digital projectors:
- Liquid Crystal Display (LCD): three (red, green, and blue) mirrored displays combined into an image. And the most economical workhorse for the stage.
- Digital Light Processing (DLP): a proprietary chip comprised of microscopic mirrors to create a higher resolution image. They are traditionally brighter than the LCD projector.
- Light-emitting diode (LED): either DLP or LCD technologies but with very long-lasting LED light sources.
- Liquid Crystal on Silicon (LCoS): a DLP-LCD hybrid which uses liquid crystal chips and a mirrored backing. They produce very high contrast images of high resolution, but at a great cost and can be very heavy.
- Laser projectors: they utilize a solid-state laser as a light source in place of a lamp, distinguishing them from lamp-based projectors. They have the truest blacks and brightest colors with very long lamp life, but with a major cost.
Each projector has its benefits as each contains different features at different price points. The main things to consider when choosing a projector for use with theatre are price, brightness, Resolution, and refresh rate.
Brightness
Projectors, like all light sources, measure their output in lumens. One lumen, is approximately the output of one “standard wax candle.” Projectors for theatre range from 5,000 to the rare 56,000 lumens, with most used working between 10,000 and 20,000 lumens. In comparison, a standard ETC Source 4 ellipsoidal outputs around 20,000 lumens. So, for a projector to be able to be seen onstage, it needs to be able to compete with many other bright lights or be used when the stage is dark.
Resolution
The resolution of any video source is the measurement of how many pixels appear on the screen. Technicians measure resolution in width by height (i.e. ‘Full HD’ is 1920 pixels wide by 1080 pixels tall, a total of 2,073,600 pixels). There are dozens of standard resolutions from XGA (1024 x 768) to 8K (7,680 x 4,320). The higher the resolution, the clearer the image will appear on stage, but higher resolutions require much faster computers to display them.
Aspect Ratio
Similar to video resolution is aspect ratio. Aspect ratio is the proportion of the width and height (resolution) of the image. If you were to reduce the XGA resolution above as a ratio, it would ultimately reduce from 1024:768 down to 4:3. Luckily, there are only three different aspect ratios used in most projectors, 4:3 (standard), 16:9 (widescreen), and 16:10 (a form of widescreen, actually reduces to 8:5, which is very close to the golden ratio).
Refresh Rate
Refresh rate expresses the number of times in one second that a new image is drawn on the screen, based on the video signal's incoming information. In America, traditional projector refresh rates draw a new frame 60 times in every second, or 60 Hz (Hertz). Some models work on 30Hz, or even the smoother-looking 120Hz. Changing the refresh rate can be very important if a show is to be recorded. Both the recording video camera and projector need to have the same refresh rate or flickering will appear.
Video Playback
While the early 2000’s saw some video playback (or display) through DVD players, designers today control most, if not all, video playback with computers. Because there is more than one way of cueing video with live performers on the stage, a variety of control systems have evolved. Each system has its pros and cons. Some systems are better suited for live performance, while others work better for performer interaction.
Slideshow Systems
Most of us are familiar with slideshow software like MS PowerPoint or Google Slides. For the simplest and most basic shows, a playback system that simply shows one slide after the other is all that is needed. The operator presses the spacebar, and the next image is shown on stage. These applications, however, have a very hard time if there is an error or pop-up box that takes up the screen. It is hard to mask the projector’s image to the shape of the screen or stage and blending videos together or starting multiple concurrent videos at different times becomes nearly impossible, oh and forget about working with live camera inputs. But luckily, it is nearly free and basically any computer can run it.
Scene-based systems
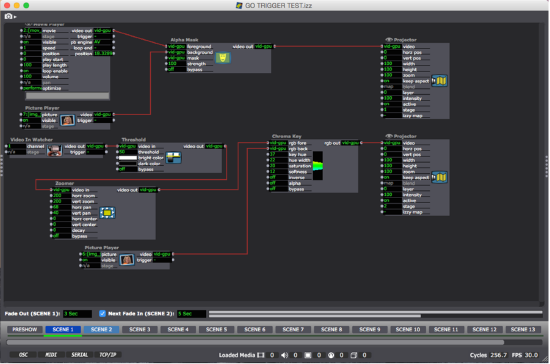
Perhaps a step (or four) above slideshow software are scene-based systems. The most popular being Isadora by Troikatronix. Isadora, and others like it, give designers access to a visual programming language with nearly endless effects and display outputs. While any programming comes with a learning curve, scene-based systems and visual languages make it easier. There are many benefits to Isadora:
- This software can run on most any computer, so there is no need to purchase special hardware.
- Isadora is not linear, which means that operators can jump from scene to scene going forward and backwards at will; this is especially useful for abstract performances with no script or linear flow.
- If you can dream it, it can be programmed.
Aside from its propensity to crash on custom-built computers, one of the only major downsides to both scene and slideshow programs is that it is difficult (although not impossible) to scale the software to run multiple synchronized displays beyond what can be plugged into a single computer. So, a production like Broadway’s Spiderman: Turn Off the Dark with a dozen or so video displays could not use a system like Isadora.
Event Driven
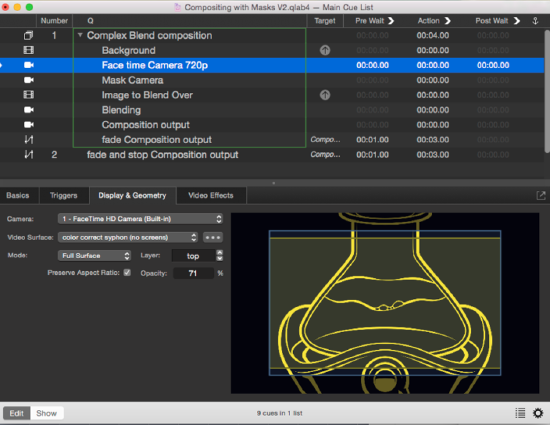
Perhaps the most-used audio and video playback software in theatre is Figure 53’s QLab. Qlab is a cue-based software. Like light designers, Qlab programmers write cues in a spreadsheet-like interface, notating only when something needs to change. Operators can press the “Go” button every time a change in the video system needs to coordinate with action on stage. Qlab is very easy to understand and uses nomenclature and systems very similar to all other design elements, which makes it a favorite to work with. It can only work on Apple computers and can be quite cumbersome to scale to a large number of displays.
Linear Systems
Most other display software is linear. Designers program a timeline of events, very similar to most movie editing software. There are multiple tracks of video, and they can be blended or masked just as they could be in Adobe Premier Pro or iMovie. Keyframes (sometimes ‘tweens’ – short for between) are placed on a track to fade it on or out, move images or change effects. A common linear display software used for the theatre is Watchout by Dataton. Watchout can be more expensive than the options above because they recommend that you use their hardware, but it is infinitely scalable to dozens of displays and is built to last, hopefully without crashing. When you press the spacebar, or the “Go” button in Watchout a play head moves along the timeline and synchronizes all videos together. It can play, pause and go in reverse. But, unlike Scene-based software, if the actors miss their cue, it can be a little cumbersome to get the timeline back on track by skipping ahead.
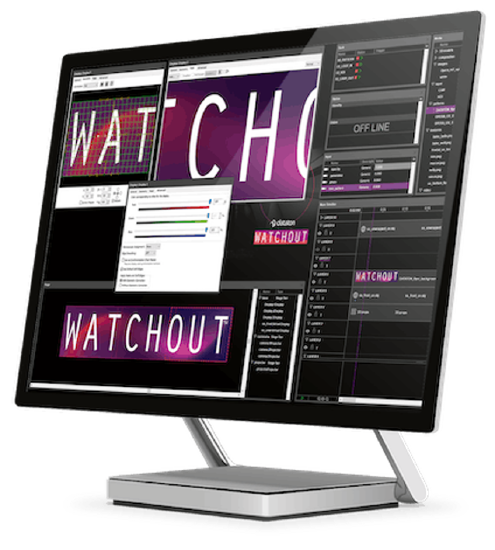 Figure \PageIndex{7}: A computer running Watchout video playback software
Media Servers
Very similar to linear systems like Watchout, media servers are pieces of hardware (purpose-build display computers), used to output images and video to specialized projectors. Many even have their own consoles to control them, just how a light board controls the lights. A console – or master computer – controls many media servers so a designer can easily have dozens of displays synchronized and blended together. While media servers used to be unmatched in power and capability, modern personal computers have grown so greatly in power over the past several years that many of the other systems can match everything they do, expect scalability and speed.
Final Design Considerations
Hopefully by now you realize the true power that projections can bring to the stage. But with great power, comes great responsibility. When choosing to use projections for a production, make sure their use will help tell the story. In 2018, I was asked to program projections for a production of Alan Ayckbourn’s Communicating Doors. In this play, there is a door in a hotel room that allows the character to travel to three different decades in that same hotel room. The set designer wanted to show that the room was different as the actor traveled “through time”. So she asked that the two wall hangings change in addition to the backdrop of London seen through the window.
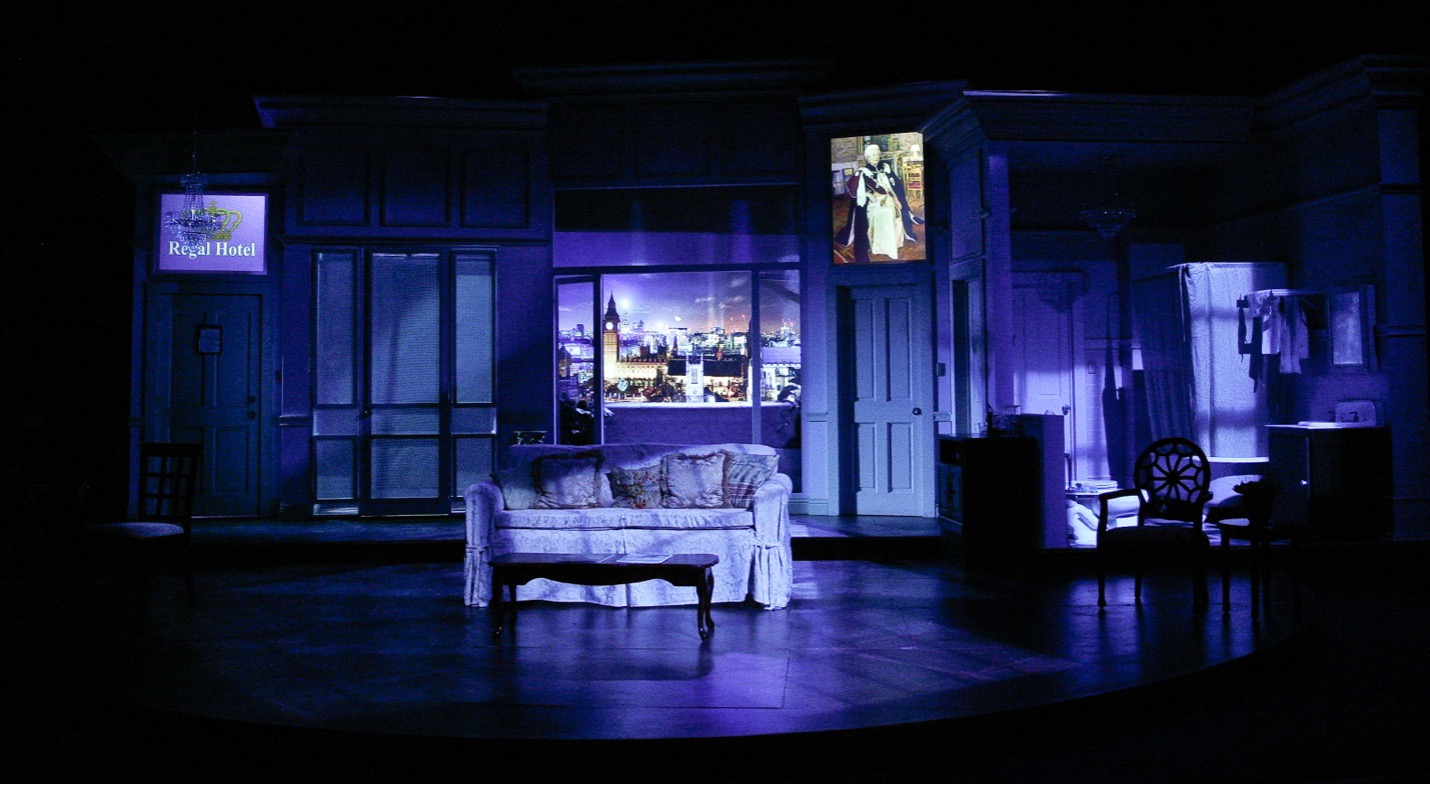
We used Isadora with five projectors – one for each wall painting (rear projected), and three blended on a sky drop to make up the London backdrop. Did the projections looks good and help tell the story? Yes. But not without limitations. At the time, 5 video feeds was too much for the video computer, so crashes and extreme latency was a constant issue. And like every computer system, when it crashes, the whole show stops. Could Greek Periaktois have replaced the wall hangings, and painted backdrops works for the London skyline? Probably, and no computers could have crashed. But it sure would have made the scenic budget much higher.
Sometimes though, projections can open a new door to the audience. They can give deeper meaning to the script and emotions of the characters. For a production of The Curious Incident of the Dog in the Nighttime by Simon Stephens at The Theatre Group at SBCC, I worked with the director to create projections to let the audience better understand the mind of the autistic lead character as he navigates his world. We converted all locations and scenery into math, lines, and mesh because that is how we believed he saw his world. After blending five projectors together into a three-dimensional 5K video stage, we used Isadora to coordinate video with the actors on stage to create what I think was a powerful application of video. Watch the movie below for a sample of how the projection worked with the action of this play.


