
8.2: 8CR TRANSFORM TOOLS
- Page ID
- 92239
|
A common cause of parallax comes from pointing the camera up at a building. In the second illustration the parallax is not fully corrected, as in this instance it would make the building look top-heavy. |
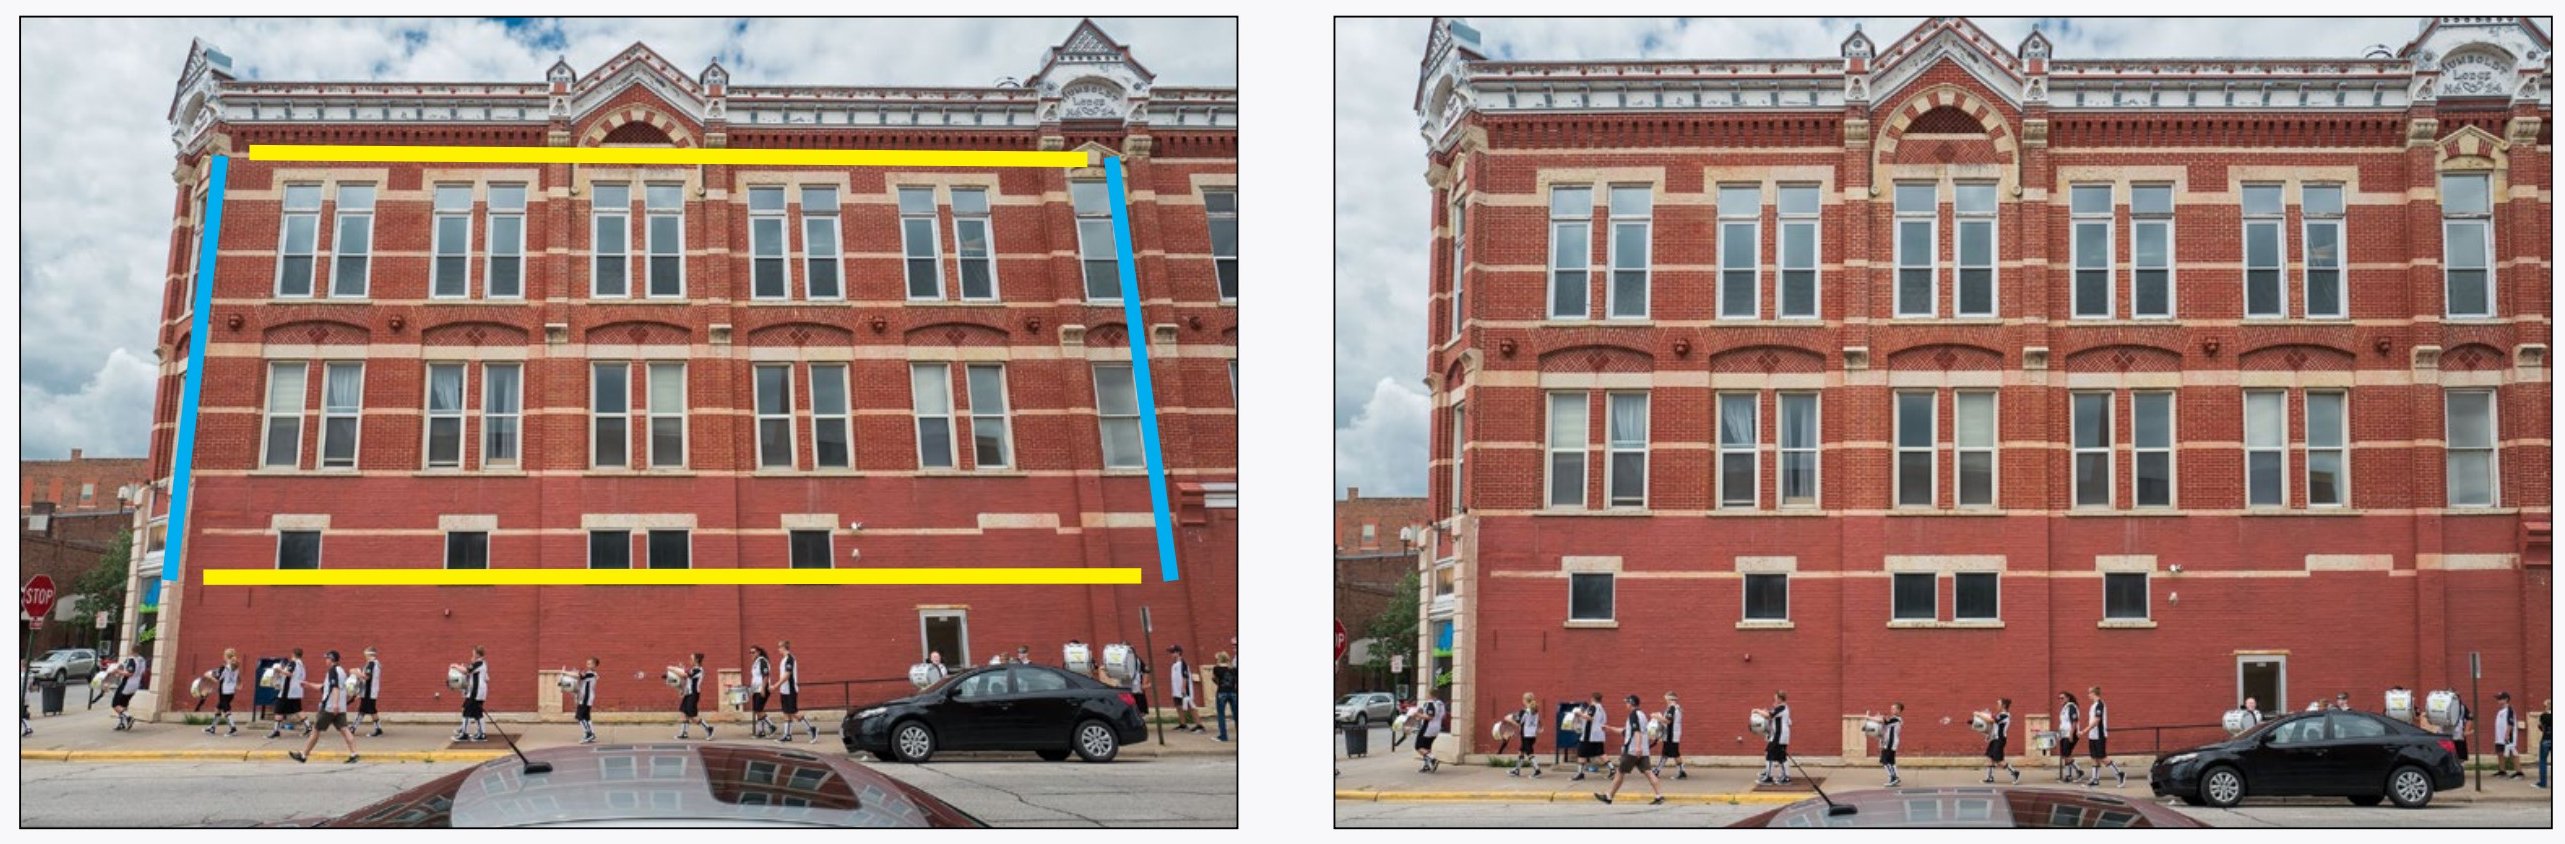
Sometimes converging parallel lines in photographs are distracting. This convergence is called parallax. The Geometry panel allows this to be corrected.
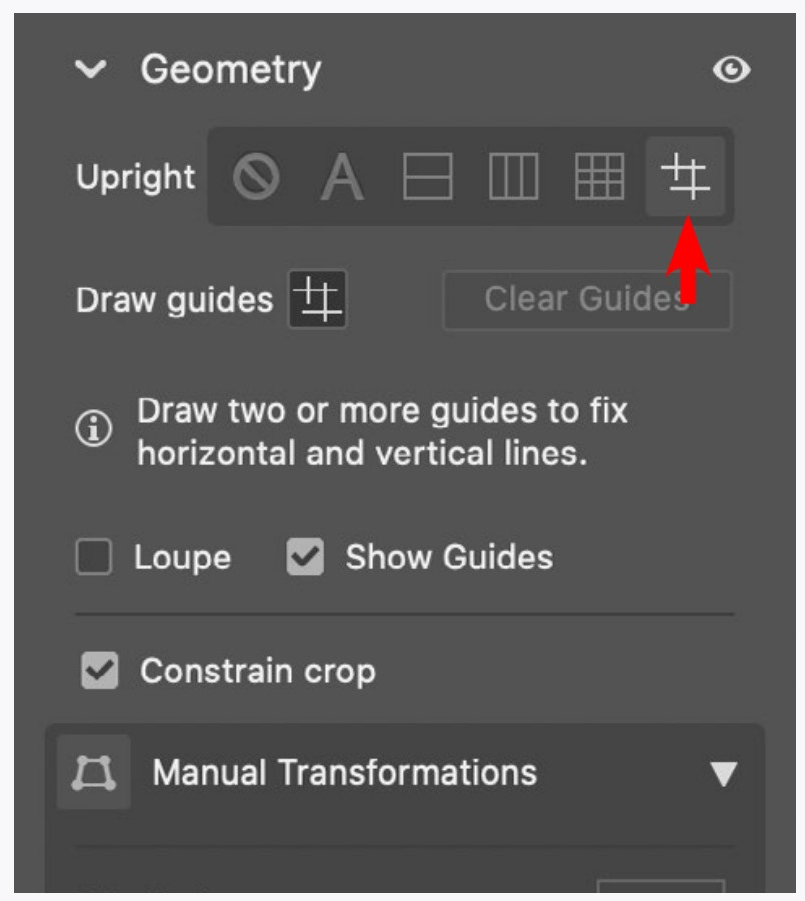
The first four Upright buttons after the none button let Camera Raw automatically figure out how to do corrections. However, the last button, Guided, is the most powerful.
When you click on it, you can draw either two lines in your image over lines which should be parallel (like the blue lines in illustration), and also a second set of parallel lines which should be parallel (yellow lines in illustration). Camera Raw will correct the distortion based on the lines that you drew.
You can instead correct parallax (among a few other things) manually using the sliders below the tools (by clicking the disclosure triangle).
There are a few more buttons on the right of the interface that you may (or may not) find useful:
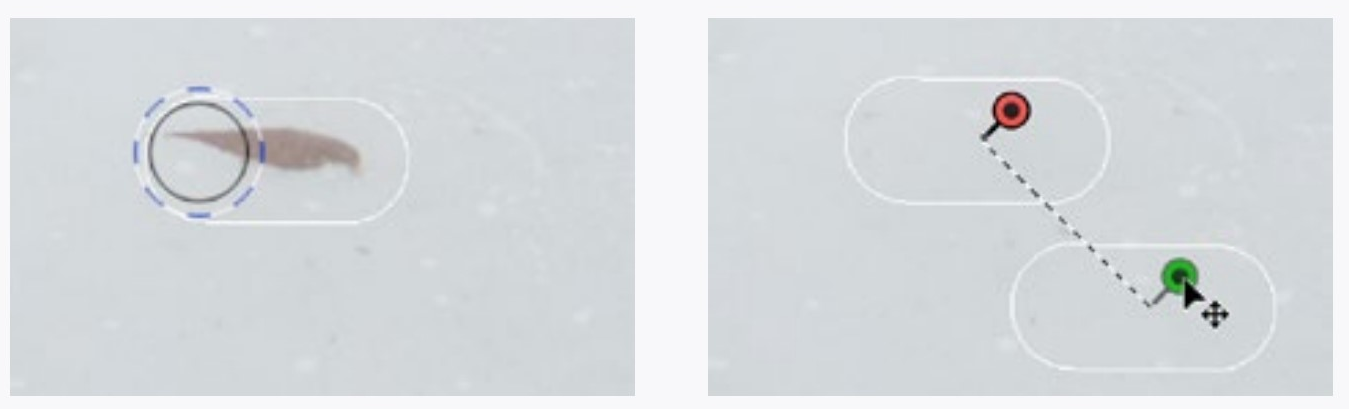
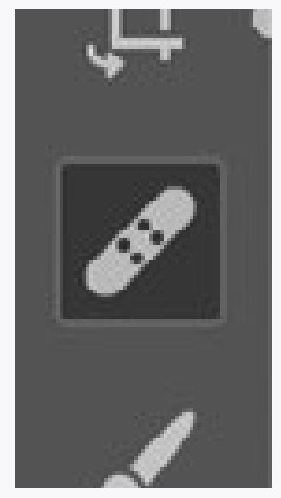
Paint over a duck or leaf with Spot Removal. It will replace that area with another (movable) area. It also works on ex-girlfriends if they are small and/or far away. The Heal and the Clone options for this tool each work a little differently, and can be changed after painting.
Red Eye Removal does what it says. That red area in eyes is actually an image of the back of they eye which only light coming from near the lens reveals. It
is more apparent in low light since the aperture of the eye (iris) is larger.

The Snapshots Panel allows you to save your images in stages. Just click the page icon on the top of the panel. These snapshots will be available in future editing sessions.
The Presets Panel lets you save sets of adjustments for later use. These are saved with the application, not the image you have open, so they are available with any image you open in the future. There are also many premade presets which you may want to explore.
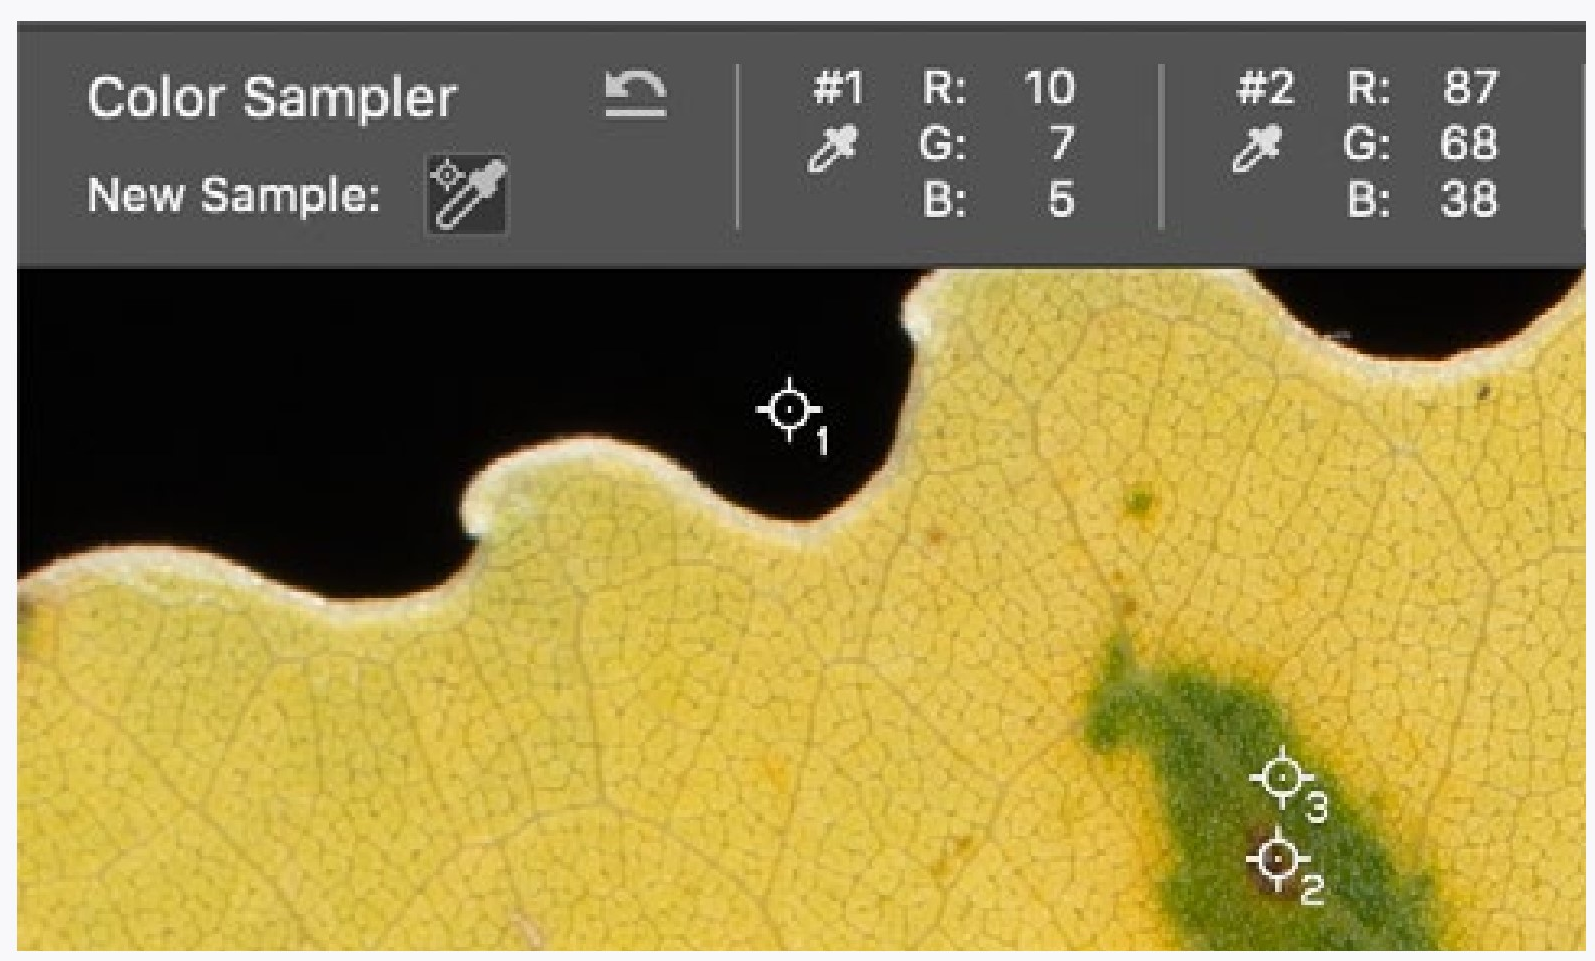

The Color Sampler (near the bottom of the right side) allows you to get a readout of the colors for each part of the image you click. These numbers change with adjustments, so they are useful if you are familiar with identifying colors and tones with RGB levels 0-255.
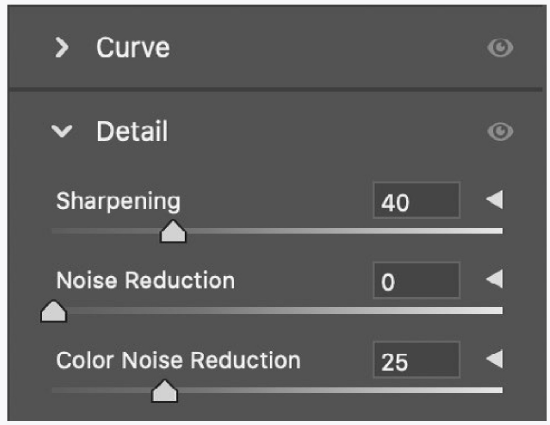
Back at the edit panels, Detail can be very useful, but the details of Detail (click on disclosure triangles) are beyond the scope of this book.
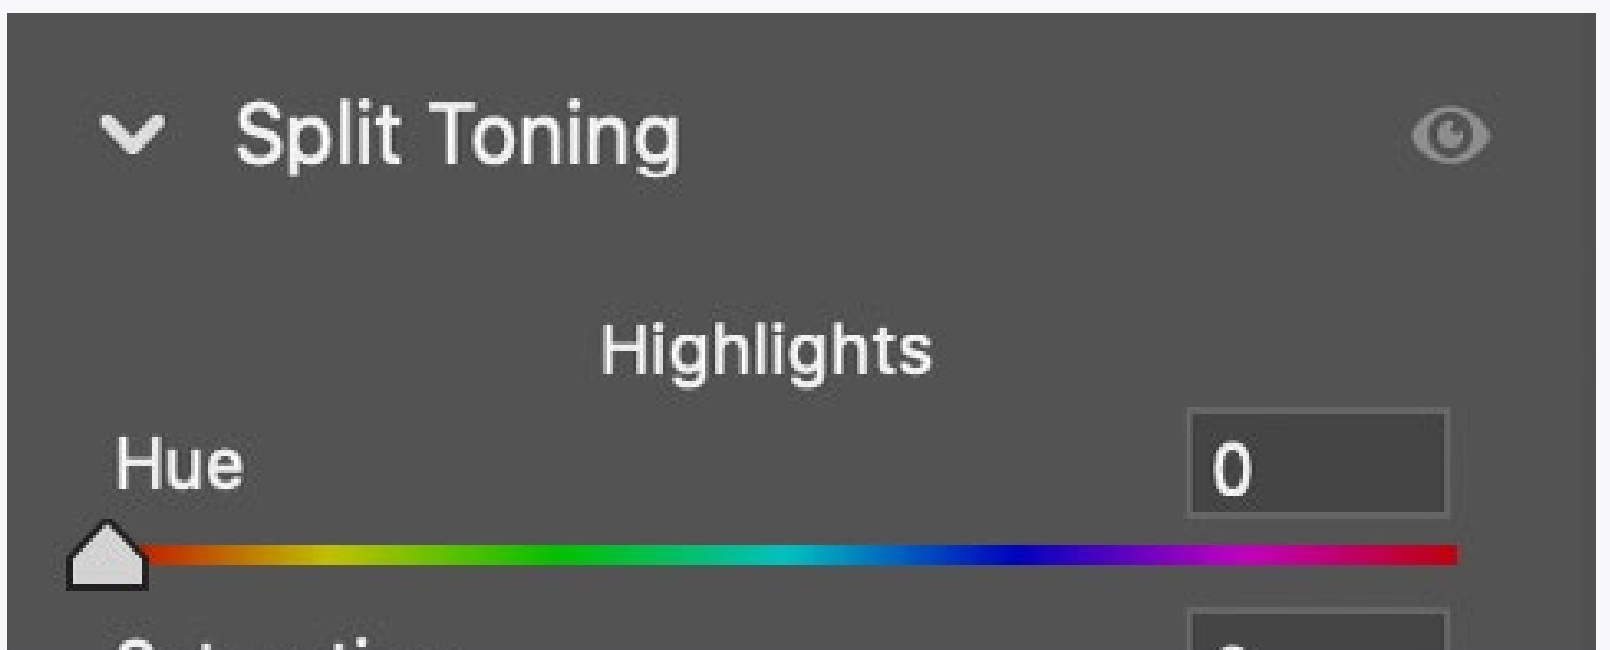
Split Toning is intended for correcting image defects in older cameras, JPEG files with the wrong white balance, and possibly for an effect you might want. Images converted to black & white can also be split-toned to give them a duotone look. Just pick a color and saturation for the shadows and highlights. You can also define the dividing point of the colors between shadows and highlights.
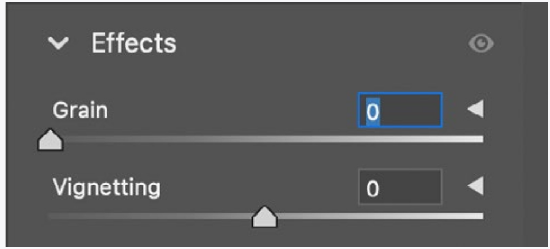
The Effects Panel is just a couple of things that just didn’t quite make the cut to be in the other panels. Notice the disclosure triangles.

It is best to leave Calibration alone unless you want to get really picky about how Camera Raw interprets color from your camera.
The good news is that (like the last set of instructions) these are tools that you may or may not need, but are easy to learn.
If you want to practice something, go back to image adjustments and local adjustments. Those are the things I am sure you still need to work on. For the tools here, just work through them so that you know what they do in case you do need them.
And keep this book for reference. I doubt that you can sell it for much anyway.
GEOMETRY ADJUSTMENTS
If you don’t have a picture of a building, go out and take one. At least take a photograph of something that has straight lines, like the room you are sitting in right now (spooky how I know where you are).
Try the various automatic transform tools. Play with the sliders. Zero out your controls and try the guided tool and draw lines on your image to straighten them to each other.
THE REST
Try each of the rest of the tools. Some may be helpful. For instance, if you often take the lens off your camera I am sure you will use the spot removal tool a lot. That dust just stays there casting its shadow on every image you take.
Your way of working may also benefit from using the snapshots panel. Or it may not.
CAN YOU...
Straighten a crooked image?
Use different techniques to correct for converging lines (parallax)?
Remove blemishes (from a pimple to an old boy/girlfriend) from an image?
Remove the image of the red back of the eye from a flash photograph of a person?
Save your changes to an image using snapshots?Save color samples from an image?
Apply split toning to an image?
Save sets of adjustments to use on other images?
Apply at least a few effects that an image might need?
Leave the camera calibration alone?