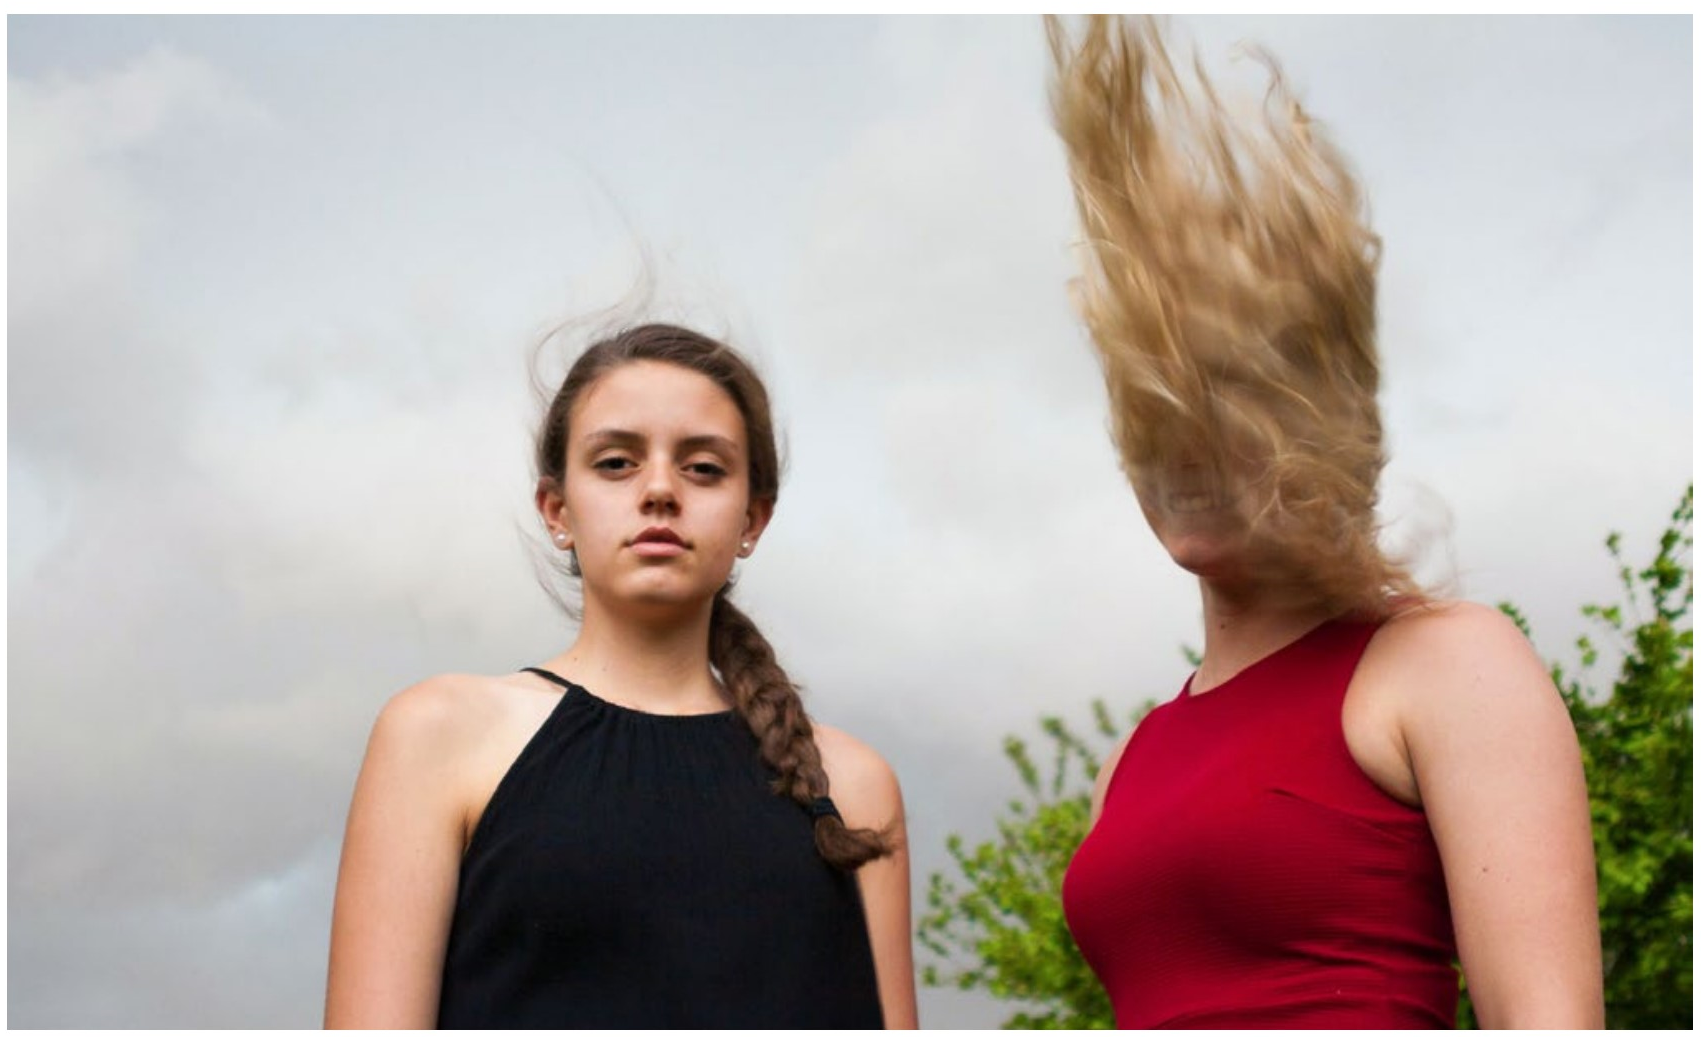
8: Motion
- Page ID
- 92237
\( \newcommand{\vecs}[1]{\overset { \scriptstyle \rightharpoonup} {\mathbf{#1}} } \)
\( \newcommand{\vecd}[1]{\overset{-\!-\!\rightharpoonup}{\vphantom{a}\smash {#1}}} \)
\( \newcommand{\dsum}{\displaystyle\sum\limits} \)
\( \newcommand{\dint}{\displaystyle\int\limits} \)
\( \newcommand{\dlim}{\displaystyle\lim\limits} \)
\( \newcommand{\id}{\mathrm{id}}\) \( \newcommand{\Span}{\mathrm{span}}\)
( \newcommand{\kernel}{\mathrm{null}\,}\) \( \newcommand{\range}{\mathrm{range}\,}\)
\( \newcommand{\RealPart}{\mathrm{Re}}\) \( \newcommand{\ImaginaryPart}{\mathrm{Im}}\)
\( \newcommand{\Argument}{\mathrm{Arg}}\) \( \newcommand{\norm}[1]{\| #1 \|}\)
\( \newcommand{\inner}[2]{\langle #1, #2 \rangle}\)
\( \newcommand{\Span}{\mathrm{span}}\)
\( \newcommand{\id}{\mathrm{id}}\)
\( \newcommand{\Span}{\mathrm{span}}\)
\( \newcommand{\kernel}{\mathrm{null}\,}\)
\( \newcommand{\range}{\mathrm{range}\,}\)
\( \newcommand{\RealPart}{\mathrm{Re}}\)
\( \newcommand{\ImaginaryPart}{\mathrm{Im}}\)
\( \newcommand{\Argument}{\mathrm{Arg}}\)
\( \newcommand{\norm}[1]{\| #1 \|}\)
\( \newcommand{\inner}[2]{\langle #1, #2 \rangle}\)
\( \newcommand{\Span}{\mathrm{span}}\) \( \newcommand{\AA}{\unicode[.8,0]{x212B}}\)
\( \newcommand{\vectorA}[1]{\vec{#1}} % arrow\)
\( \newcommand{\vectorAt}[1]{\vec{\text{#1}}} % arrow\)
\( \newcommand{\vectorB}[1]{\overset { \scriptstyle \rightharpoonup} {\mathbf{#1}} } \)
\( \newcommand{\vectorC}[1]{\textbf{#1}} \)
\( \newcommand{\vectorD}[1]{\overrightarrow{#1}} \)
\( \newcommand{\vectorDt}[1]{\overrightarrow{\text{#1}}} \)
\( \newcommand{\vectE}[1]{\overset{-\!-\!\rightharpoonup}{\vphantom{a}\smash{\mathbf {#1}}}} \)
\( \newcommand{\vecs}[1]{\overset { \scriptstyle \rightharpoonup} {\mathbf{#1}} } \)
\(\newcommand{\longvect}{\overrightarrow}\)
\( \newcommand{\vecd}[1]{\overset{-\!-\!\rightharpoonup}{\vphantom{a}\smash {#1}}} \)
\(\newcommand{\avec}{\mathbf a}\) \(\newcommand{\bvec}{\mathbf b}\) \(\newcommand{\cvec}{\mathbf c}\) \(\newcommand{\dvec}{\mathbf d}\) \(\newcommand{\dtil}{\widetilde{\mathbf d}}\) \(\newcommand{\evec}{\mathbf e}\) \(\newcommand{\fvec}{\mathbf f}\) \(\newcommand{\nvec}{\mathbf n}\) \(\newcommand{\pvec}{\mathbf p}\) \(\newcommand{\qvec}{\mathbf q}\) \(\newcommand{\svec}{\mathbf s}\) \(\newcommand{\tvec}{\mathbf t}\) \(\newcommand{\uvec}{\mathbf u}\) \(\newcommand{\vvec}{\mathbf v}\) \(\newcommand{\wvec}{\mathbf w}\) \(\newcommand{\xvec}{\mathbf x}\) \(\newcommand{\yvec}{\mathbf y}\) \(\newcommand{\zvec}{\mathbf z}\) \(\newcommand{\rvec}{\mathbf r}\) \(\newcommand{\mvec}{\mathbf m}\) \(\newcommand{\zerovec}{\mathbf 0}\) \(\newcommand{\onevec}{\mathbf 1}\) \(\newcommand{\real}{\mathbb R}\) \(\newcommand{\twovec}[2]{\left[\begin{array}{r}#1 \\ #2 \end{array}\right]}\) \(\newcommand{\ctwovec}[2]{\left[\begin{array}{c}#1 \\ #2 \end{array}\right]}\) \(\newcommand{\threevec}[3]{\left[\begin{array}{r}#1 \\ #2 \\ #3 \end{array}\right]}\) \(\newcommand{\cthreevec}[3]{\left[\begin{array}{c}#1 \\ #2 \\ #3 \end{array}\right]}\) \(\newcommand{\fourvec}[4]{\left[\begin{array}{r}#1 \\ #2 \\ #3 \\ #4 \end{array}\right]}\) \(\newcommand{\cfourvec}[4]{\left[\begin{array}{c}#1 \\ #2 \\ #3 \\ #4 \end{array}\right]}\) \(\newcommand{\fivevec}[5]{\left[\begin{array}{r}#1 \\ #2 \\ #3 \\ #4 \\ #5 \\ \end{array}\right]}\) \(\newcommand{\cfivevec}[5]{\left[\begin{array}{c}#1 \\ #2 \\ #3 \\ #4 \\ #5 \\ \end{array}\right]}\) \(\newcommand{\mattwo}[4]{\left[\begin{array}{rr}#1 \amp #2 \\ #3 \amp #4 \\ \end{array}\right]}\) \(\newcommand{\laspan}[1]{\text{Span}\{#1\}}\) \(\newcommand{\bcal}{\cal B}\) \(\newcommand{\ccal}{\cal C}\) \(\newcommand{\scal}{\cal S}\) \(\newcommand{\wcal}{\cal W}\) \(\newcommand{\ecal}{\cal E}\) \(\newcommand{\coords}[2]{\left\{#1\right\}_{#2}}\) \(\newcommand{\gray}[1]{\color{gray}{#1}}\) \(\newcommand{\lgray}[1]{\color{lightgray}{#1}}\) \(\newcommand{\rank}{\operatorname{rank}}\) \(\newcommand{\row}{\text{Row}}\) \(\newcommand{\col}{\text{Col}}\) \(\renewcommand{\row}{\text{Row}}\) \(\newcommand{\nul}{\text{Nul}}\) \(\newcommand{\var}{\text{Var}}\) \(\newcommand{\corr}{\text{corr}}\) \(\newcommand{\len}[1]{\left|#1\right|}\) \(\newcommand{\bbar}{\overline{\bvec}}\) \(\newcommand{\bhat}{\widehat{\bvec}}\) \(\newcommand{\bperp}{\bvec^\perp}\) \(\newcommand{\xhat}{\widehat{\xvec}}\) \(\newcommand{\vhat}{\widehat{\vvec}}\) \(\newcommand{\uhat}{\widehat{\uvec}}\) \(\newcommand{\what}{\widehat{\wvec}}\) \(\newcommand{\Sighat}{\widehat{\Sigma}}\) \(\newcommand{\lt}{<}\) \(\newcommand{\gt}{>}\) \(\newcommand{\amp}{&}\) \(\definecolor{fillinmathshade}{gray}{0.9}\)This chapter wraps up the main controls for exposure. Controlling motion with shutter speed is easily understood, but there are a few things that need some explanation.
A shutter is a tiny sliding door which opens and allows light to the sensor for a specific amount of time when you push the shutter button all the way down. This time is usually in fractions of a second.
As with apertures, different cameras have different ranges of shutter speeds, but almost all range from one second to a one-thousandth of a second. Each doubling of the shutter speed number lets in twice as much light, so 1/30 of a second lets in twice as much light as 1/60 of a second. That makes sense because the time is doubling. Here again is the concept of a stop: halving or doubling the amount of light. So, 1/125 of a second lets in one stop less light than 1/60 of a second.
Shutter speeds are noted in shorthand on the camera and in literature. 1/125 second is written as ‘125, ‘125s, or as 1/125s. Sometimes only the denominator of the fraction is used, like 125. If the exposure is in full seconds, it will be noted as 4.0s or 4s, meaning 4 seconds. You may notice that some standard shutter speeds do not exactly double (i.e. ‘60–’125), but they are close enough to essentially double. As with f-stops, your camera has fairly undecipherable numbers in between the standard shutter speeds. Do not pay too much attention to these. Instead, understand (you don’t have to memorize) the speeds listed in the illustration above.
|
A range of standard shutter speeds, each a stop apart. Your camera probably continues beyond this scale. Below 1/4 second (‘4) most cameras report the shutter speed not in fractions, but in tenths of a second, so 1/2s becomes 0.5 seconds. |
Noise ReductionWhen you use an exposure longer than a second you will notice that (on the default settings) most cameras will have a lag time equal to the exposure time before you can use your camera again or review the image. The camera is actually taking a second exposure of nothing during this time. It takes the sensor defects from that second image and subtracts them from the image. |
Long Shutter Speeds
There is another shutter speed setting on most cameras, which is B. This stands for Bulb, and at this setting the shutter is held open for as long as your finger is pressing down the shutter button. With a remote release connected to your camera you can lock the shutter open for as long as you want. If you don’t have a remote release, you can tape something over the button to hold it down.
|
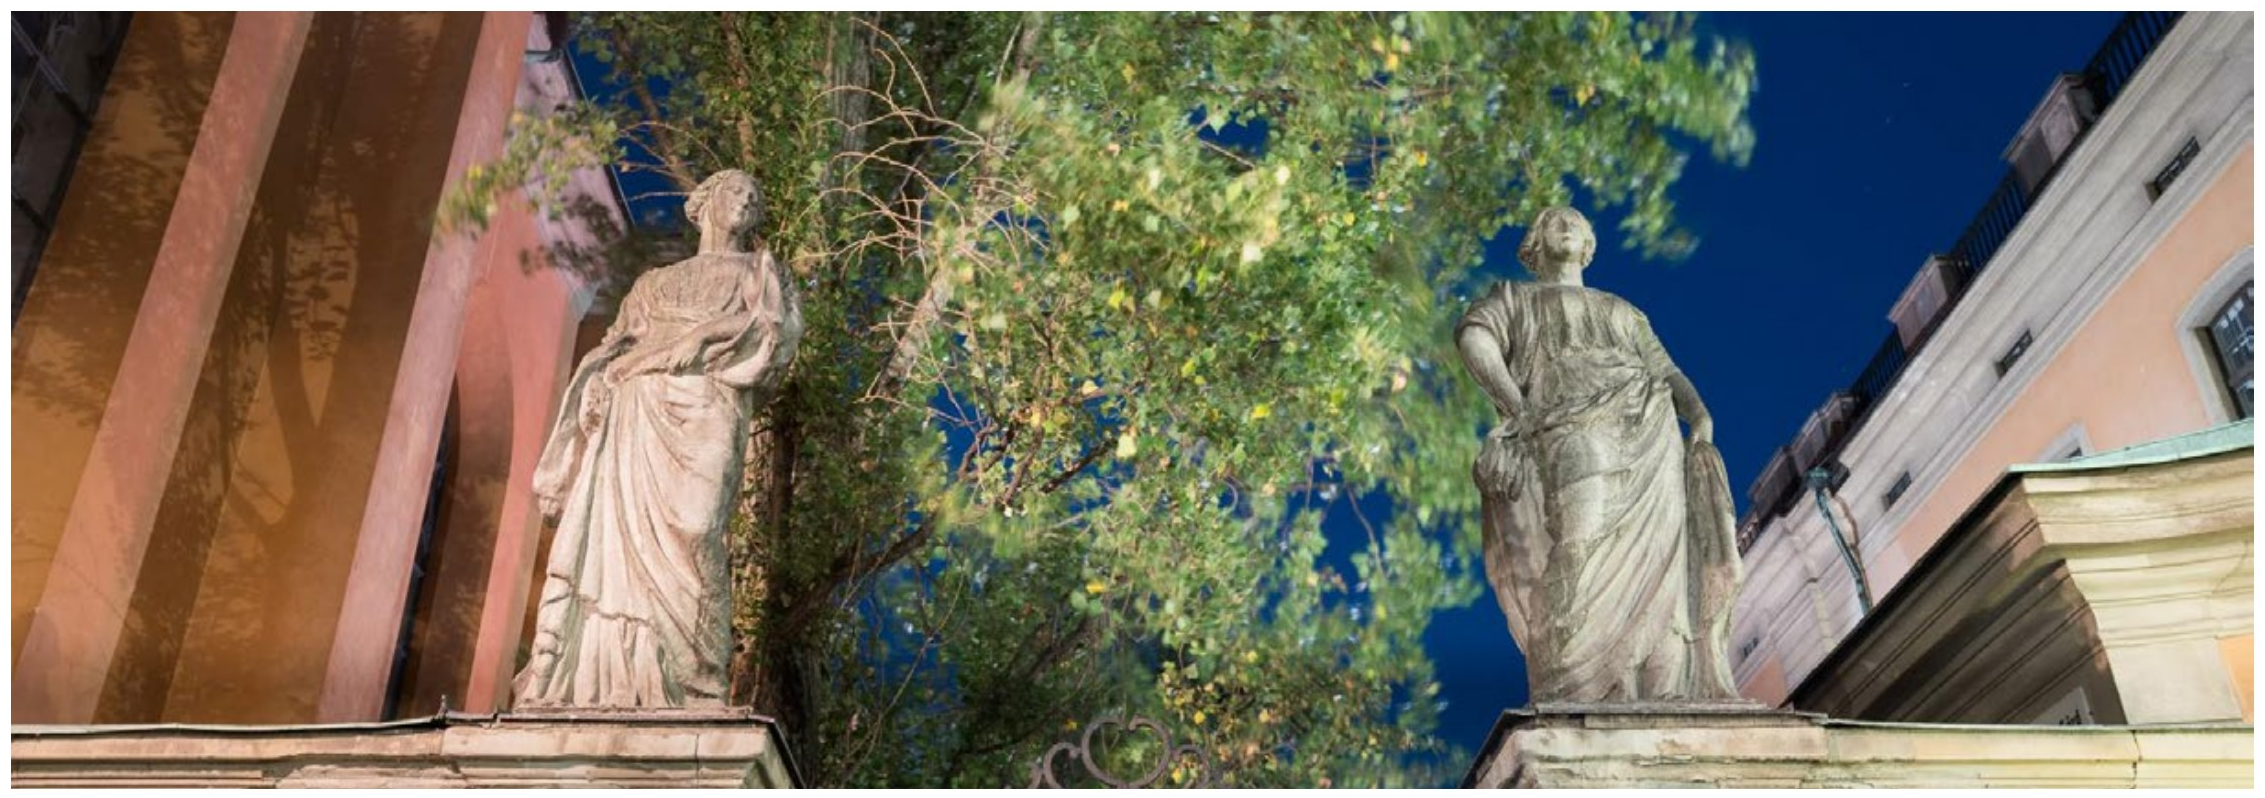
This photograph was taken well past dark at an exposure time of 30 seconds. A long exposure (with a tripod!) or a very high ISO (with the accompanying noise) would be the only two options for getting an exposure in this dark environment, even with a fast lens. Notice that the tree is blurry as it was moving with the wind. |
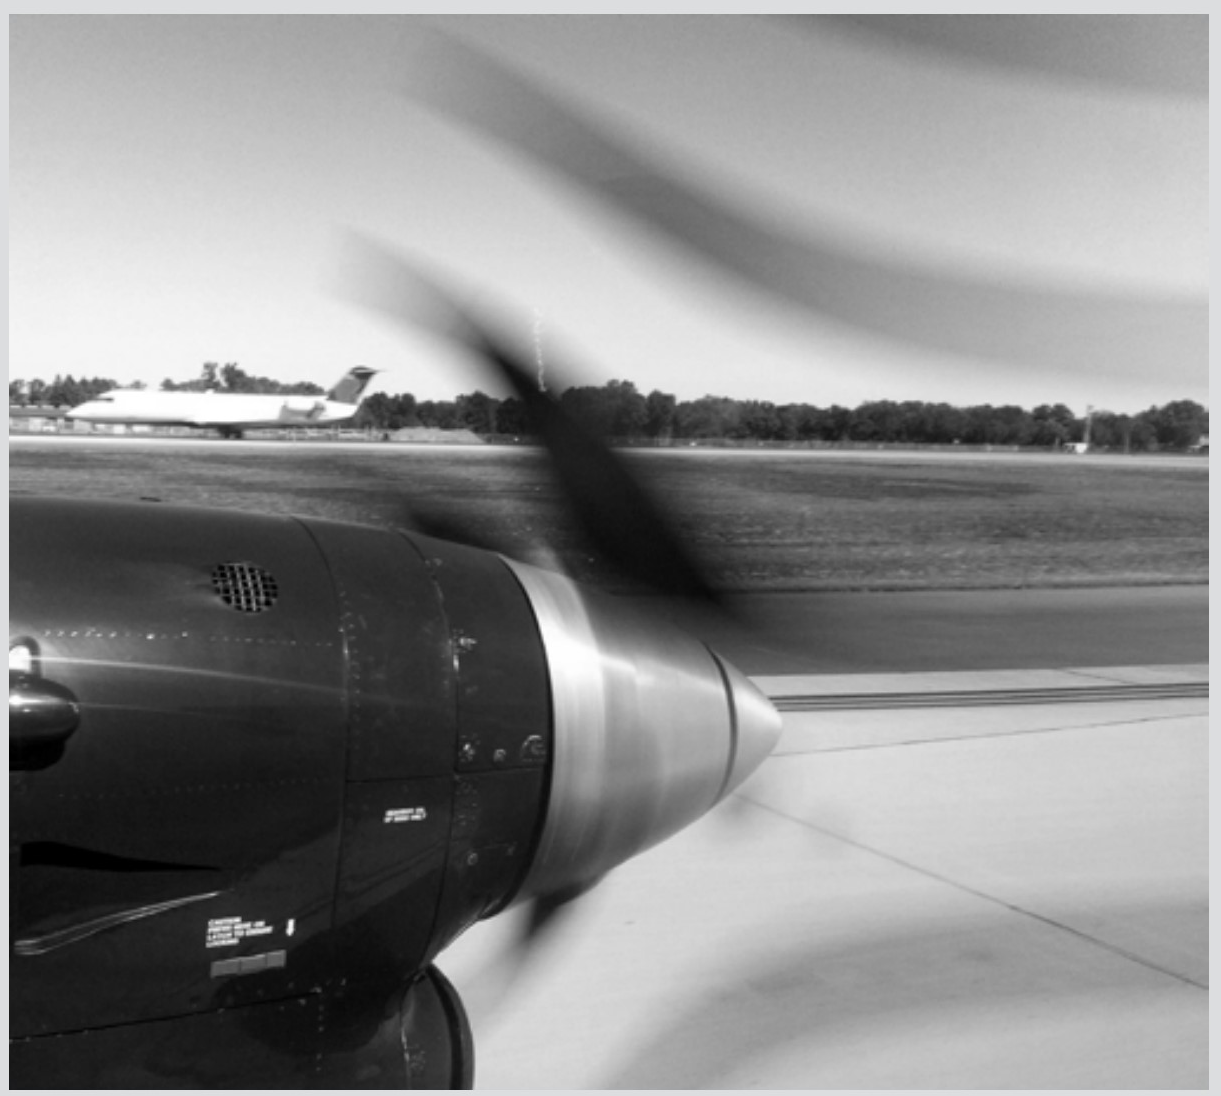
Shutter RollAt speeds higher than 1/125s the shutter does not actually open all the way. Instead, a slit moves across the sensor area, first exposing the top or bottom then moving its way across the sensor. With very rapid camera or subject movements, this causes distortion in the image, and can be seen as tilted, curved or disjointed objects. This is shutter roll. Instead of a shutter, some cameras (most notably cellphone cameras) activate the sensor for recording when you take the picture. Sensors don’t take in the entire image in one go, but instead start recording at the top or bottom, then record in strips, just like a physical shutter. So, this shutter roll is even present with these systems. Chances are good that you will never see this effect, since the movement has to be very rapid to show up and irregular shaped objects (such as a person running) do not readily show the distortion.
One would hope that shutter roll is causing the propeller to appear to come apart. |
This is the way you can get exposures that are very long, such as those needed for photographing at night. But beware, remember that doubling or halving shutter speeds adds or subtracts a stop of light. So, if you have an exposure that is four hours long, one stop more light would be a full eight hours!
|
A range of slow shutter speeds in minutes (m) and seconds (s). Most cameras have slow speeds that extend to 30 seconds. For longer exposures use the ‘B’ setting. |
Short Shutter Speeds
Very short shutter speeds, such as 1/1000s, are very good for stopping motion with very little or no motion blur in the image, even with fast-moving subjects. However, they are not practical unless you have a lot of light to begin with, such as on a sunny day. In lower light you can use shorter shutter speeds if you have a higher ISO set—if your quality needs can accommodate the increase in noise.
Bulb?Why is it called bulb? It could be that early flashes required you to hold down the shutter, but this was in the age of flash powder, not after flash-bulbs came out. It could also be that remote releases were pneumatic, so squeezing a bulb pushed air through a long tube which was connected to the shutter. Most likely the B in Bulb actually came from the German word Beliebig zeit which means any time. Older cameras often have a ‘T’ setting, which opens the shutter with one push and closes it with a second push or film wind. It seems pretty clear that the T stands for Time. |
Motion Blur
When your image has something in the frame that is blurry from movement it is called motion blur. Don’t confuse this type of blur with the blur of something out of focus.
|
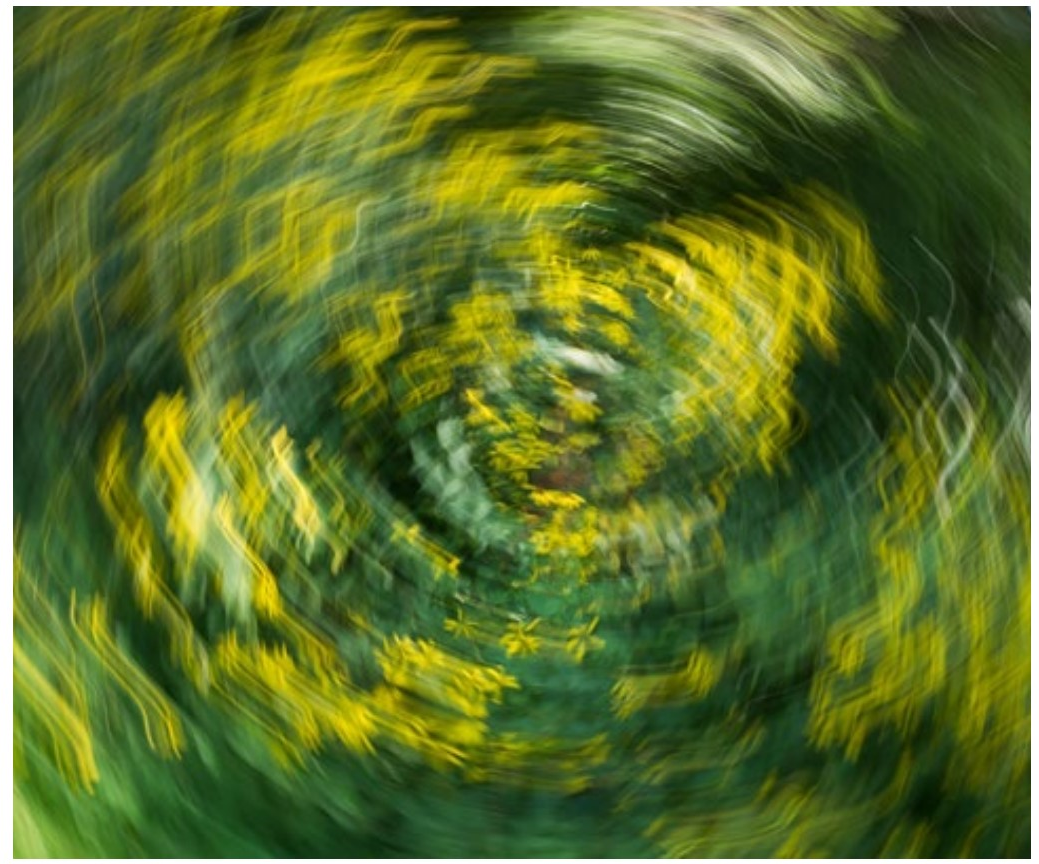
Flowers blurred by rotating the camera during a one second exposure. Motion blur can sometimes be confused with the blur from being out of focus, but not with this example. |
Motion blur can either be because of movement of the camera or of the subject. In either case, the image projected onto the sensor moves during the time the shutter is open.
Camera Movement
The degree of motion blur you have is dependent on several factors. Camera movement that causes blurry images is also called camera shake, since the shakiness of hands holding the camera is the most likely cause. This can be influenced by how much coffee you have had, your natural shakiness, and how you hold the camera (covered in the Basic Camera chapter).
The focal length of your lens can also influence the blur from camera movement. A telephoto lens will not only enlarge the subject but also enlarge any small movements of the camera.
The lowest shutter speed you should attempt without a camera support is the shutter speed that matches the focal length setting of your lens. So, with your lens set to 50mm you are generally fairly safe with 1/60s. With a 100mm setting you are fairly safe with 1/125s.
While the relationships of these numbers holds true, different people will get different mileage (and have different expectations), so the best way to find out the slowest speed you can hand hold your camera is to experiment and be aware.
|
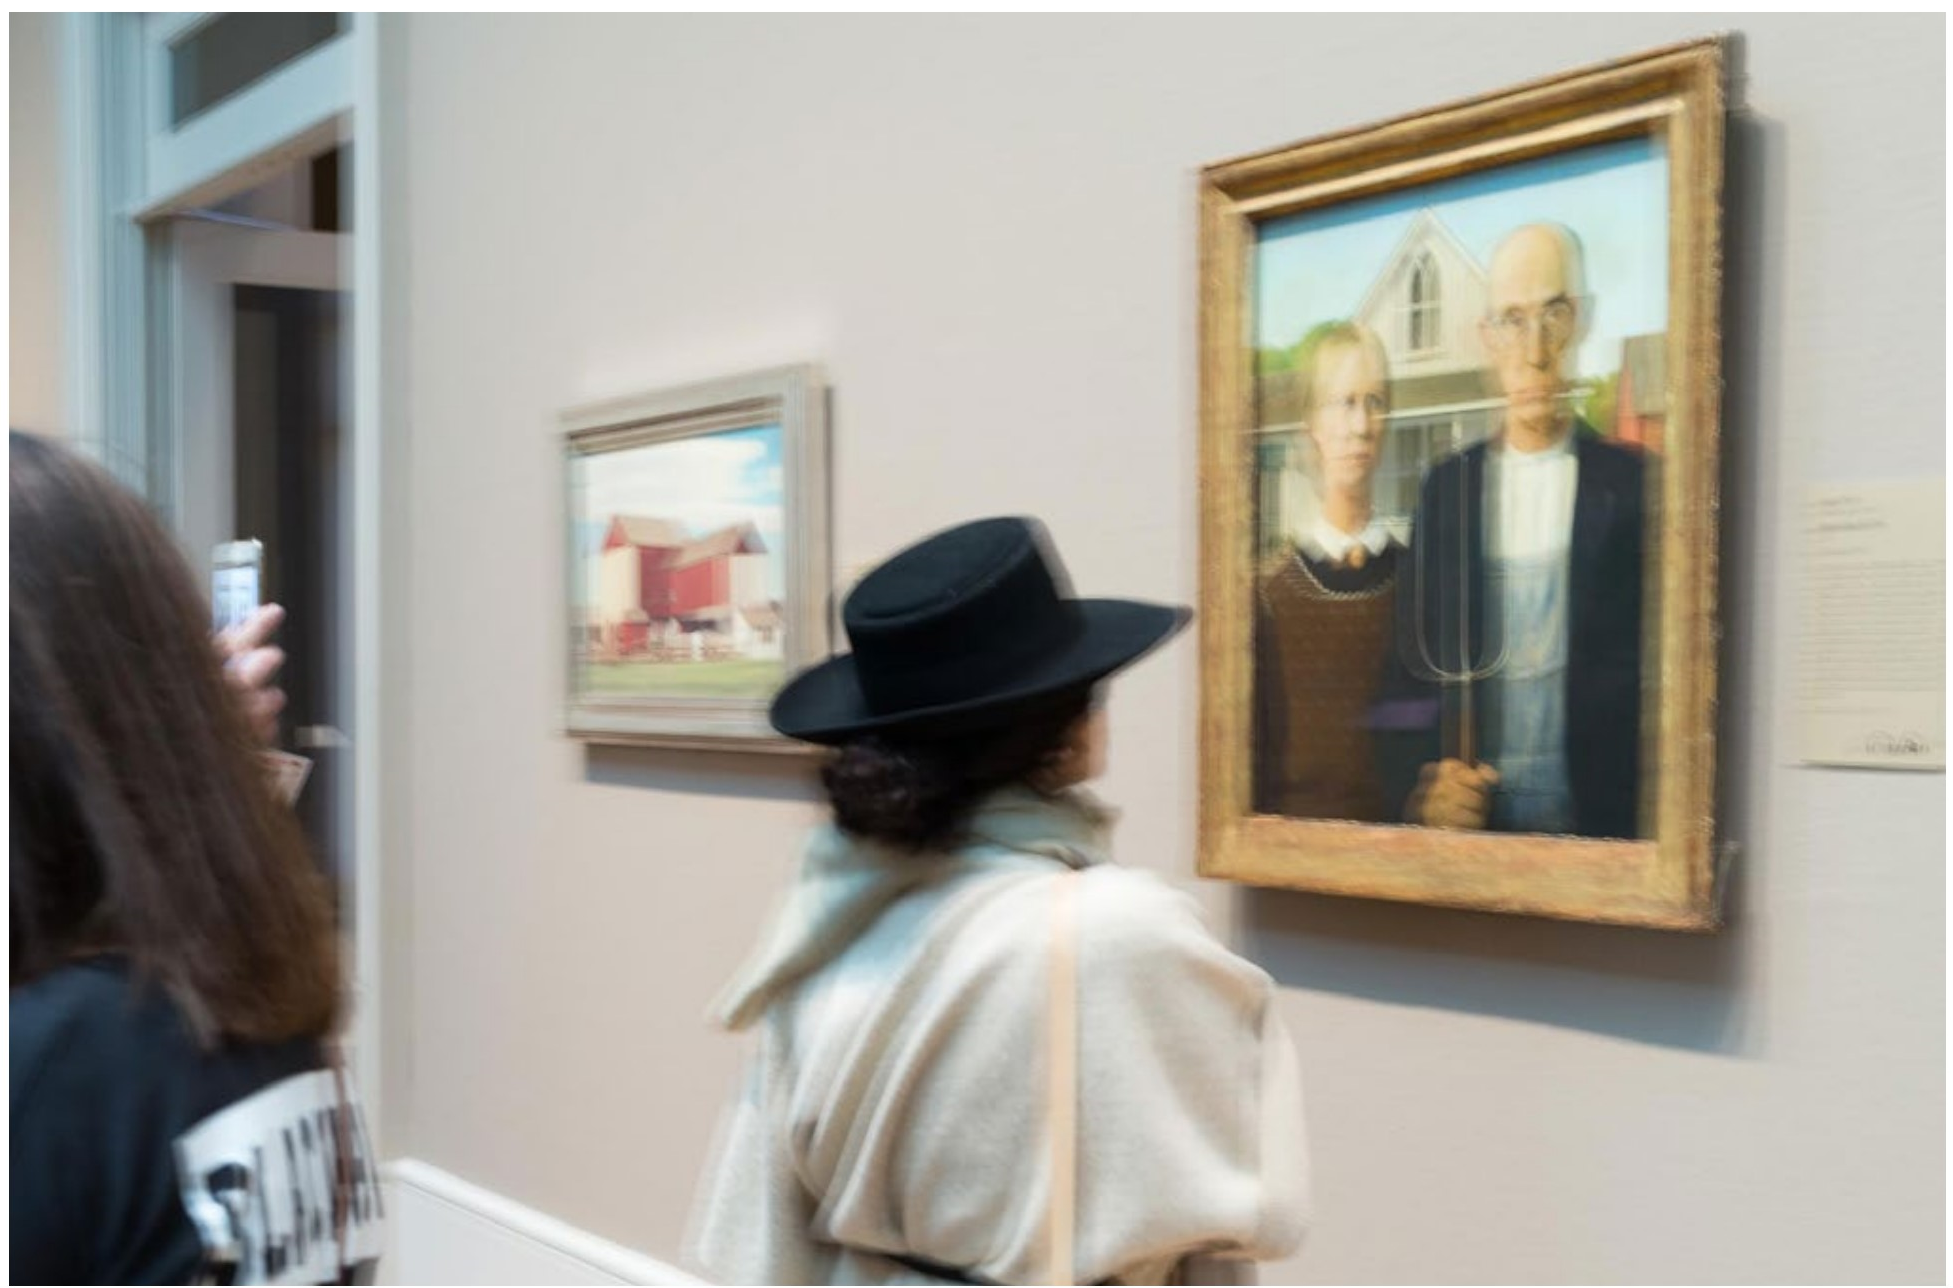
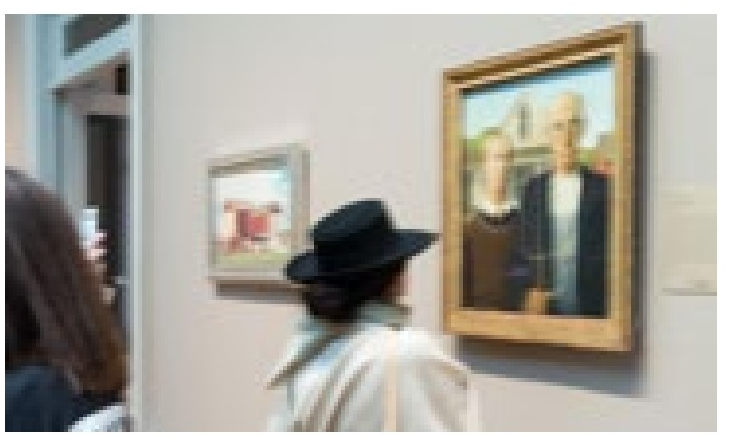
Since the paintings are not moving, it is obvious that the blur in this image is from camera movement.
In this image you can also see the direction of the movement of the camera from the blur direction. Notice how the size of your image can determine how much any blur (motion or focus blur) is noticeable. It is always a good idea to check your camera’s review image enlarged as much as possible (see camera instructions) to see if there is blur in an image. |
As discussed before, many cameras also have image stabilization (vibration reduction or whatever they call it). This mechanism cancels out camera movement to some extent. Many manufacturers claim that this allows you to take hand held photographs at a two or three stop slower speed while still maintaining camera stability. These claims are fairly reliable, and often with a wide angle lens you can take photographs as slow as 1/8s and avoid blur from camera movement.
Subject Movement
Even the best image stabilization mechanism on a camera will not hold the subject still, however. When there is blur in the image that comes from the subject moving, it is called subject movement. Of course.
What really matters with subject movement is the relative motion of the subject, or the amount the image moves on the sensor during the exposure. So, if you are in a car traveling at seventy miles an hour, and you take a picture of someone else in the car, the actual motion is great (seventy miles per hour), but the relative motion between you and the subject is small. If, however, you are standing on the side of the road and the person in the car goes close by you at seventy miles per hour, the relative motion is great, and a picture of them will have motion blur.
In the first instance, the projection of the person in the car stayed in the same place on the sensor. In the second instance, that image is moving rapidly across the sensor.
The concept of relative motion also holds true for things that are moving towards the camera, which have much less relative motion than things moving across the field of view. Think of that little image on the sensor and what is happening to it during the fraction of a second it is being exposed. Relative motion is pretty easy to predict, because it is the same motion that you see in the viewfinder.
|
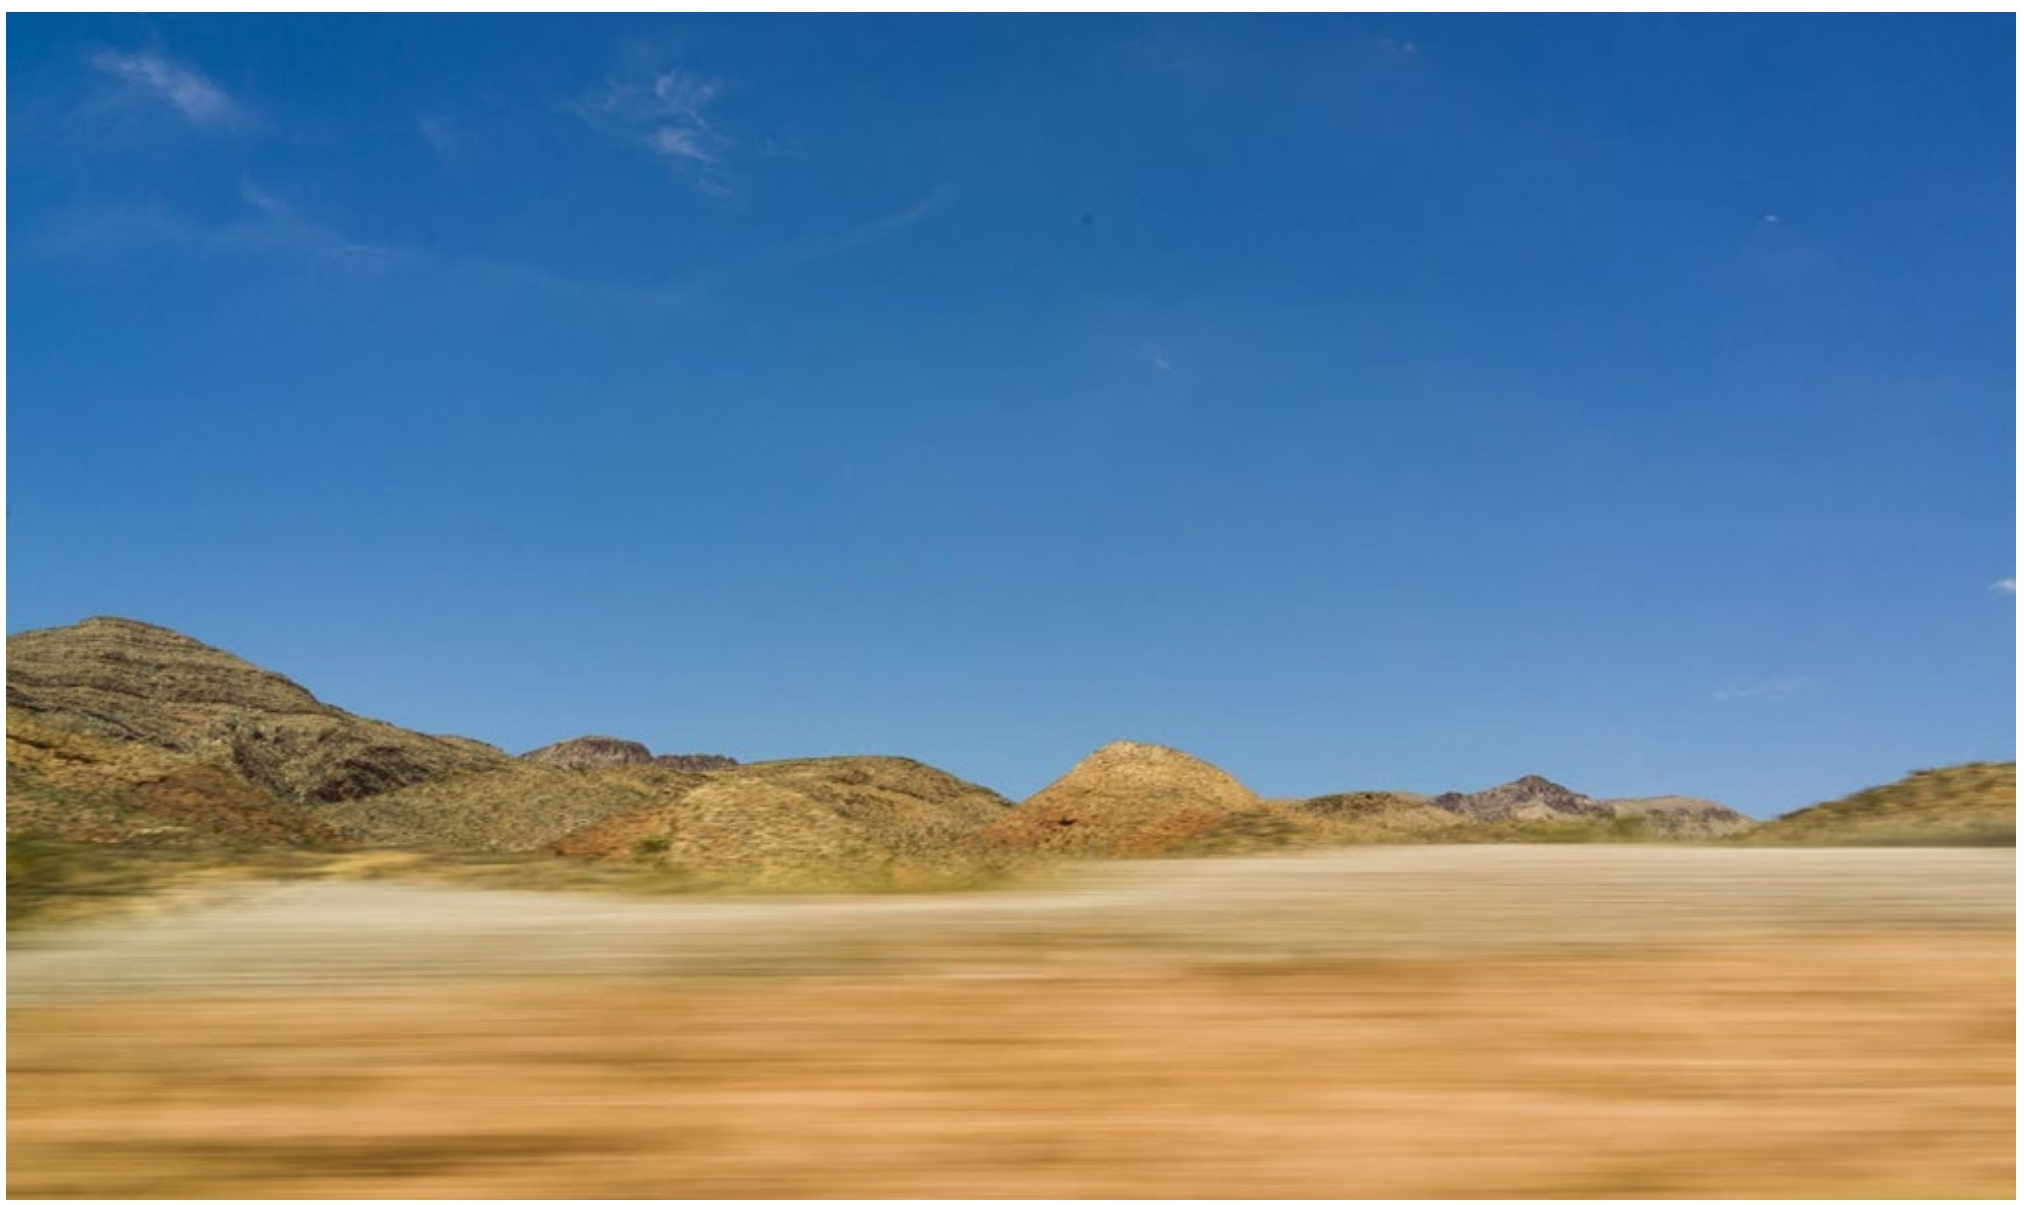
The desert from a car at highway speed. Nearer things have more relative motion (motion on the sensor), and so are blurred more. Relative motion is why the moon appears to be following you as you drive at night. |
Dizzy?The spot you are at now is spinning at up to 1,000 mph. And it is moving around the sun at 67,000 mph. Be thankful for relative motion. |
RELATIVE MOTION
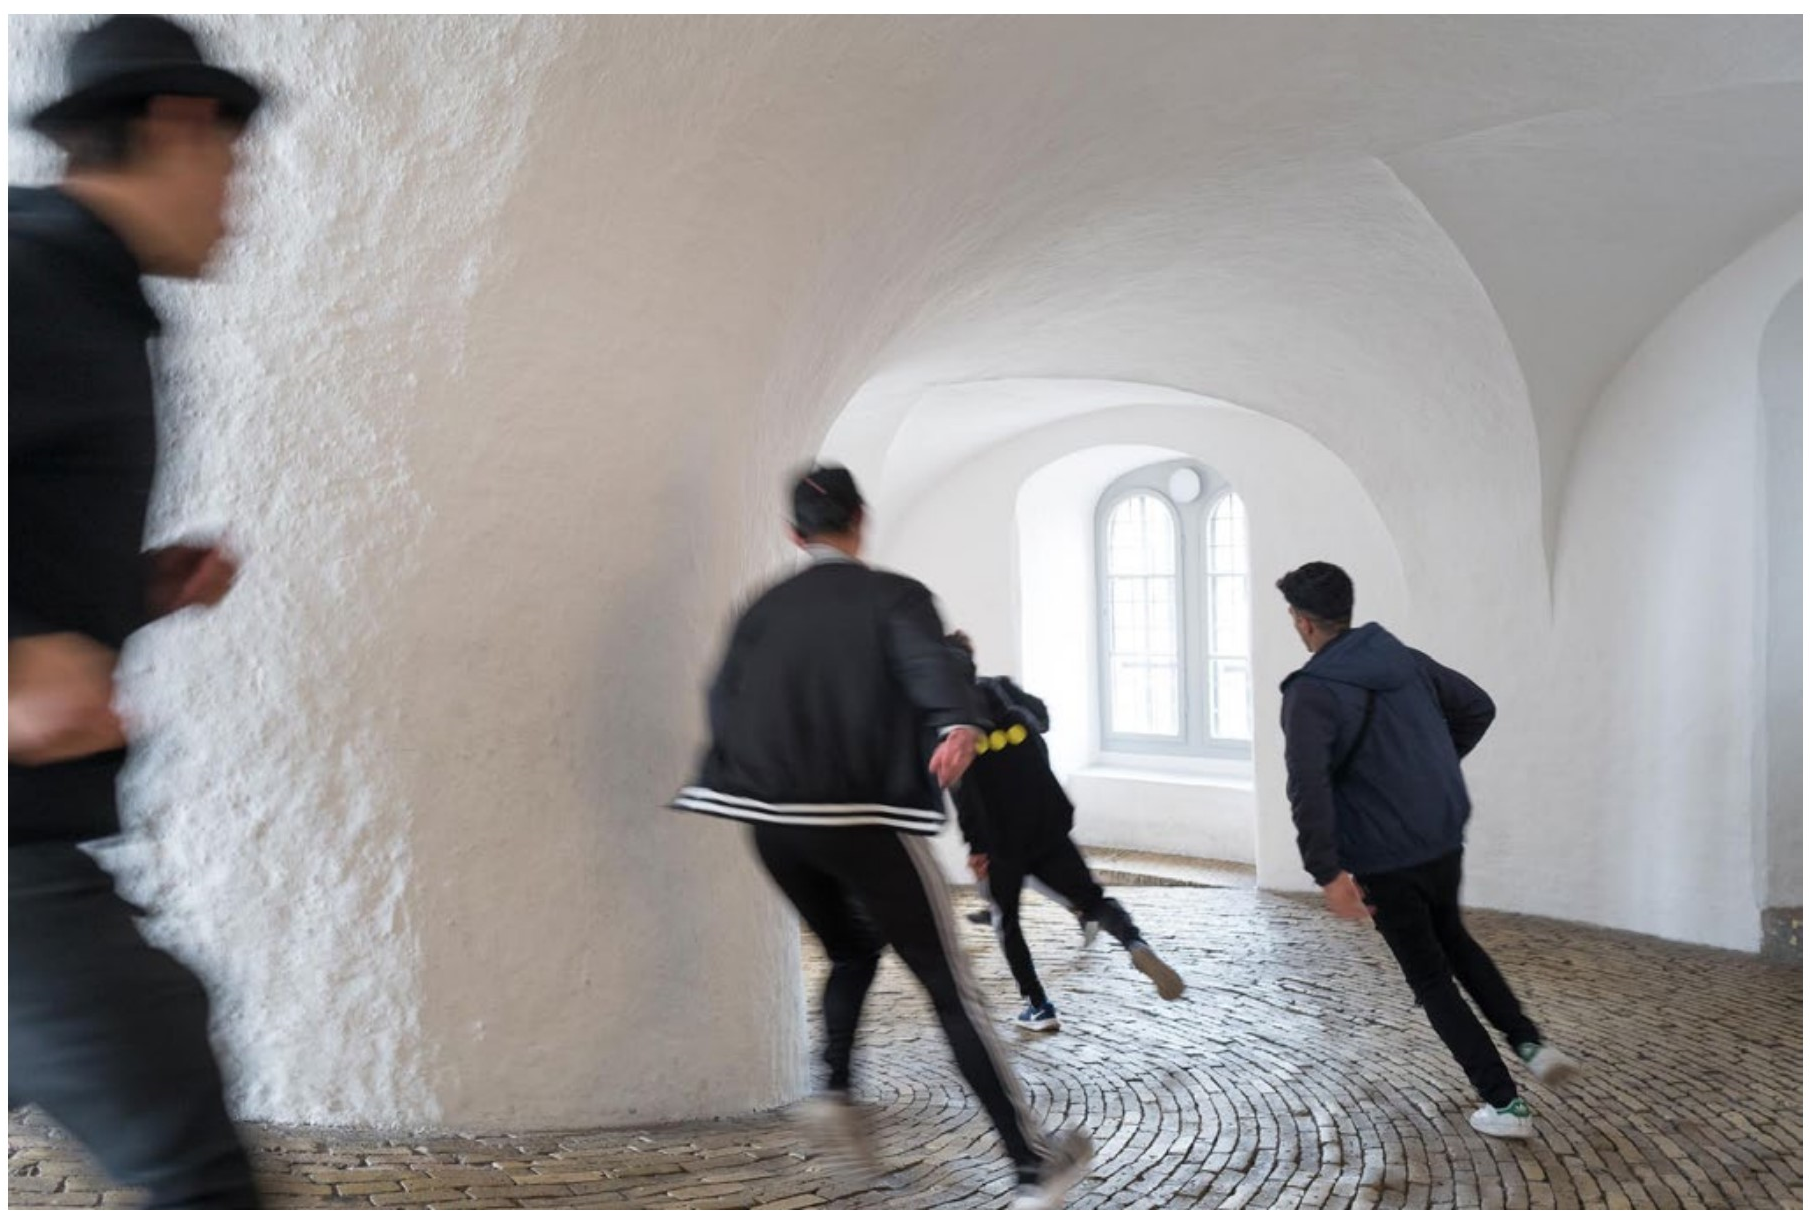
LEFT All these runners are running at approximately the same speed. The runner on the left is both closer to the camera and moving across the field of vision. Since the relative motion is great he is very blurry. BOTTOM There are varying amounts of motion blur in this image, depending on the amount and direction of the motion of the person. It is sometimes impossible to predict the amount of blur that will be present in an image, so experimenting while shooting is important.
|
Panning
So far in this discussion motion blur has been treated as something to be avoided, but actually it can be desirable in many situations.
For example, if you are taking a picture of a friend running by you at a fast shutter speed, they can look quite slow or even unnatural if you stop all movement. Instead, you could use a slower shutter speed and blur the background with motion.
The way you do this is to keep the runner fairly motionless in the viewfinder by following them with the camera aim as they run past. When you take the image, the relative motion between them and the sensor is small, since you are following them with your aim, but the relative motion of the background is great. This is called panning with the subject.
There are many other instances where freezing the motion in a photograph can suck all the life out of it. The point is to control the motion.
|
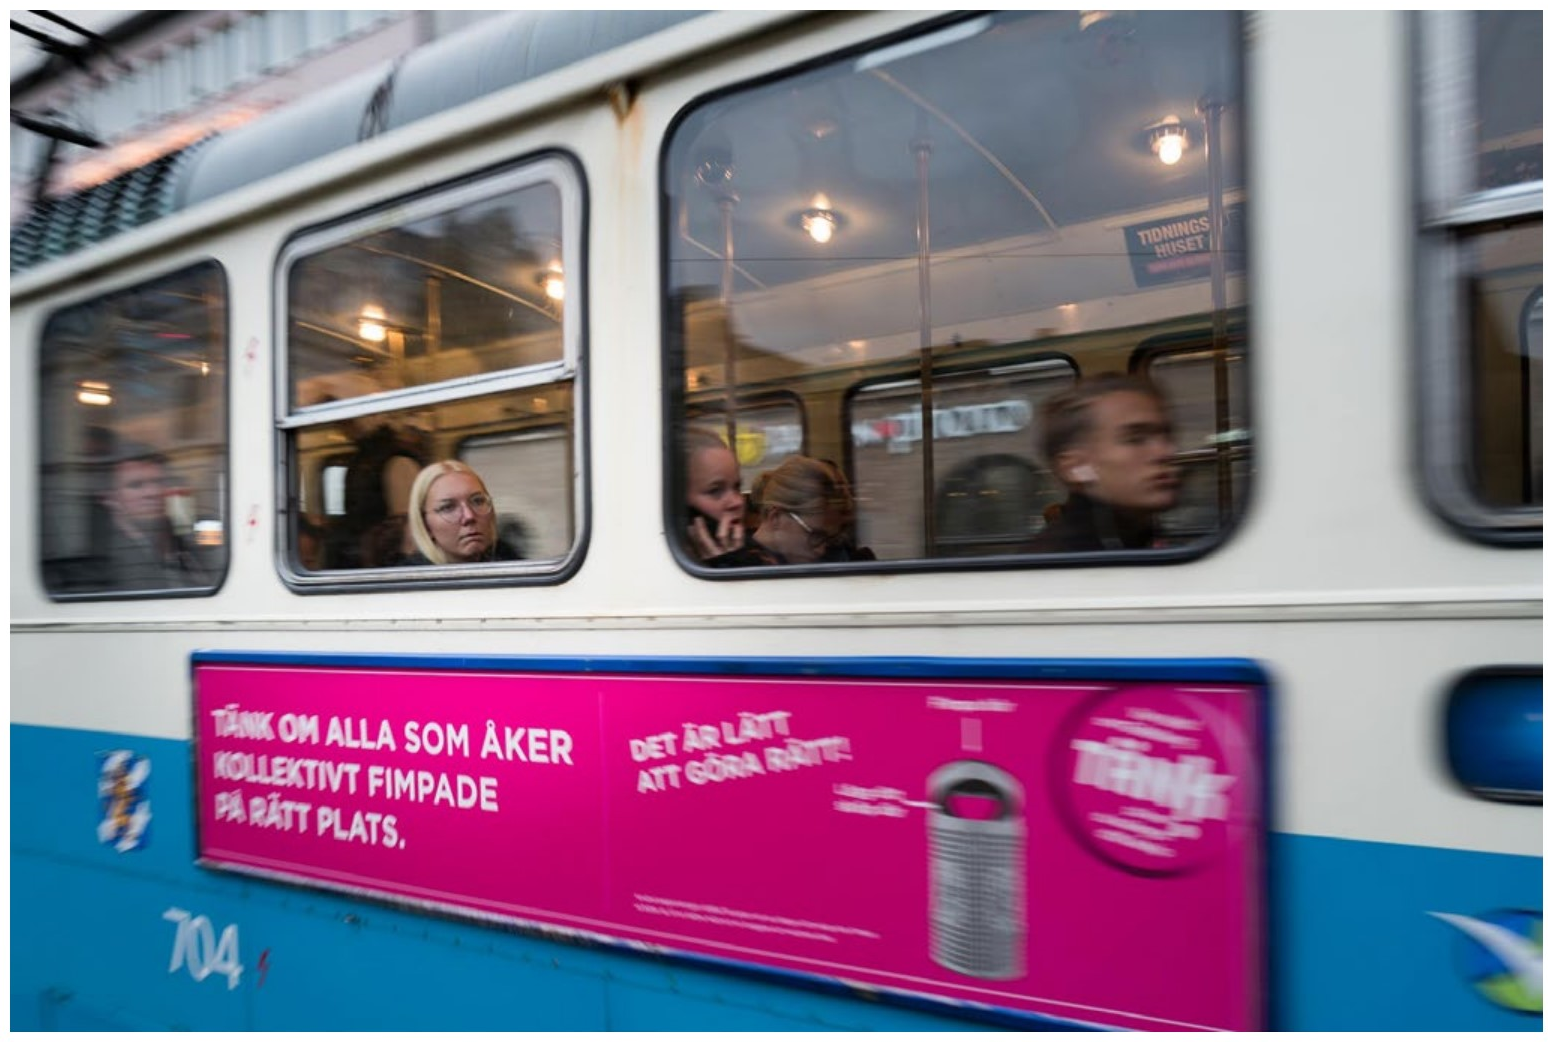
ABOVE In this example of panning, the camera aim was kept on the woman looking out the window while the shutter was pressed. LEFT The camera was in a boat going past the boat in the image. The camera’s aim was kept on the center of the movement (the boat).
|
Choosing the Shutter Speed
When you chose the aperture while on the P setting, you noticed that your shutter speed also changed to keep the total amount of light constant. When you are changing the shutter speed, you do the exact same thing in P mode—but now you are paying attention to the shutter speed instead of the aperture.
As with aperture, there is also a setting that allows you to set a shutter speed so that you do not have to reset it after each picture. On the main dial this is either labeled S or TV (Shutter speed or Time Value). With this mode selected, set the shutter speed where you want it and the camera will automatically set the aperture to compensate for the amount of light available.
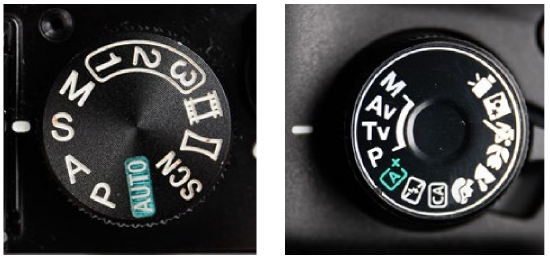
When you set the shutter speed like this, the camera has a limited range of apertures from which to select. If it cannot find a suitable aperture the exposure setting will blink (or somehow signal you are out of the aperture range) and your photographs will be too dark or too light.
|
Hannah Kilburg. If things are moving in a scene, the shutter speed becomes very important. |
FiltersDark filters placed over the lens are called neutral density filters, and their strength is measured in stops. These allow you to use slower shutter speeds in bright light. Polarizing filters also limit light. More importantly, they also eliminate some reflections on things like glass and darken parts of a blue sky. Different kinds of filters allow you to do such things as soften the focus, change the color and tone of one area (like the sky), get closer images, or turn highlights into star-shapes. There are many photography accessories that can separate you from your money. B & H Photo is helpful in this regard. |
For example, if you try to take photographs on a sunny day at 1/8s, your aperture might need to stop down to f128. Common lenses do not stop down that far, so your camera would use the smallest aperture, but it can’t go far enough. Hence, the image will be overexposed—unless your camera is set to override your selected shutter speed in this situation.
Speed & Aperture Together
Program mode is a very versatile setting because it allows for easy control of both the shutter speed and aperture. Turning the main wheel can give you more or less depth of field or more or less motion blur. And yes, one always affects the other.
Sometimes using A (Av) or S (Tv) will be more convenient than the P mode. Each of these three modes will take the exact same picture, but each will allow you to control the shutter speed and f-stop differently. Experiment with this. Personally, I find that with one camera I frequently use I almost always use the P mode, and on another camera I use the A (Av) mode. Whatever setting works best for you is the best setting!
|
Shutter Speeds of ‘200, ‘4, 1s. Notice that although the f-stops must have changed to compensate for exposure, depth of field is not an issue. Even at a large aperture everything would be in focus since all the elements in the scene lie at infinity. |
How Sharp?In general photography use, sharpness is a subjective term. The degree of sharpness is not only determined by focus, shutter speed and f-stop, but also on such things as the type of subject; the size of image and its viewing environment; and the viewer’s expectations (and eyesight!). |
ISO and Exposure
ISO, just as the amount of light available, influences the shutter speed and aperture you use. Higher ISOs will allow you to use shorter shutter speeds and/or smaller apertures.
Conversely, lower ISOs will allow you to use longer shutters speeds and/or larger apertures.
Which bring us back to the main exposure controls introduced in the Basic Camera chapter—shutter speed, aperture, and ISO. Adjusting all of these together is key to controlling the interpretation of a scene, and that is the subject of the next chapter.
Now Go Shoot
Changing your shutter speed, and hence the amount of possible blur is as easy as turning a dial with your camera set on P or S (or Tv). Try the two modes in different situations with subjects moving at different speeds. In darker situations see how slow you can go before you get camera movement blur.
Try panning with a moving subject. Perhaps use a tripod and take photographs in dark situations with a moving subject.
How slow can your shutter speed be if you have a lot of light? How fast can it be with little light? How does changing your ISO help you get a faster shutter speed with low light? Try intentionally blurring things, even with camera movement.
Motion blur can either liven up an image or it can kill it.
EXPERIMENT
This is almost the same as what you did with the aperture experiment, only now you will be using the T or Tv setting on the mode dial to control movement blur.
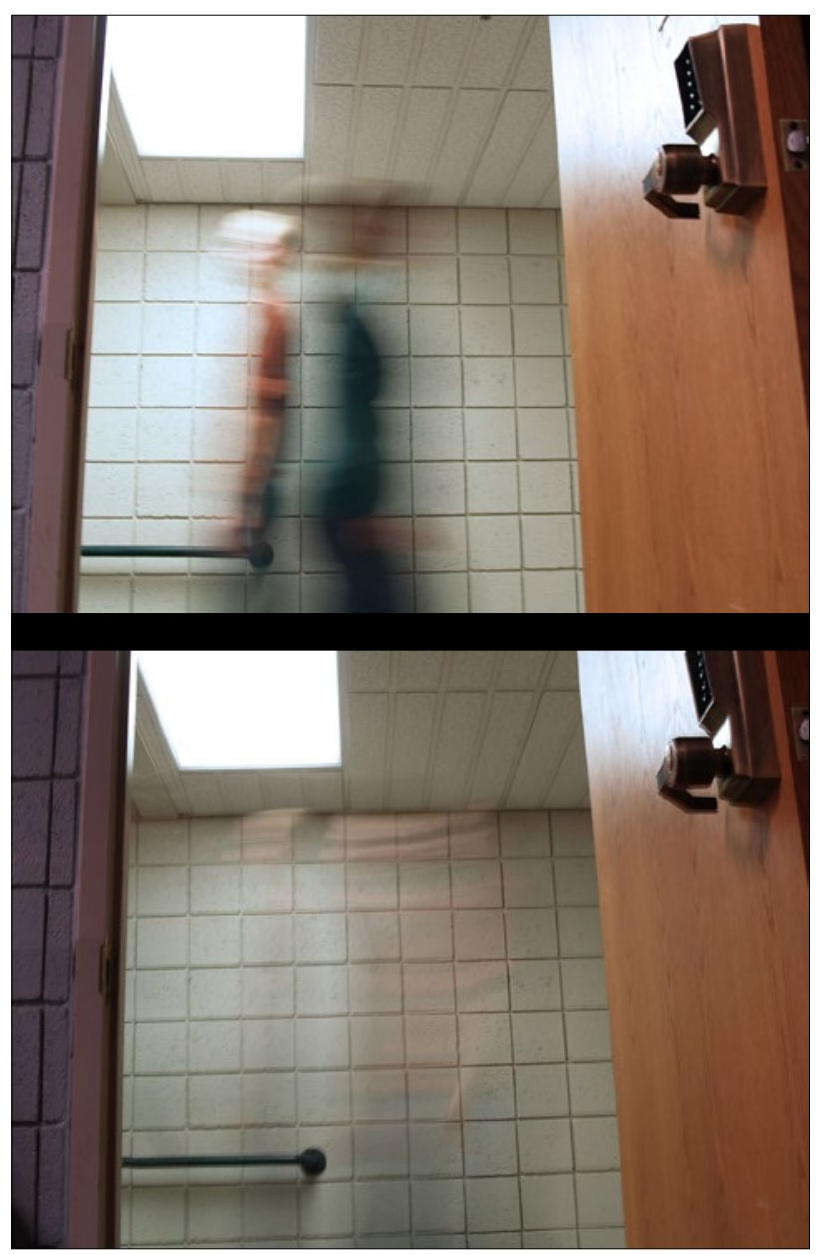
With two or more images, demonstrate using different shutter speeds to vary the motion blur of the subject. Use a constant motion source. Someone jumping is not constant—they speed up and slow down during the jump.
Do this experiment with the camera on a steady support. With a lot of light you will not be able to get a slow shutter speed, so it may be best to do it indoors or at least not in direct sunlight.
Your set(s) of images should have only one variable—shutter speed (although aperture will necessarily change). Keep all other things the same. They should also all be the same exposure—if some are lighter than others then something went wrong (make sure aperture number is not blinking). And do not confuse shutter speed with ISO—completely different things, although ISO will influence shutter speed.
|
James Blake, 1/2 second (top) and 2 second shutter speed comparison Having the people walk by at the same speed was important for this comparison. |
|
Bailey Meiklejohn, 1/10 second shutter speed and 1 second shutter speed |
|
Jordon Anderson, 1/30 second shutter speed and 1 second shutter speed |
Motion Questions
Twice or half the amount of light is referred to as what?
One stop less light than 1/8th of a second is what? One stop more light? At different shutter speeds?
shutter speeds in stops: ‘4 - ‘8 - ’15 - ’30 - ’60 - ‘125 - ‘250
What setting holds the shutter open for as long as the shutter button is held down?
What is the slowest shutter speed you can use to get sharp images with a 50mm lens without a tripod?
What do you need to use a very fast shutter speed such as ‘2000?
Motion blur can come from the subject movement. Where else can it come from?
Absolute motion is not a factor in subject blur. What kind of movement is a factor?
What is it called when you move the camera’s aim to follow a moving subject?
What camera setting on the mode dial would you use if your main concern was to stop motion?
Which setting besides aperture enables you to (indirectly) avoid blur in lower light?


