
7.2: 7CR LENS CORRECTIONS
- Page ID
- 92088
Lens Profile
All lenses have faults which Camera Raw can correct by simply telling the application which lens you are using.
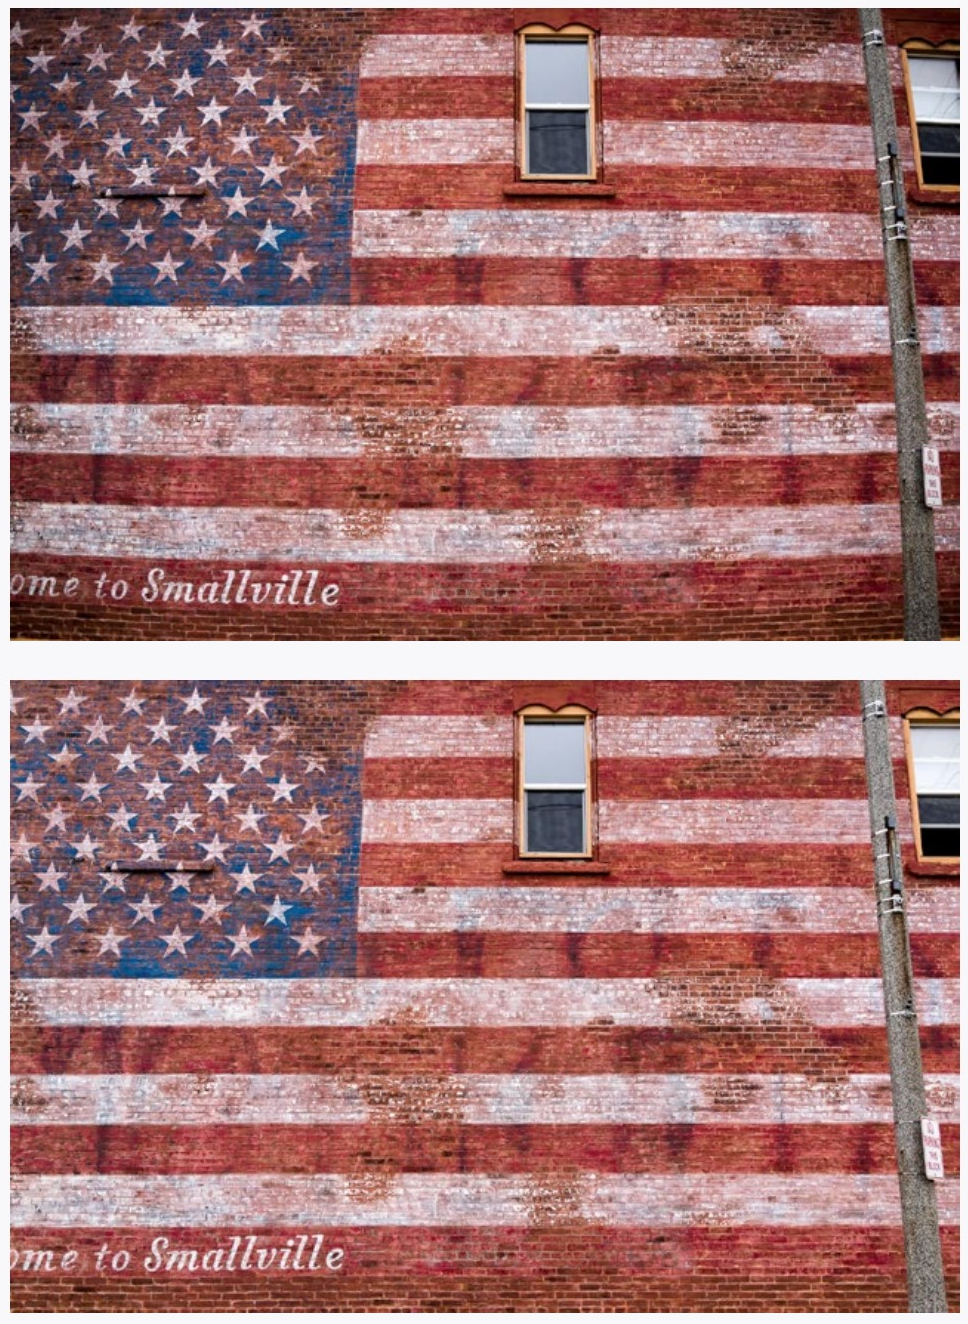
The first image below has parallel lines that bow out. This type of distortion, called barrel distortion, is common with wide angle lenses. The second image has this distortion corrected automatically by Camera Raw.
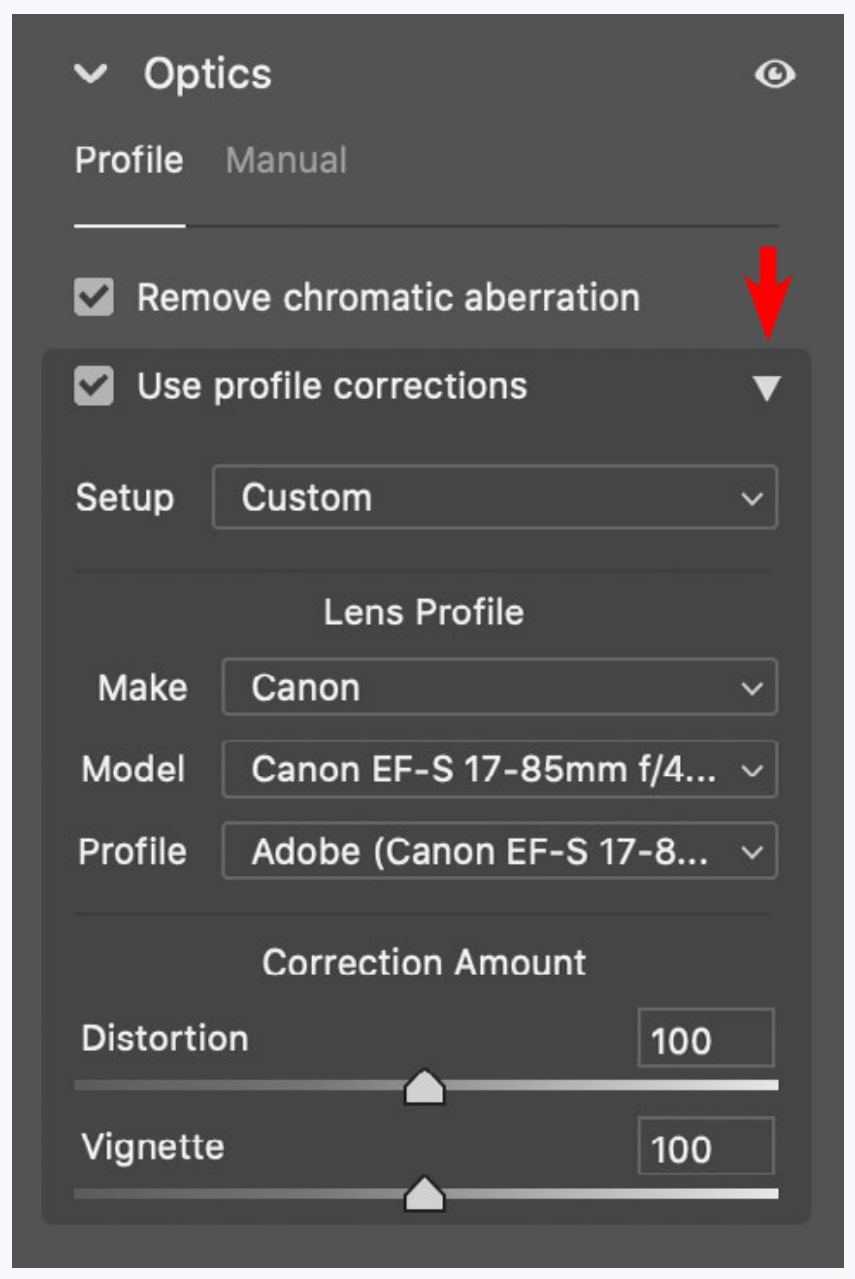
Go to the Optics panel to bring up the Lens Corrections panel, then choose Use Profile Corrections. With newer common cameras, Camera Raw will recognize
the camera/lens combination automatically.
Careful inspection of the images at left will reveal another difference. The first image has darker corners. This vignetting is mostly caused by the fact that the center of the sensor is closer to the lens, and therefore gets more light. Profile Corrections also corrects for this automatically.
If the corrections for distortion and vignetting are not quite right for your image, you can always further adjust them using the sliders at the bottom of the Lens Correction panel.
If your lens is not recognized by Camera Raw, there are two things you can do. First, look for a camera/lens combination in the drop-down menus that appear when you click the disclosure triangle (arrow). Select the lens that you have or one that may be close to what you have.
If there is no camera/lens combination close to what you have, you can manually adjust vignetting and distortion using the sliders under the Manual Tab near the top of the Optics panel. This tab also has color corrections which will be covered on the next page.
These lens corrections may not be necessary, and unless you take photographs of things like buildings, you may never need them. Applying them unnecessarily will not visibly degrade your image, so you can use them whenever you have doubts, although some vignetting can sometime be beneficial to an image.
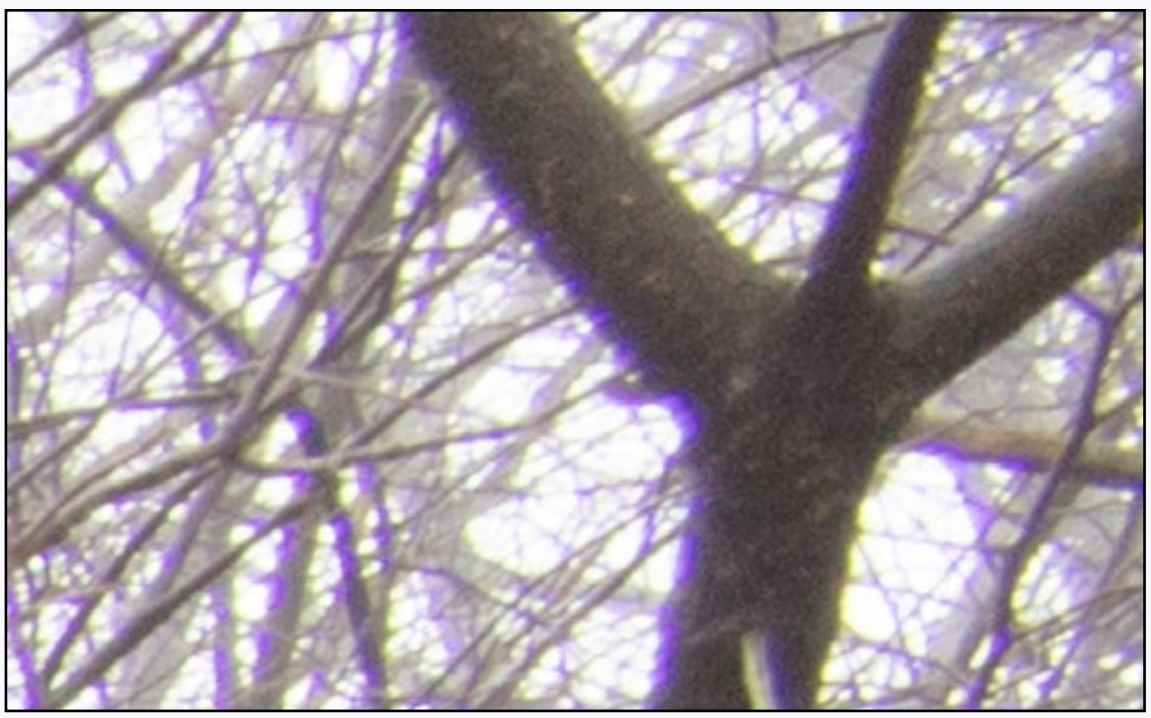
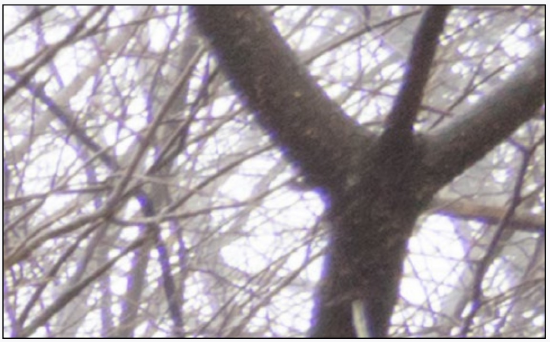
Near the corners of an image with high contrast there can be bands of color called chromatic aberration. It is often seen as a purple fringe around objects as you can see in the first image on the right. It may also show up as other colors, and many times one side of an object will show one color, and the other side a contrasting color.
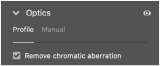
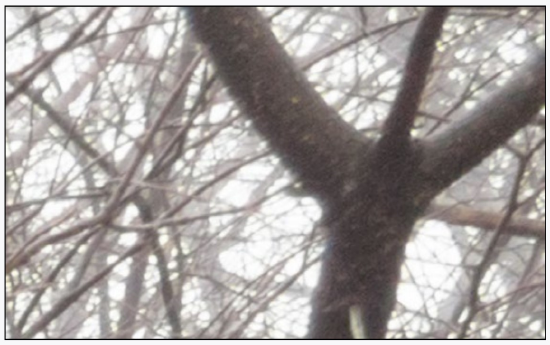
This is easily corrected in the Lens Corrections panel by activating Remove chromatic aberration (middle photograph on the right).
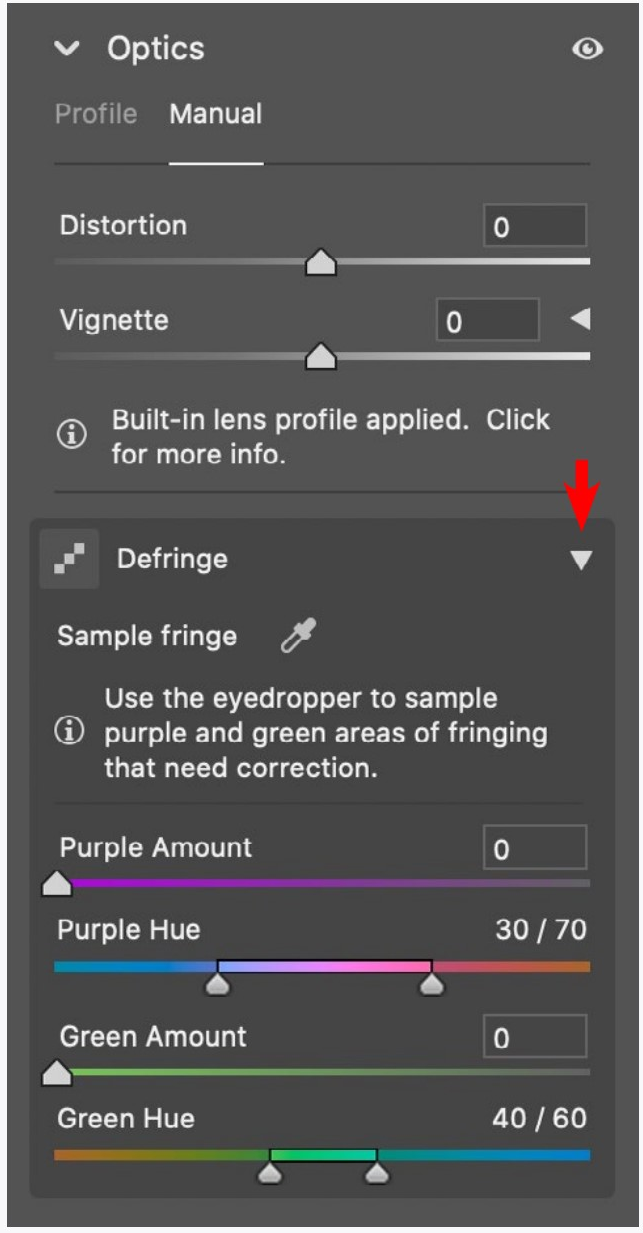
The Manual tab for the Lens Corrections panel lets you further remove the chromatic aberration (click on the disclosure triangle to get to these controls). This is how the remaining purple fringing was removed in the bottom image.
Generally, when manually correcting aberration, you can just slide the Purple or Green Amount. If you do need to tweak the Hue adjustments it will be obvious which range of colors to specify.
Be careful that you don’t also remove any important details that may be colored similarly to the fringe color.
Also notice that the Distortion and Vignetting controls on the Manual tab have a much greater range of adjustment than the ones on the Profile tab.
|
Original Image (detail) |
|
Lens profile with Remove Chromatic Aberration |
|
Lens profile with Defringe adjustment |
Imagine you buy a hex wrench at the hardware store. You may never need it. But then you have to take out a screw that has a funny-looking slot on it that a regular screwdriver won’t fit into. Suddenly you are very glad you bought it.
These techniques are a lot like hex wrenches. Some people need them often, some people will never need them. And some will only need them occasionally.
So, here I am taking you down the hex key aisle just in case you need it. These techniques don’t take practice, just an awareness of how they work and what they are good for.
LENS PROFILE
The first thing I do when importing images is apply profile corrections. It is easy to do, and at least with my cameras it not only straightens curved lines, but also lightens the edges to make the field of tonality even.
I suggest you at least try the profile corrections on a few images to see if it improves them (the strength of the effect depends on the lens used).
Try the manual corrections instead of or in addition to the profile corrections. The profile correction is not always perfect, and tweaking it with the manual corrections may be necessary.
If you take photographs of people you may never need these corrections. If you take architectural photographs you may always need them.
CHROMATIC ABERRATION
How much you need to correct for chromatic aberration really depends on how you take photographs. Like the lens profile corrections, you may never need this. At least try to find an area (near edges at 100% magnification) that needs correction in an image and apply the correction. That way you will remember it is there if you find you need it later.
CAN YOU...
Notice any curvature or vignetting inherent in your lens and correct for it by applying a lens profile?
Manually correct for curvature and vignetting both in the profile and manual panels?
Notice any chromatic aberration inherent in your lens and correct for it?