Chapter 4: The Adaptive Apparel Designer’s Guide to Creating a Mood or Inspiration Board
- Page ID
- 220806
\( \newcommand{\vecs}[1]{\overset { \scriptstyle \rightharpoonup} {\mathbf{#1}} } \)
\( \newcommand{\vecd}[1]{\overset{-\!-\!\rightharpoonup}{\vphantom{a}\smash {#1}}} \)
\( \newcommand{\dsum}{\displaystyle\sum\limits} \)
\( \newcommand{\dint}{\displaystyle\int\limits} \)
\( \newcommand{\dlim}{\displaystyle\lim\limits} \)
\( \newcommand{\id}{\mathrm{id}}\) \( \newcommand{\Span}{\mathrm{span}}\)
( \newcommand{\kernel}{\mathrm{null}\,}\) \( \newcommand{\range}{\mathrm{range}\,}\)
\( \newcommand{\RealPart}{\mathrm{Re}}\) \( \newcommand{\ImaginaryPart}{\mathrm{Im}}\)
\( \newcommand{\Argument}{\mathrm{Arg}}\) \( \newcommand{\norm}[1]{\| #1 \|}\)
\( \newcommand{\inner}[2]{\langle #1, #2 \rangle}\)
\( \newcommand{\Span}{\mathrm{span}}\)
\( \newcommand{\id}{\mathrm{id}}\)
\( \newcommand{\Span}{\mathrm{span}}\)
\( \newcommand{\kernel}{\mathrm{null}\,}\)
\( \newcommand{\range}{\mathrm{range}\,}\)
\( \newcommand{\RealPart}{\mathrm{Re}}\)
\( \newcommand{\ImaginaryPart}{\mathrm{Im}}\)
\( \newcommand{\Argument}{\mathrm{Arg}}\)
\( \newcommand{\norm}[1]{\| #1 \|}\)
\( \newcommand{\inner}[2]{\langle #1, #2 \rangle}\)
\( \newcommand{\Span}{\mathrm{span}}\) \( \newcommand{\AA}{\unicode[.8,0]{x212B}}\)
\( \newcommand{\vectorA}[1]{\vec{#1}} % arrow\)
\( \newcommand{\vectorAt}[1]{\vec{\text{#1}}} % arrow\)
\( \newcommand{\vectorB}[1]{\overset { \scriptstyle \rightharpoonup} {\mathbf{#1}} } \)
\( \newcommand{\vectorC}[1]{\textbf{#1}} \)
\( \newcommand{\vectorD}[1]{\overrightarrow{#1}} \)
\( \newcommand{\vectorDt}[1]{\overrightarrow{\text{#1}}} \)
\( \newcommand{\vectE}[1]{\overset{-\!-\!\rightharpoonup}{\vphantom{a}\smash{\mathbf {#1}}}} \)
\( \newcommand{\vecs}[1]{\overset { \scriptstyle \rightharpoonup} {\mathbf{#1}} } \)
\(\newcommand{\longvect}{\overrightarrow}\)
\( \newcommand{\vecd}[1]{\overset{-\!-\!\rightharpoonup}{\vphantom{a}\smash {#1}}} \)
\(\newcommand{\avec}{\mathbf a}\) \(\newcommand{\bvec}{\mathbf b}\) \(\newcommand{\cvec}{\mathbf c}\) \(\newcommand{\dvec}{\mathbf d}\) \(\newcommand{\dtil}{\widetilde{\mathbf d}}\) \(\newcommand{\evec}{\mathbf e}\) \(\newcommand{\fvec}{\mathbf f}\) \(\newcommand{\nvec}{\mathbf n}\) \(\newcommand{\pvec}{\mathbf p}\) \(\newcommand{\qvec}{\mathbf q}\) \(\newcommand{\svec}{\mathbf s}\) \(\newcommand{\tvec}{\mathbf t}\) \(\newcommand{\uvec}{\mathbf u}\) \(\newcommand{\vvec}{\mathbf v}\) \(\newcommand{\wvec}{\mathbf w}\) \(\newcommand{\xvec}{\mathbf x}\) \(\newcommand{\yvec}{\mathbf y}\) \(\newcommand{\zvec}{\mathbf z}\) \(\newcommand{\rvec}{\mathbf r}\) \(\newcommand{\mvec}{\mathbf m}\) \(\newcommand{\zerovec}{\mathbf 0}\) \(\newcommand{\onevec}{\mathbf 1}\) \(\newcommand{\real}{\mathbb R}\) \(\newcommand{\twovec}[2]{\left[\begin{array}{r}#1 \\ #2 \end{array}\right]}\) \(\newcommand{\ctwovec}[2]{\left[\begin{array}{c}#1 \\ #2 \end{array}\right]}\) \(\newcommand{\threevec}[3]{\left[\begin{array}{r}#1 \\ #2 \\ #3 \end{array}\right]}\) \(\newcommand{\cthreevec}[3]{\left[\begin{array}{c}#1 \\ #2 \\ #3 \end{array}\right]}\) \(\newcommand{\fourvec}[4]{\left[\begin{array}{r}#1 \\ #2 \\ #3 \\ #4 \end{array}\right]}\) \(\newcommand{\cfourvec}[4]{\left[\begin{array}{c}#1 \\ #2 \\ #3 \\ #4 \end{array}\right]}\) \(\newcommand{\fivevec}[5]{\left[\begin{array}{r}#1 \\ #2 \\ #3 \\ #4 \\ #5 \\ \end{array}\right]}\) \(\newcommand{\cfivevec}[5]{\left[\begin{array}{c}#1 \\ #2 \\ #3 \\ #4 \\ #5 \\ \end{array}\right]}\) \(\newcommand{\mattwo}[4]{\left[\begin{array}{rr}#1 \amp #2 \\ #3 \amp #4 \\ \end{array}\right]}\) \(\newcommand{\laspan}[1]{\text{Span}\{#1\}}\) \(\newcommand{\bcal}{\cal B}\) \(\newcommand{\ccal}{\cal C}\) \(\newcommand{\scal}{\cal S}\) \(\newcommand{\wcal}{\cal W}\) \(\newcommand{\ecal}{\cal E}\) \(\newcommand{\coords}[2]{\left\{#1\right\}_{#2}}\) \(\newcommand{\gray}[1]{\color{gray}{#1}}\) \(\newcommand{\lgray}[1]{\color{lightgray}{#1}}\) \(\newcommand{\rank}{\operatorname{rank}}\) \(\newcommand{\row}{\text{Row}}\) \(\newcommand{\col}{\text{Col}}\) \(\renewcommand{\row}{\text{Row}}\) \(\newcommand{\nul}{\text{Nul}}\) \(\newcommand{\var}{\text{Var}}\) \(\newcommand{\corr}{\text{corr}}\) \(\newcommand{\len}[1]{\left|#1\right|}\) \(\newcommand{\bbar}{\overline{\bvec}}\) \(\newcommand{\bhat}{\widehat{\bvec}}\) \(\newcommand{\bperp}{\bvec^\perp}\) \(\newcommand{\xhat}{\widehat{\xvec}}\) \(\newcommand{\vhat}{\widehat{\vvec}}\) \(\newcommand{\uhat}{\widehat{\uvec}}\) \(\newcommand{\what}{\widehat{\wvec}}\) \(\newcommand{\Sighat}{\widehat{\Sigma}}\) \(\newcommand{\lt}{<}\) \(\newcommand{\gt}{>}\) \(\newcommand{\amp}{&}\) \(\definecolor{fillinmathshade}{gray}{0.9}\)Chapter 4 covers development of mood or inspiration board for adaptive apparel projects. The chapter overviews how to use the resources provided in earlier chapters to create a visual reference point for the design process of selected concepts generated in the prior steps.
Brief overview of using the Mood or Inspiration Board in apparel design
A mood board, or inspiration board, is a visual that helps to inform and guide apparel design and sketch refinement before shifting into pattern work. The mood or inspiration board (or set of boards) are a visual culmination of the research and experimentation conducted in prior stages of the apparel design process. Some items included in a mood/inspiration board may include inspiration images, textile swatches and trims, color direction, typography, and any other images or objects that help visually communicate the essence of the design or collection. The mood/inspiration board(s) provide continual reminder for the designer of the design direction and help to keep the designer focused when refining their design ideas.
Mood/inspiration board can be crafted physically through finding images and adhering them onto a board, such as a foam core board, mat board, trifold, or wall-mounted cork board, depending on your resources, space available, and long-term needs of the boards, using a ‘collage’ approach. These boards can also be created digitally using software and digital images and other digital resources. Lastly, these boards can be created using a mix of tools, both digital and physical in a mixed-medium approach. No matter what approach a designer uses to create a mood/inspiration board, the end purpose is the same – to provide visual direction for their design(s).
Examples of a mood boards
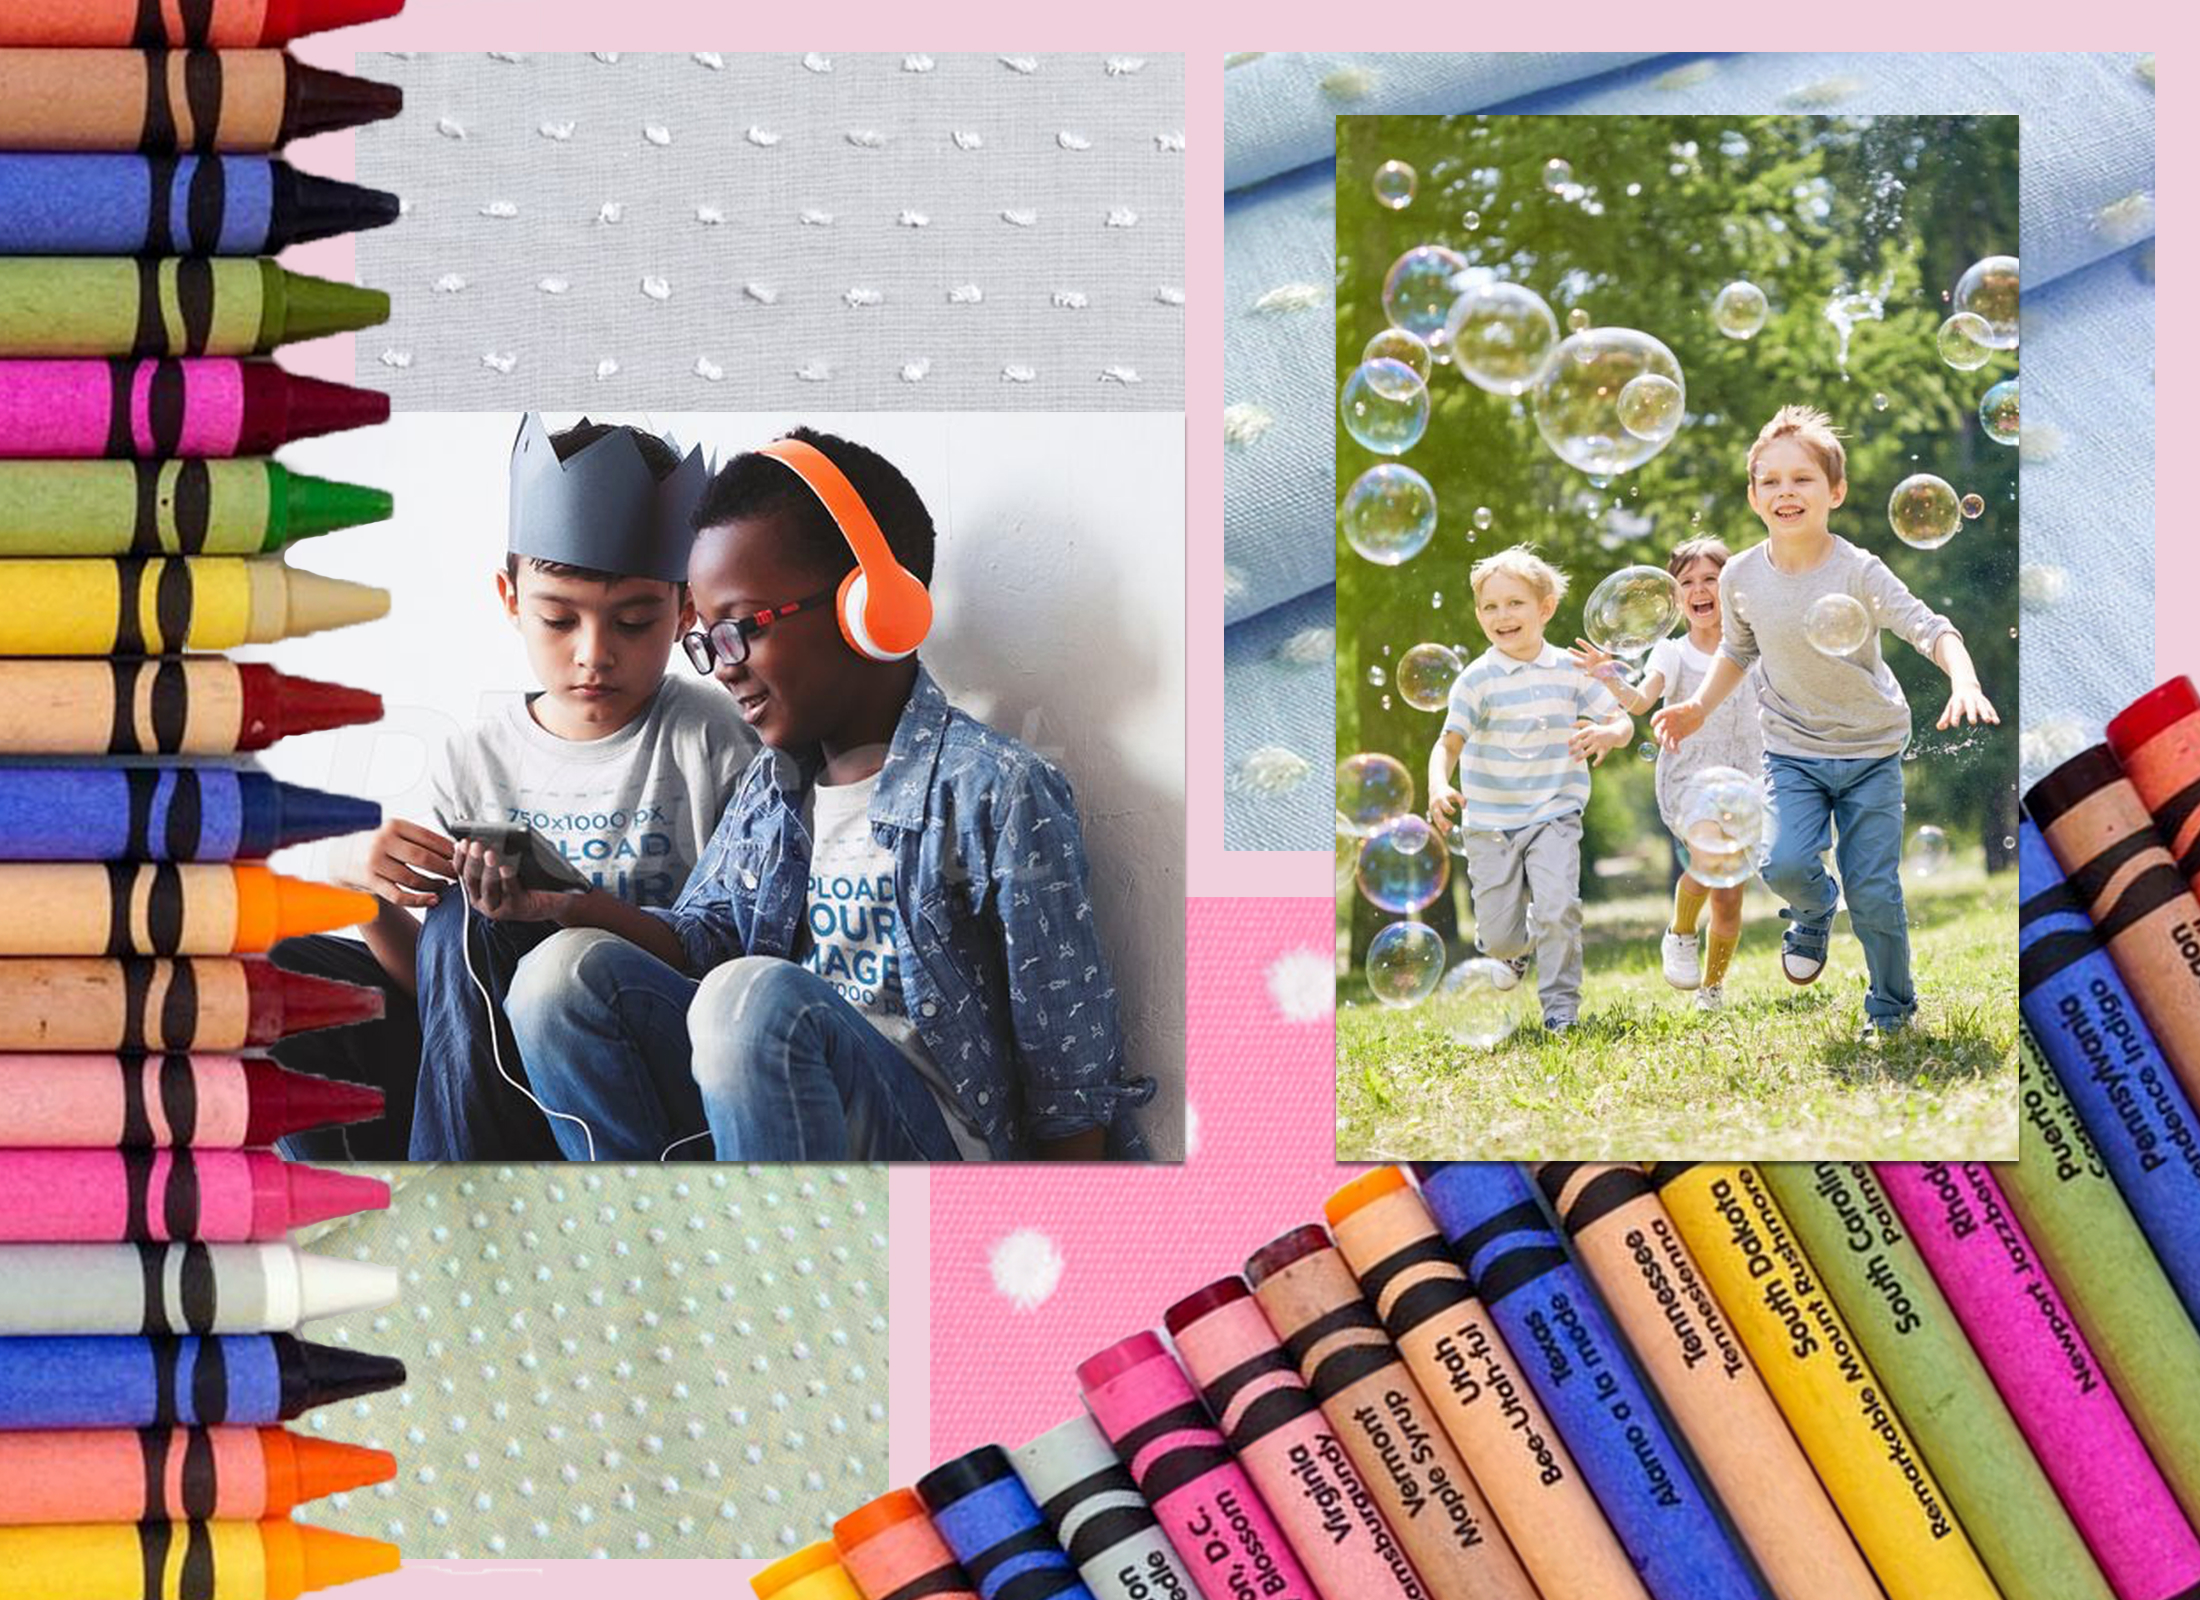
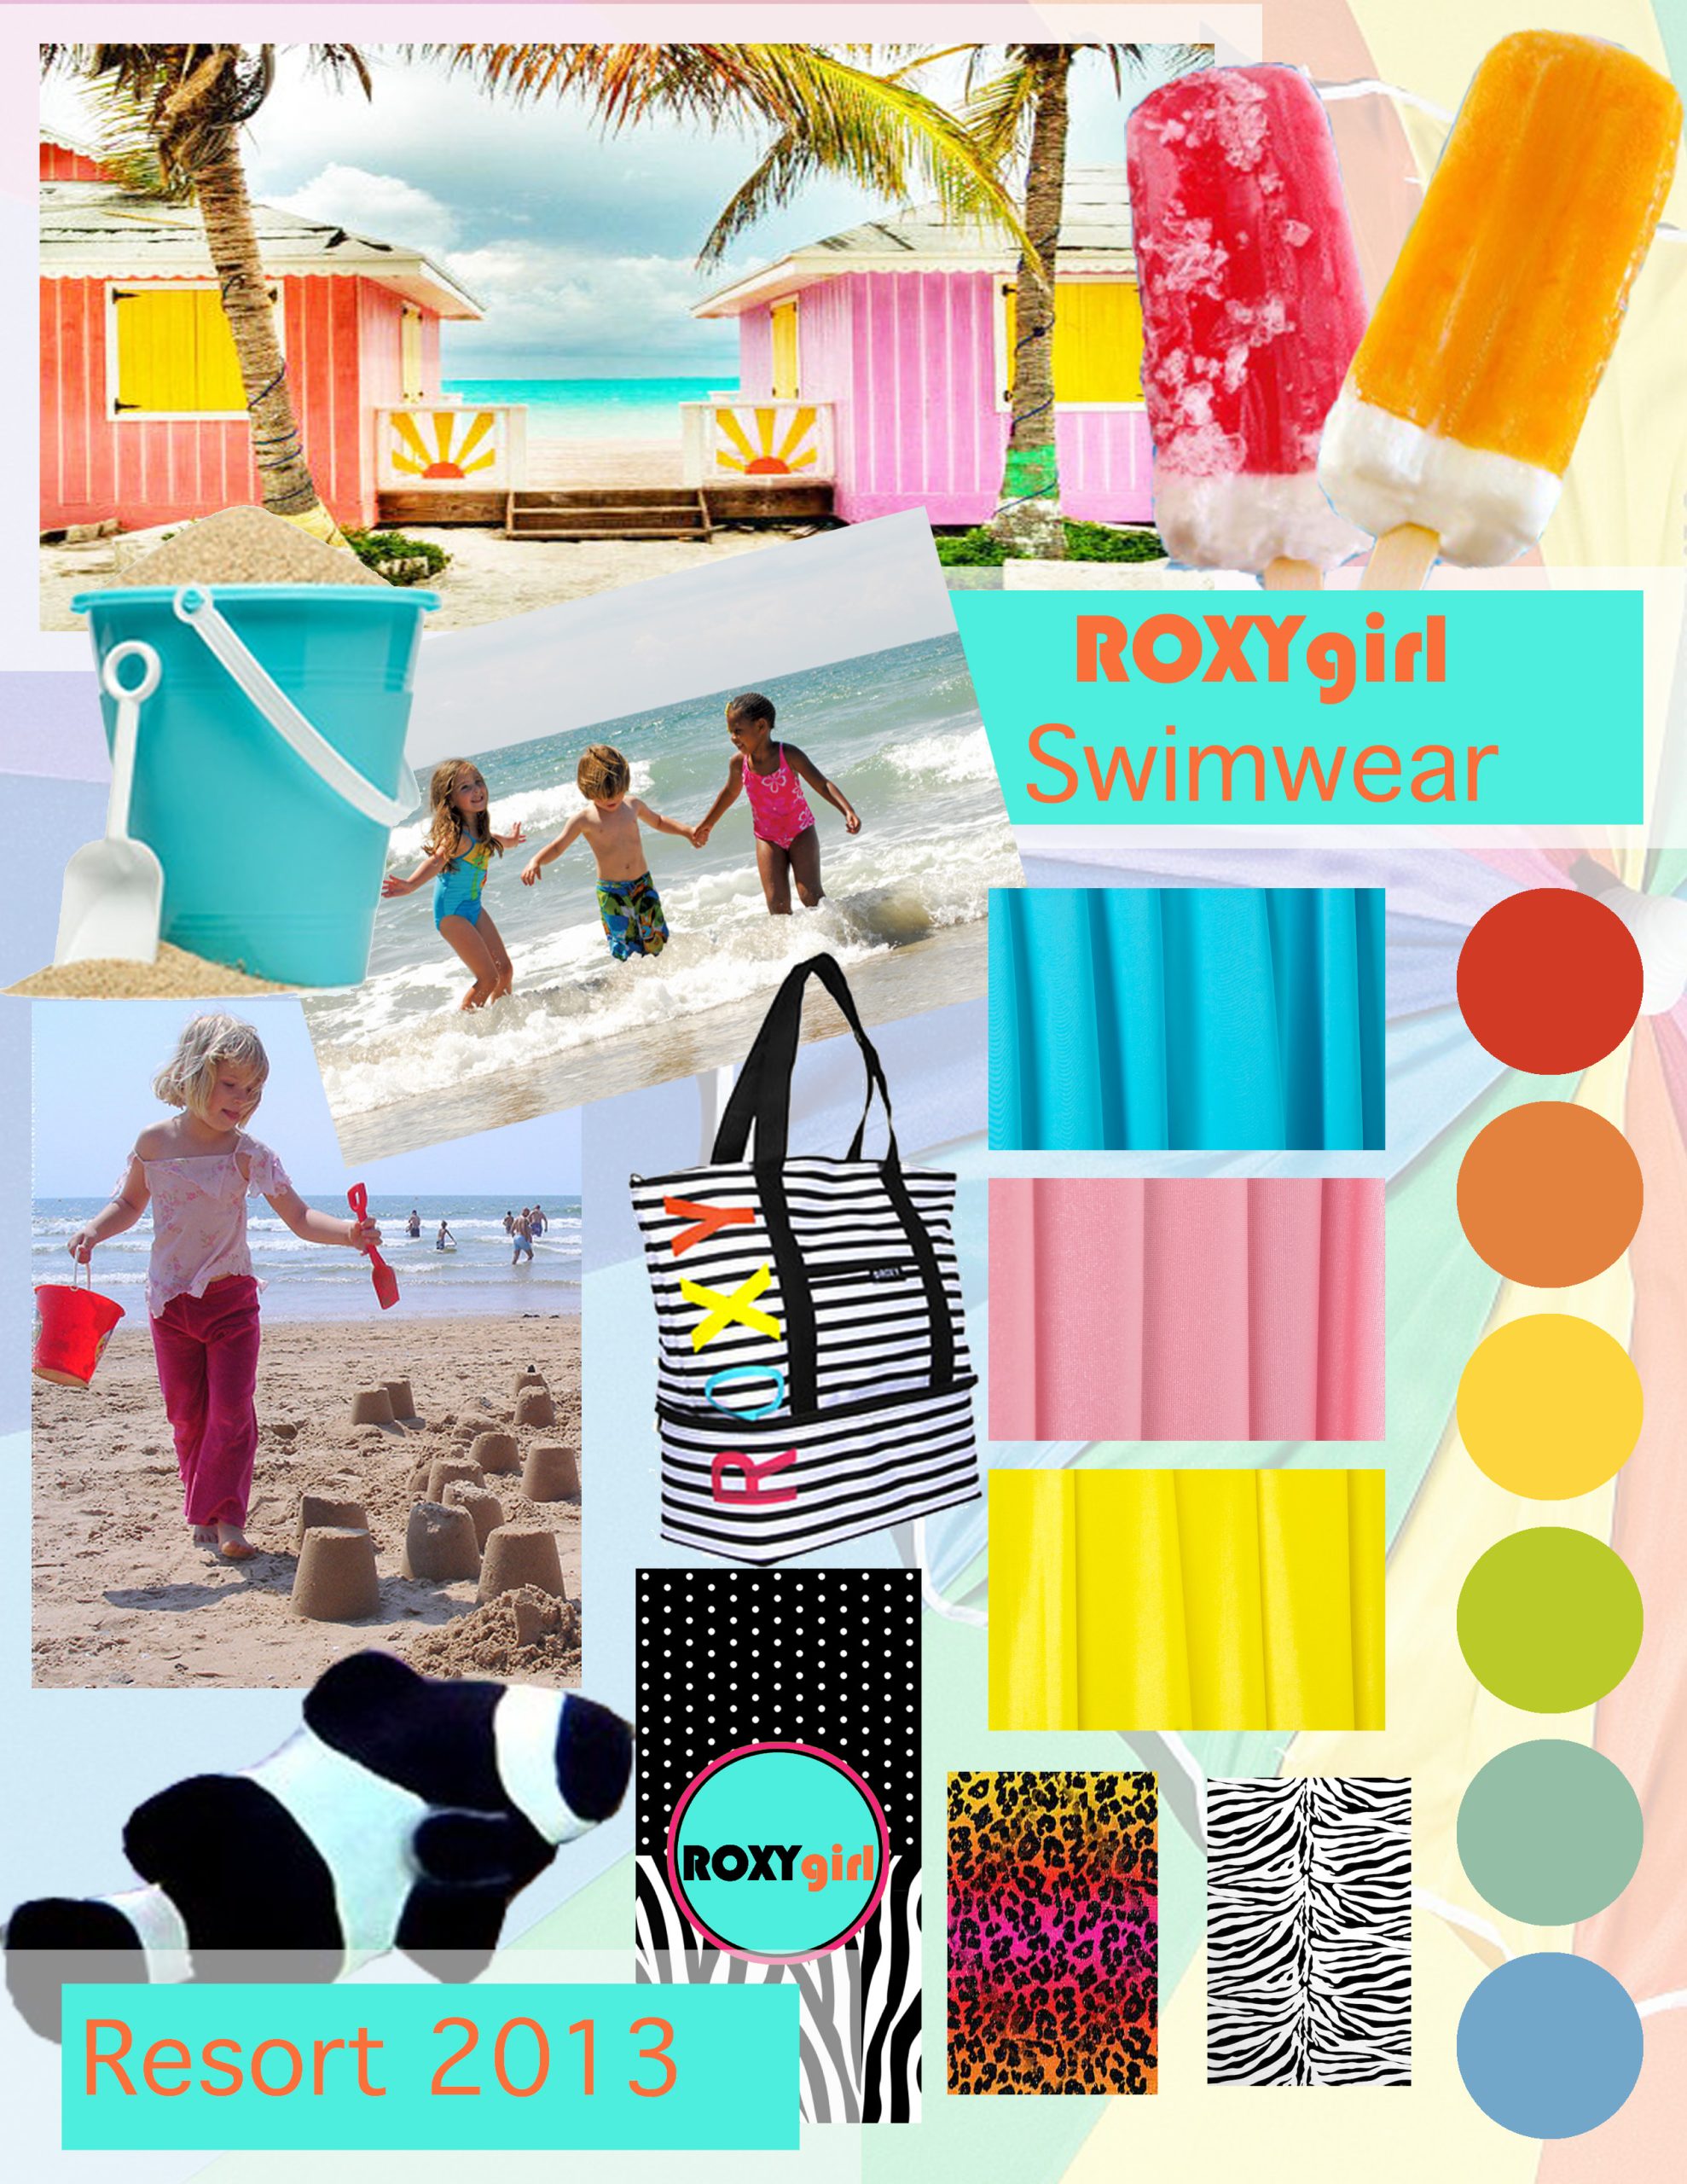
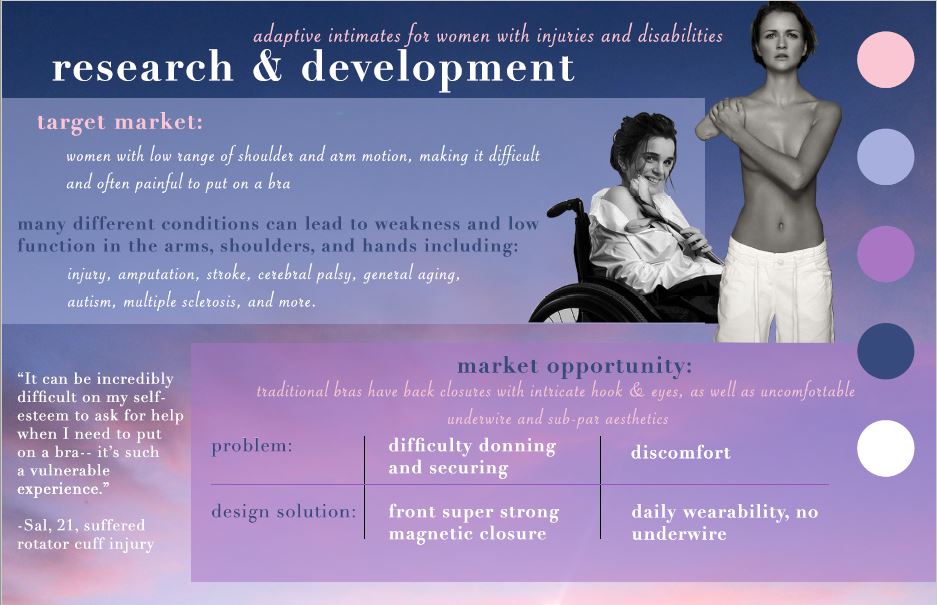
Mood/inspiration boards can take on different shapes and include select information from the research stage of the apparel design process. Below are three examples of different mood/inspiration boards and how research can be communicated visually through imagery and text.
Childrenswear mood board

Swimwear mood board

Magnet Bra mood board

You can access a long image description for the moodboard above in the footnotes of this page.[1]
Using your Research to Create your Mood Boards
Information gathered in the prior stages of the apparel design process is narrowed down and assembled into the mood or inspiration board (or set of boards). Chapter 1 provides resources for market research, consumer research, and materials research. All this information can be used to develop your board(s).
How to use Chapter 1’s Market Analysis of Adaptive Apparel Brands and Products to develop adaptive apparel mood or inspiration boards:
- Use information you gathered from Chapter 1’s Market Analysis of Adaptive Apparel Brands and Products to understand what products exist for the adaptive need your product addresses, consumers’ views of these products, and market gaps to be filled. This information will help you focus down your collected research and decide what to include on your mood/inspiration board.
How to use Chapter 1’s Disabilities’ Impact on Dressing and Clothing Needs toto develop adaptive apparel mood or inspiration boards:
- Use information you gathered from Chapter 1’s Disabilities’ Impact on Dressing and Clothing Needs to identify functional adaptive apparel needs for your market.
How to use Chapter 1’s Illustrated Glossary of Clothing Adaptations to develop adaptive apparel mood or inspiration boards:
- Consider using illustrations from Chapter 1’s Illustrated Glossary of Clothing Adaptations Organized by Wearer’s Needs, which meet the identified functional adaptive apparel needs for your market, on your mood/inspiration board.
How to use Chapter 1’s Textiles (Selection and Rationale) to develop adaptive apparel mood or inspiration boards:
- Use images or physical swatches of textiles selected in your research process using Chapter 1’s Textiles (Selection and Rationale) on your mood/inspiration board. If the images of the selected textiles don’t match your selected color palette, consider recoloring them digitally.
- A moodboard with the title: "Adaptive intimates for women with injuries and disabilities: research and development." Two major sections are presented: target market and market opportunity. Target market: women with low range of shoulder and arm motion, making it difficult and often painful to put on a bra. Many different conditions can lead to weakness and low function in the arms, shoulder, and hands, including: injury, amputation, cerebral palsy, general aging, autism, multiple sclerosis, and more. A table labeled "Market Opportunity" with the caption "Traditional bras have back closures with intricate hook and eyes, as well as uncomfortable underwire and sub-par aesthetics." The table lists two problems and solutions. Problems: Difficulty donning and securing; Discomfort. Design solutions: Front super strong magnetic closure; Daily wearability, no underwire. A quote from a potential client is presented to the side: "It can be incredibly difficult on my self-esteem to ask for help when I need to put on a bra. It's such a vulnerable experience." Quote is attributed to Sal, 21, who suffered a rotator cuff injury. ↵

