Chapter 2: The Adaptive Apparel Designer’s Guide to Sketching
- Page ID
- 220804
\( \newcommand{\vecs}[1]{\overset { \scriptstyle \rightharpoonup} {\mathbf{#1}} } \)
\( \newcommand{\vecd}[1]{\overset{-\!-\!\rightharpoonup}{\vphantom{a}\smash {#1}}} \)
\( \newcommand{\id}{\mathrm{id}}\) \( \newcommand{\Span}{\mathrm{span}}\)
( \newcommand{\kernel}{\mathrm{null}\,}\) \( \newcommand{\range}{\mathrm{range}\,}\)
\( \newcommand{\RealPart}{\mathrm{Re}}\) \( \newcommand{\ImaginaryPart}{\mathrm{Im}}\)
\( \newcommand{\Argument}{\mathrm{Arg}}\) \( \newcommand{\norm}[1]{\| #1 \|}\)
\( \newcommand{\inner}[2]{\langle #1, #2 \rangle}\)
\( \newcommand{\Span}{\mathrm{span}}\)
\( \newcommand{\id}{\mathrm{id}}\)
\( \newcommand{\Span}{\mathrm{span}}\)
\( \newcommand{\kernel}{\mathrm{null}\,}\)
\( \newcommand{\range}{\mathrm{range}\,}\)
\( \newcommand{\RealPart}{\mathrm{Re}}\)
\( \newcommand{\ImaginaryPart}{\mathrm{Im}}\)
\( \newcommand{\Argument}{\mathrm{Arg}}\)
\( \newcommand{\norm}[1]{\| #1 \|}\)
\( \newcommand{\inner}[2]{\langle #1, #2 \rangle}\)
\( \newcommand{\Span}{\mathrm{span}}\) \( \newcommand{\AA}{\unicode[.8,0]{x212B}}\)
\( \newcommand{\vectorA}[1]{\vec{#1}} % arrow\)
\( \newcommand{\vectorAt}[1]{\vec{\text{#1}}} % arrow\)
\( \newcommand{\vectorB}[1]{\overset { \scriptstyle \rightharpoonup} {\mathbf{#1}} } \)
\( \newcommand{\vectorC}[1]{\textbf{#1}} \)
\( \newcommand{\vectorD}[1]{\overrightarrow{#1}} \)
\( \newcommand{\vectorDt}[1]{\overrightarrow{\text{#1}}} \)
\( \newcommand{\vectE}[1]{\overset{-\!-\!\rightharpoonup}{\vphantom{a}\smash{\mathbf {#1}}}} \)
\( \newcommand{\vecs}[1]{\overset { \scriptstyle \rightharpoonup} {\mathbf{#1}} } \)
\( \newcommand{\vecd}[1]{\overset{-\!-\!\rightharpoonup}{\vphantom{a}\smash {#1}}} \)
\(\newcommand{\avec}{\mathbf a}\) \(\newcommand{\bvec}{\mathbf b}\) \(\newcommand{\cvec}{\mathbf c}\) \(\newcommand{\dvec}{\mathbf d}\) \(\newcommand{\dtil}{\widetilde{\mathbf d}}\) \(\newcommand{\evec}{\mathbf e}\) \(\newcommand{\fvec}{\mathbf f}\) \(\newcommand{\nvec}{\mathbf n}\) \(\newcommand{\pvec}{\mathbf p}\) \(\newcommand{\qvec}{\mathbf q}\) \(\newcommand{\svec}{\mathbf s}\) \(\newcommand{\tvec}{\mathbf t}\) \(\newcommand{\uvec}{\mathbf u}\) \(\newcommand{\vvec}{\mathbf v}\) \(\newcommand{\wvec}{\mathbf w}\) \(\newcommand{\xvec}{\mathbf x}\) \(\newcommand{\yvec}{\mathbf y}\) \(\newcommand{\zvec}{\mathbf z}\) \(\newcommand{\rvec}{\mathbf r}\) \(\newcommand{\mvec}{\mathbf m}\) \(\newcommand{\zerovec}{\mathbf 0}\) \(\newcommand{\onevec}{\mathbf 1}\) \(\newcommand{\real}{\mathbb R}\) \(\newcommand{\twovec}[2]{\left[\begin{array}{r}#1 \\ #2 \end{array}\right]}\) \(\newcommand{\ctwovec}[2]{\left[\begin{array}{c}#1 \\ #2 \end{array}\right]}\) \(\newcommand{\threevec}[3]{\left[\begin{array}{r}#1 \\ #2 \\ #3 \end{array}\right]}\) \(\newcommand{\cthreevec}[3]{\left[\begin{array}{c}#1 \\ #2 \\ #3 \end{array}\right]}\) \(\newcommand{\fourvec}[4]{\left[\begin{array}{r}#1 \\ #2 \\ #3 \\ #4 \end{array}\right]}\) \(\newcommand{\cfourvec}[4]{\left[\begin{array}{c}#1 \\ #2 \\ #3 \\ #4 \end{array}\right]}\) \(\newcommand{\fivevec}[5]{\left[\begin{array}{r}#1 \\ #2 \\ #3 \\ #4 \\ #5 \\ \end{array}\right]}\) \(\newcommand{\cfivevec}[5]{\left[\begin{array}{c}#1 \\ #2 \\ #3 \\ #4 \\ #5 \\ \end{array}\right]}\) \(\newcommand{\mattwo}[4]{\left[\begin{array}{rr}#1 \amp #2 \\ #3 \amp #4 \\ \end{array}\right]}\) \(\newcommand{\laspan}[1]{\text{Span}\{#1\}}\) \(\newcommand{\bcal}{\cal B}\) \(\newcommand{\ccal}{\cal C}\) \(\newcommand{\scal}{\cal S}\) \(\newcommand{\wcal}{\cal W}\) \(\newcommand{\ecal}{\cal E}\) \(\newcommand{\coords}[2]{\left\{#1\right\}_{#2}}\) \(\newcommand{\gray}[1]{\color{gray}{#1}}\) \(\newcommand{\lgray}[1]{\color{lightgray}{#1}}\) \(\newcommand{\rank}{\operatorname{rank}}\) \(\newcommand{\row}{\text{Row}}\) \(\newcommand{\col}{\text{Col}}\) \(\renewcommand{\row}{\text{Row}}\) \(\newcommand{\nul}{\text{Nul}}\) \(\newcommand{\var}{\text{Var}}\) \(\newcommand{\corr}{\text{corr}}\) \(\newcommand{\len}[1]{\left|#1\right|}\) \(\newcommand{\bbar}{\overline{\bvec}}\) \(\newcommand{\bhat}{\widehat{\bvec}}\) \(\newcommand{\bperp}{\bvec^\perp}\) \(\newcommand{\xhat}{\widehat{\xvec}}\) \(\newcommand{\vhat}{\widehat{\vvec}}\) \(\newcommand{\uhat}{\widehat{\uvec}}\) \(\newcommand{\what}{\widehat{\wvec}}\) \(\newcommand{\Sighat}{\widehat{\Sigma}}\) \(\newcommand{\lt}{<}\) \(\newcommand{\gt}{>}\) \(\newcommand{\amp}{&}\) \(\definecolor{fillinmathshade}{gray}{0.9}\)Chapter 2 focuses on sketching to develop potential concepts in apparel design. The chapter overviews how to use the resources provided in chapter 1 when sketching. Additionally, fashion illustration templates of bodies with disabilities are provided to aid in sketching. Croquis include seated bodies, amputee/protheses-user bodies, bodies using mobility aids, and bodies with spinal disabilities.
Sketching as a Method for Developing Concepts in Apparel Design
Sketching is the process of drawing a rough idea of how an apparel design may take shape. Sketching is a step in the apparel design process in which numerous design ideas are developed for further refinement and detail at a later point. The purpose of sketching is to produce a plethora of ideas for assessment before moving forward in the design process.
Importance of idea development through sketching
Sketching is an important stage in the apparel design process as this is when research is translated into visual solutions for apparel. Oftentimes, designers are encouraged to produce numerous design ideas through sketching using pencil and paper, but as technology advances, software and other digital tools have replaced traditional tools for this important idea development stage. But no matter what tools the designer chooses to use, documenting ideas are an integral part of the ideation phase to new apparel design, particularly when aiming to address adaptive users’ functional needs.
Some designers find it helpful to use additional tools to sketch, including croquis and tracing paper.
How to develop ideas through sketching
Croquis
In apparel design, croquis are minimalist shapes taking on the form of a human body which serve as a blank canvas for which clothing idea can be drawn on top. Using a croquis allows for the designer to focus on apparel design ideas while keeping proportions of the human body form. Croquis can be used alongside traditional tools or more advanced technology digital sketching tools to keep body proportions of the user/wearer while generating numerous design ideas.
Tracing paper
Tracing paper is another tool that can be used alongside croquis and traditional tools for generating apparel design ideas in the sketching phase. Some designers may choose to use a layer of semi-transparent or opaque paper (i.e., tracing paper) on top of a croquis to speed up the ideation stage where apparel design ideas are only drawn (not including the body shape). Using tracing paper in conjunction with a croquis supports sketching in proportion with a body while also generating numerous apparel design options.
Fashion Illustration Templates of Bodies with Disabilities
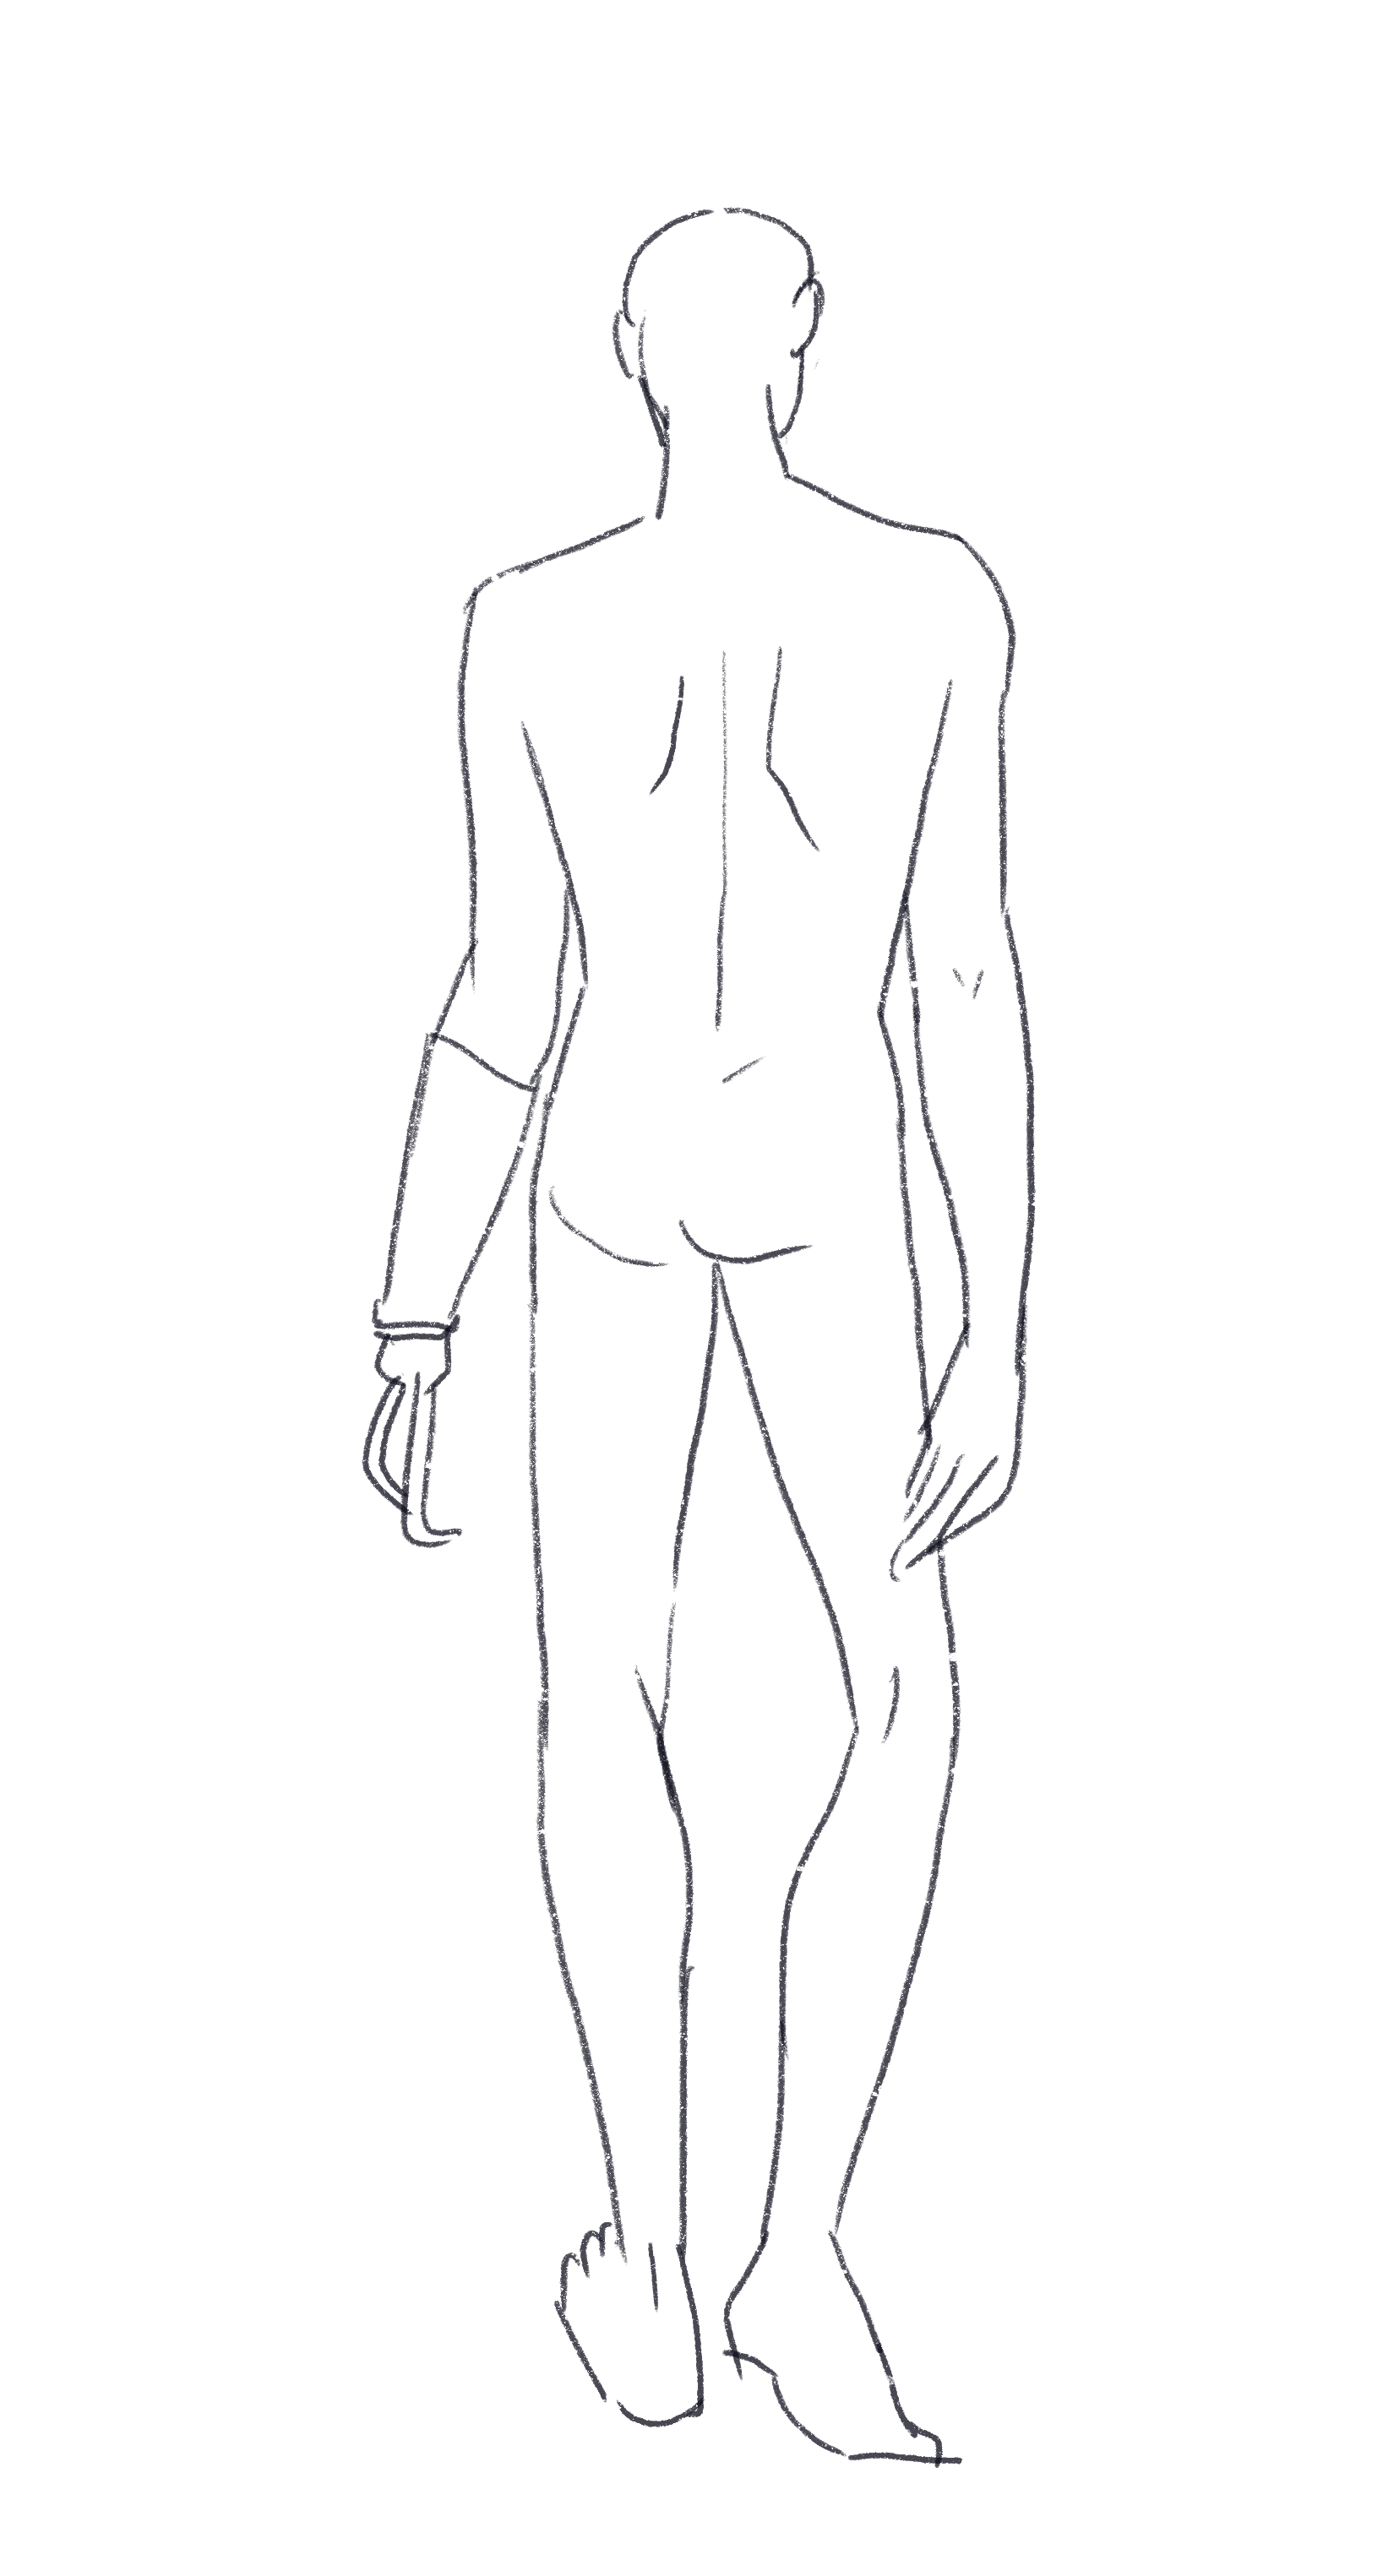
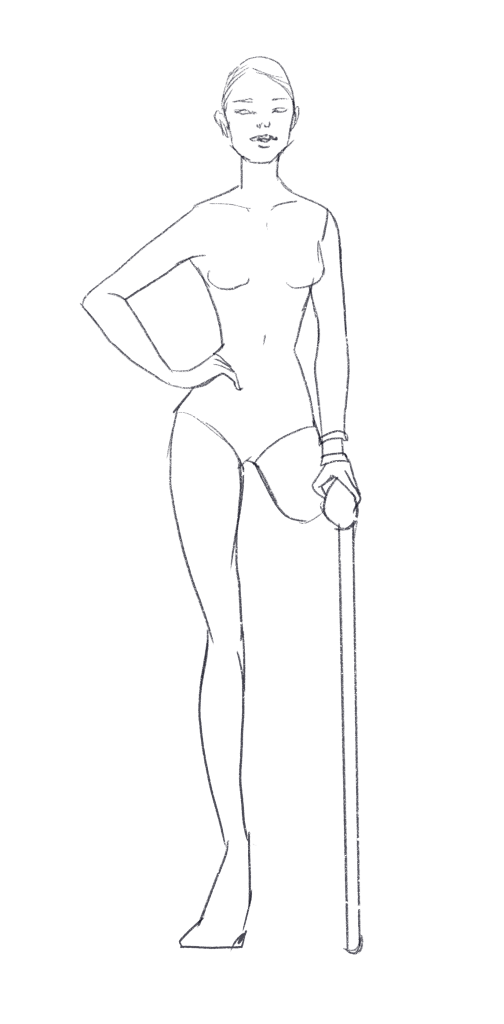
In this section of the chapter figures of different bodies with disabilities have been prepared to aid the designer in generating design ideas. To support inclusivity in the design sketching phase, fashion illustration templates have been prepared in black and white croquis-style format for male, female, and child bodies. These figures are organized into the following sub-sections: a) seated bodies, amputee/protheses-user bodies, and bodies using mobility aids. While these croquis provide designers an alternative version of the traditional 9 heads fashion figure, these could also be adapted to 8 heads technical design croquis, truer to human proportions. Further, additional croquis could be developed to include a greater range of body shape and stature differences such as, but not limited to, dwarfism, Down’s, progeria, and cerebral palsy.
Seated bodies

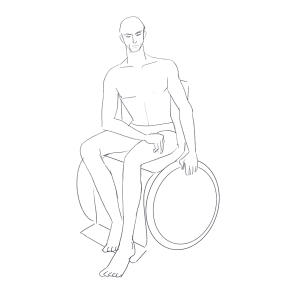
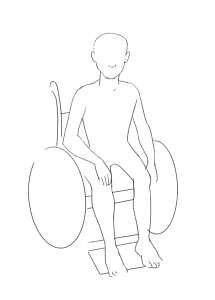
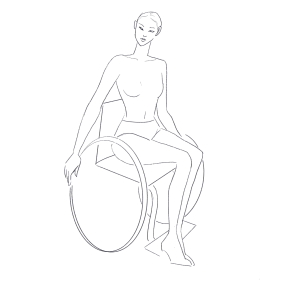
Amputee/Protheses-user bodies
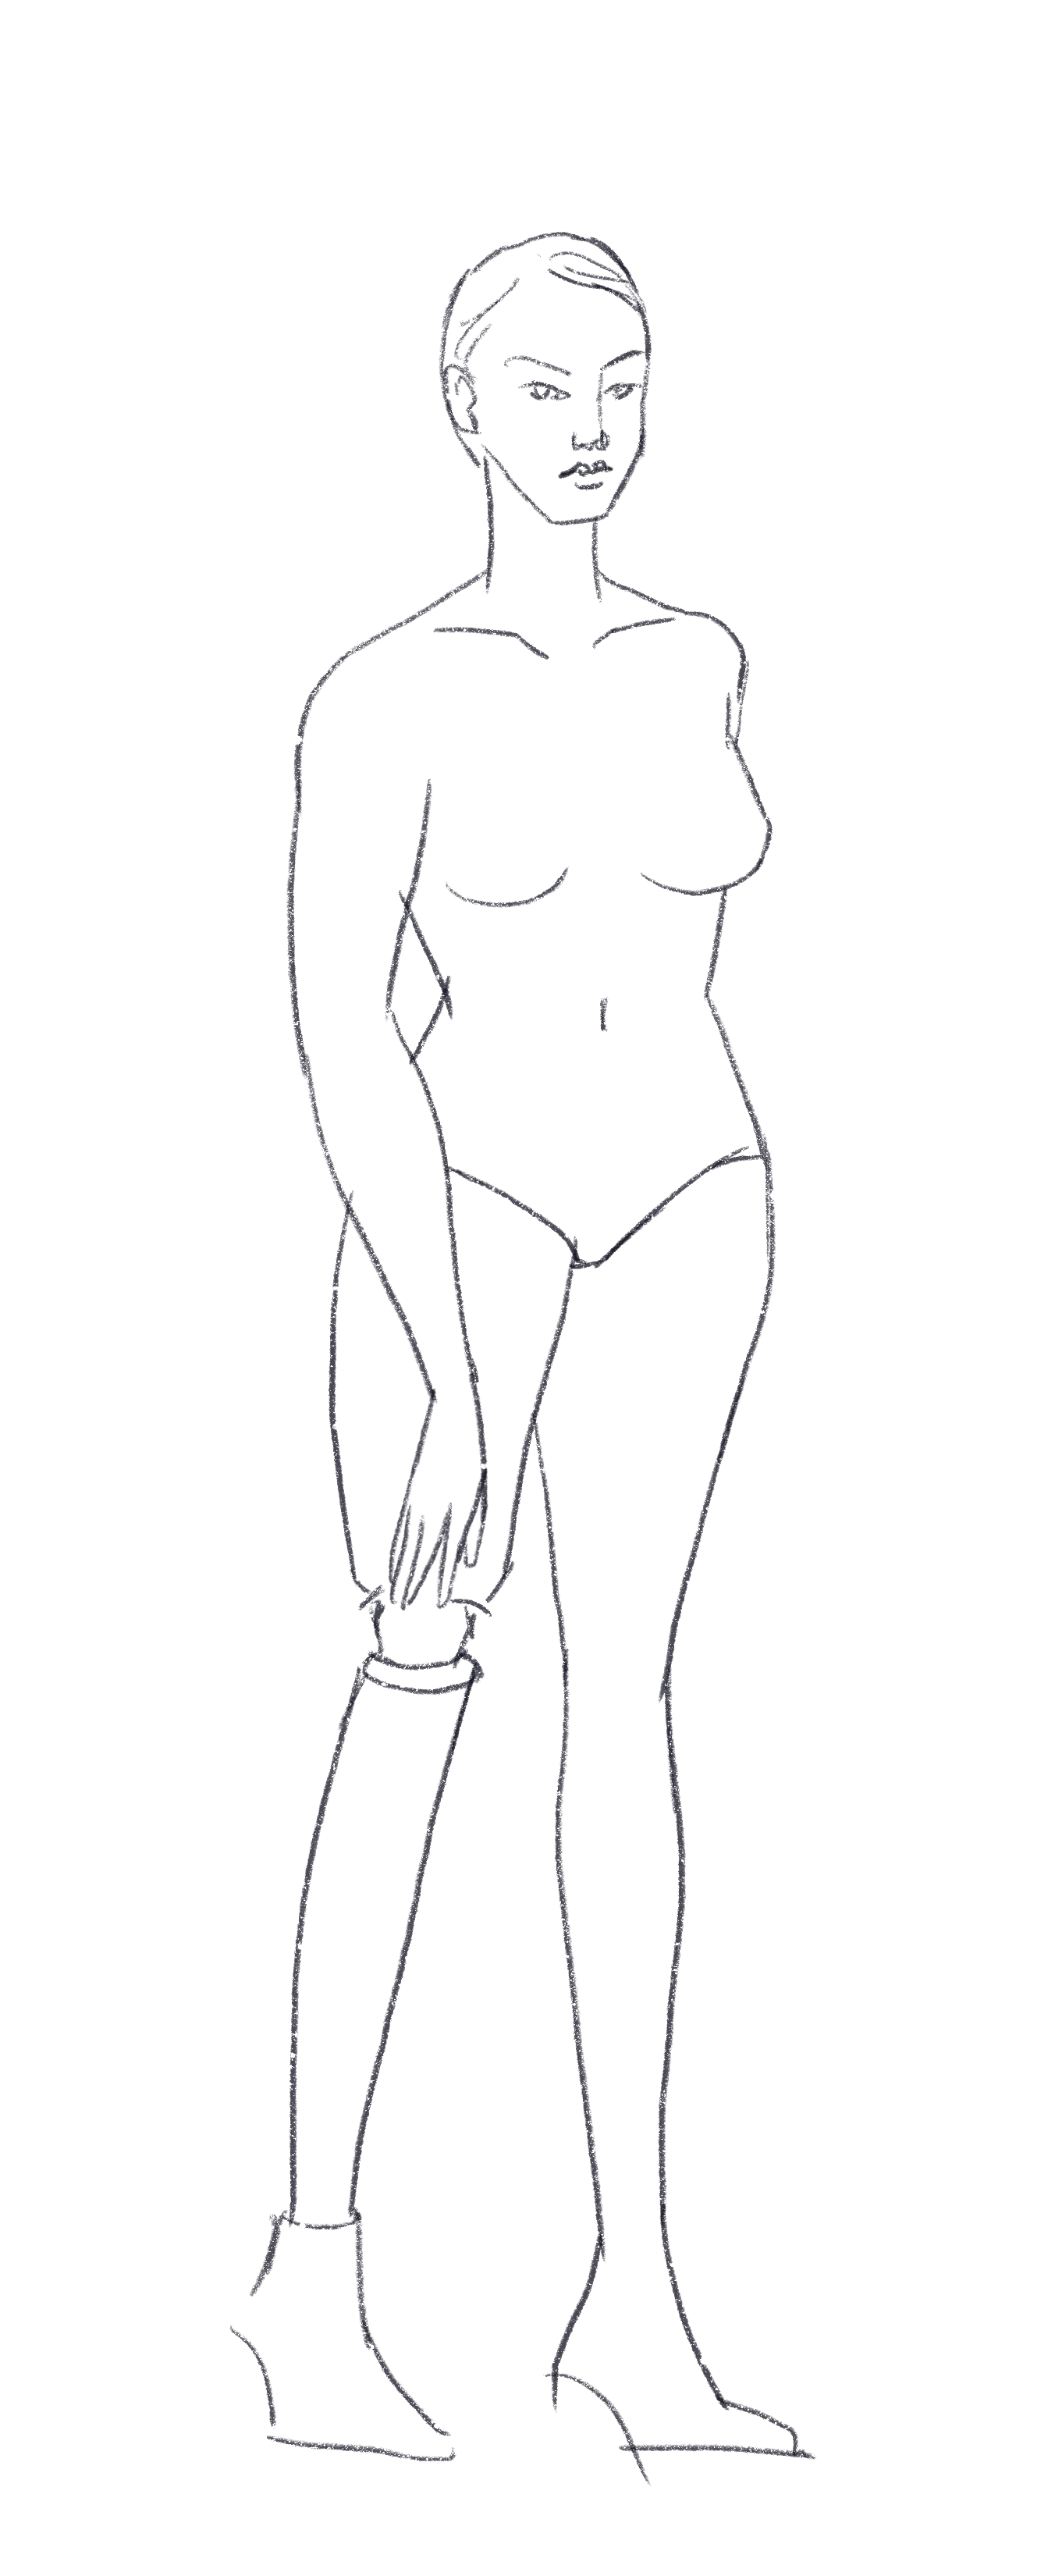
Lower extremity: Female with a prosthetic leg, ¾ view
Bodies using mobility aids (e.g., crutches, walkers, canes)
How to use Chapter 1’s Market Analysis of Adaptive Apparel Brands and Products while sketching adaptive apparel:
- Consider the research you collected in your market analysis research process using Chapter 1’s Market Analysis of Adaptive Apparel Brands and Products. What are the gaps in the market you are trying to address? What functional needs are you trying to meet? Review your research of existing products and how you would like to adapt or improve upon them. Use your research of various design adaptations. Use the sketching process to create multiple ideas around how these goals can be achieved. It is best to come up with as many ideas as possible. Sketches do not have to be of an entire garment. They may just be of a garment part—such as coming up with multiple ideas of how to close a cuff. Initial sketches can be rough or include as much detail as you need. The goal is to get the idea on paper! Doing so helps you keep track of your ideas and can serve as a communication tool with potential users of the product.
How to use Chapter 1’s Disabilities’ Impact on Dressing and Clothing Needs while sketching adaptive apparel:
- Use the consumer research you gathered using Chapter 1’s Disabilities’ Impact on Dressing and Clothing Needs to guide your sketching process. Through your consumer research you have developed understanding of the potential product users’ needs. As discussed above, use the sketching process to create multiple ideas around how these needs can be met. It is best to come up with as many ideas as possible.
How to use Chapter 1’s Illustrated Glossary of Clothing Adaptations while sketching adaptive apparel:
- Use the Illustrated Glossary in your sketching process as a jumping-off point. The illustrations can be referenced or even traced to start your original design sketches using the closure or design element, for example. Consider printing the illustrations out to use with tracing paper, or importing them into the digital drawing software of your choice.

