
5.2: 5CR CURVES
- Page ID
- 91141
The Curve Panel
Directly below the basic adjustments panel is the curve panel. It will be easier to see if you collapse the basic panel by clicking on the name.
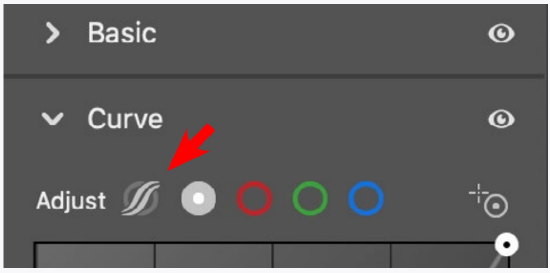
Adjusting Curves
When set on Parametric Curve (red arrow), the targeted adjustment tool allows you to select individual tonal ranges in the image and make them lighter or darker.
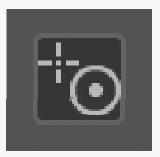
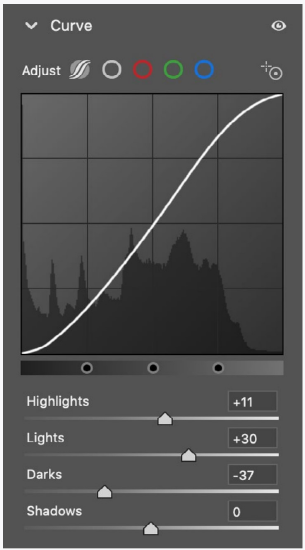
You can use the sliders to do this or drag directly on the curve overlaying the histogram (there is that histogram again). You can also drag left and right on the tones of the image itself if you turn on the Targeted Adjustment tool over the right side of the graph.
Curve adjustments have a different effect than the adjustments in the basic tab (highlight, shadow, whites, blacks). In short, adjusting the curve will generally give a more naturalistic look, but also can make the image look flat (low contrast) in areas.
You can also change the extent of your tonal adjustments (highlight, shadow, whites, blacks). Click and drag the three small circles right at the bottom of the histogram.
Adjusting the curve is probably something you will do after you make the basic adjustments. Remember you can easily compare your curve changes by pressing and holding on the eye icon at the top of the panel.
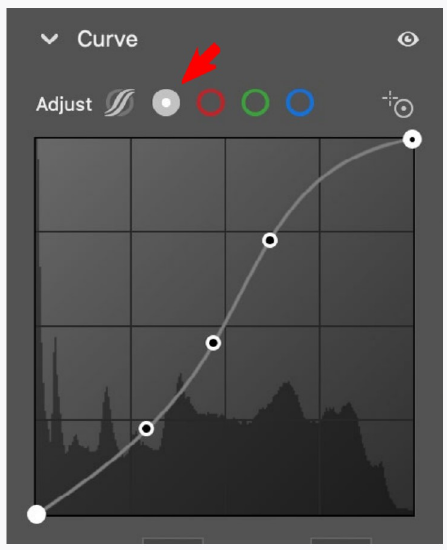
By clicking the Point icon over the histogram (red arrow) you can free-edit the curve. This is somewhat tricky and because of this has limited utility at this point. Still, try it.
You can add points by clicking on the line and remove them by double-clicking one or selecting one (it will turn dark) and hitting the delete key.
Although the point curve is more difficult to edit, it is very powerful. Playing with it can show you the extent (not the refinements) of the adjustments possible.
You can also adjust the three color channels individually, but it is my fond hope you will not need to any time soon.
Adjusting Discreet Colors
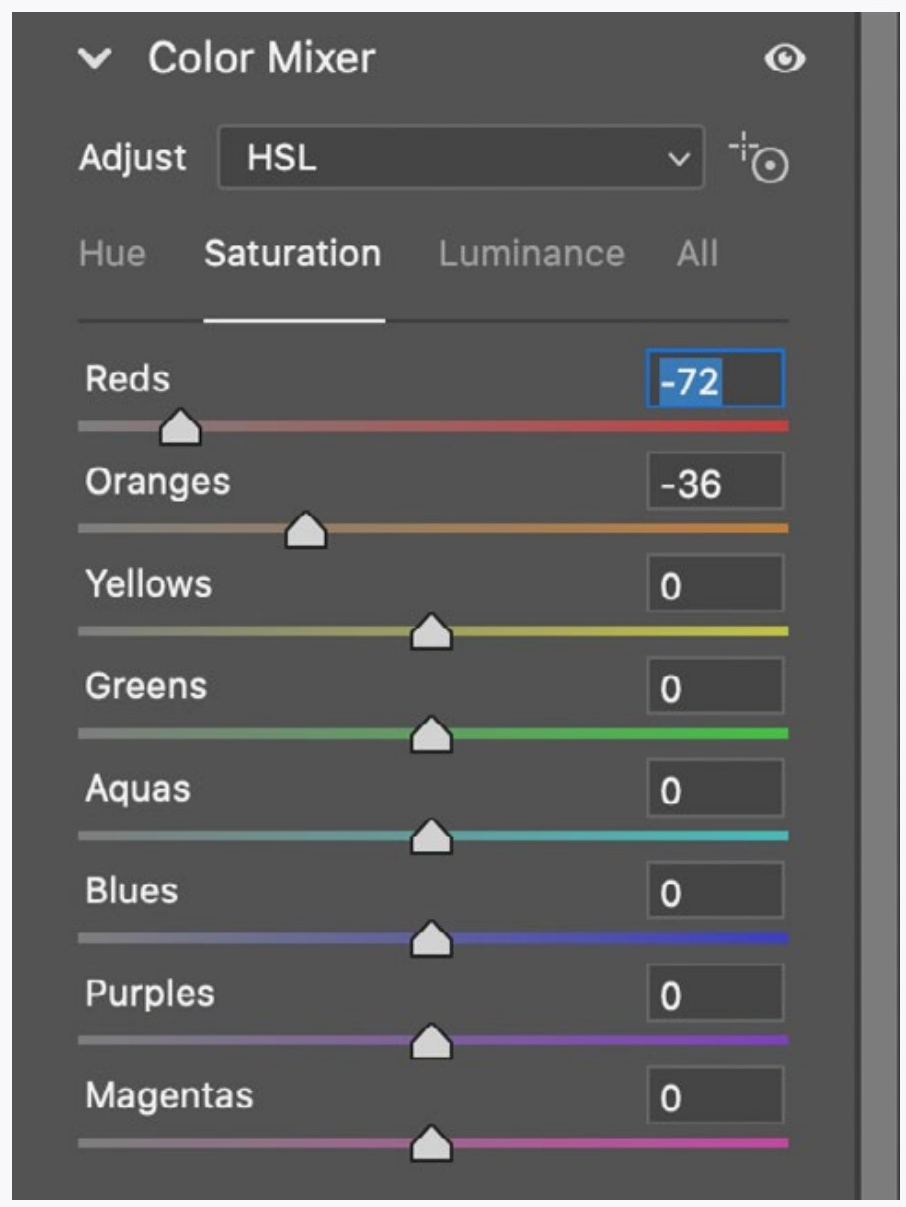
With the Color Mixer panel (below the curve and basic panels) you can also adjust discreet colors in your image. Like in adjusting curves, you can drag the sliders or use the Targeted Adjustment tool by clicking and dragging on an area in the image with the tool set to Hue, Saturation, or Luminance.

Hue: Allows the shifting of the color to another similar color.
Saturation: Controls the intensity of the color.
Luminance: Controls the brightness of the color.
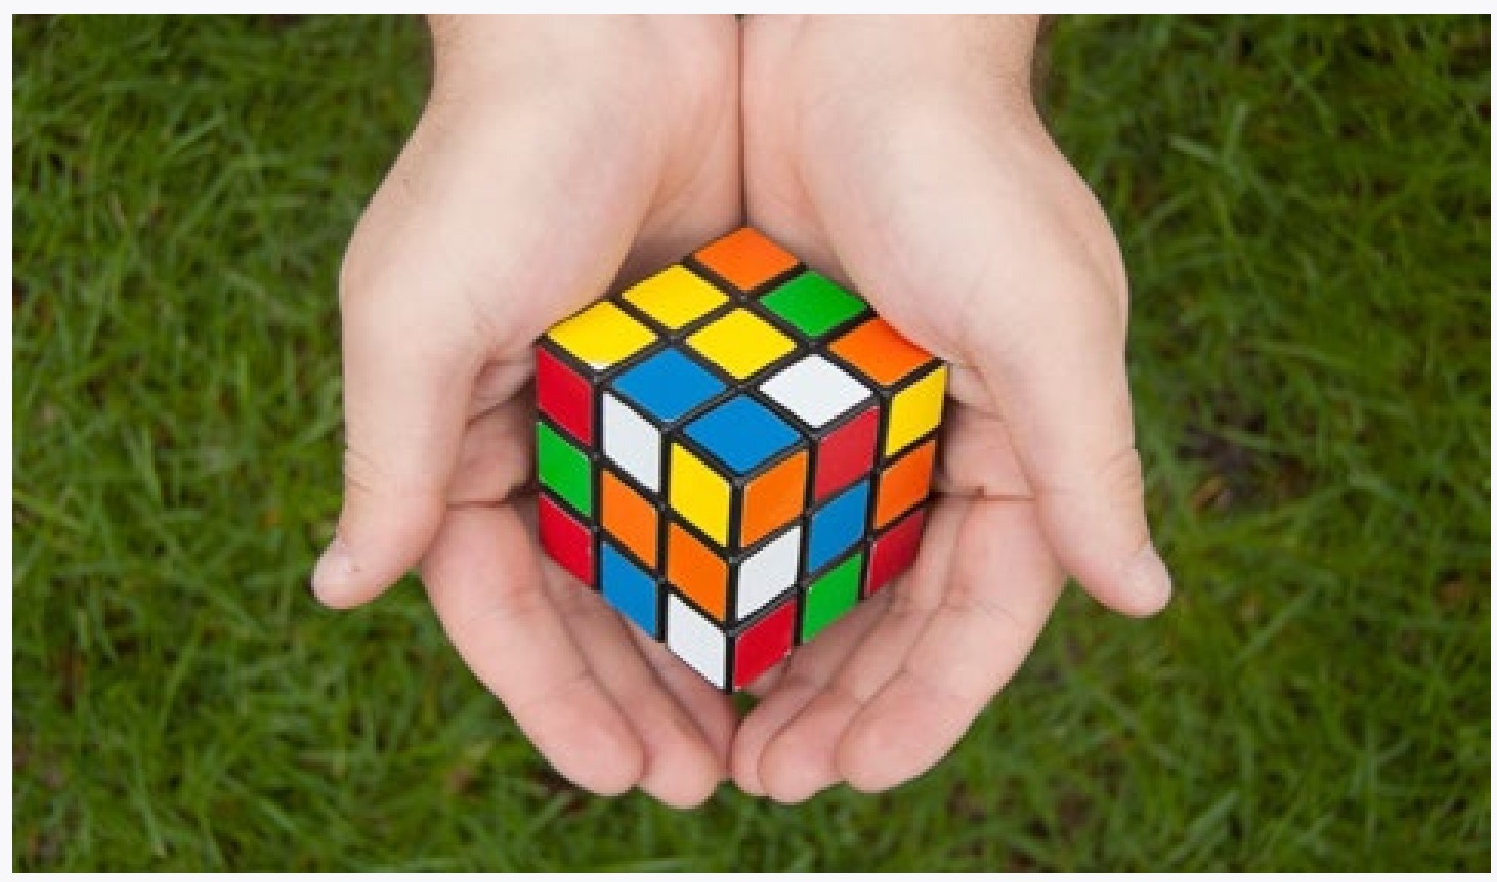
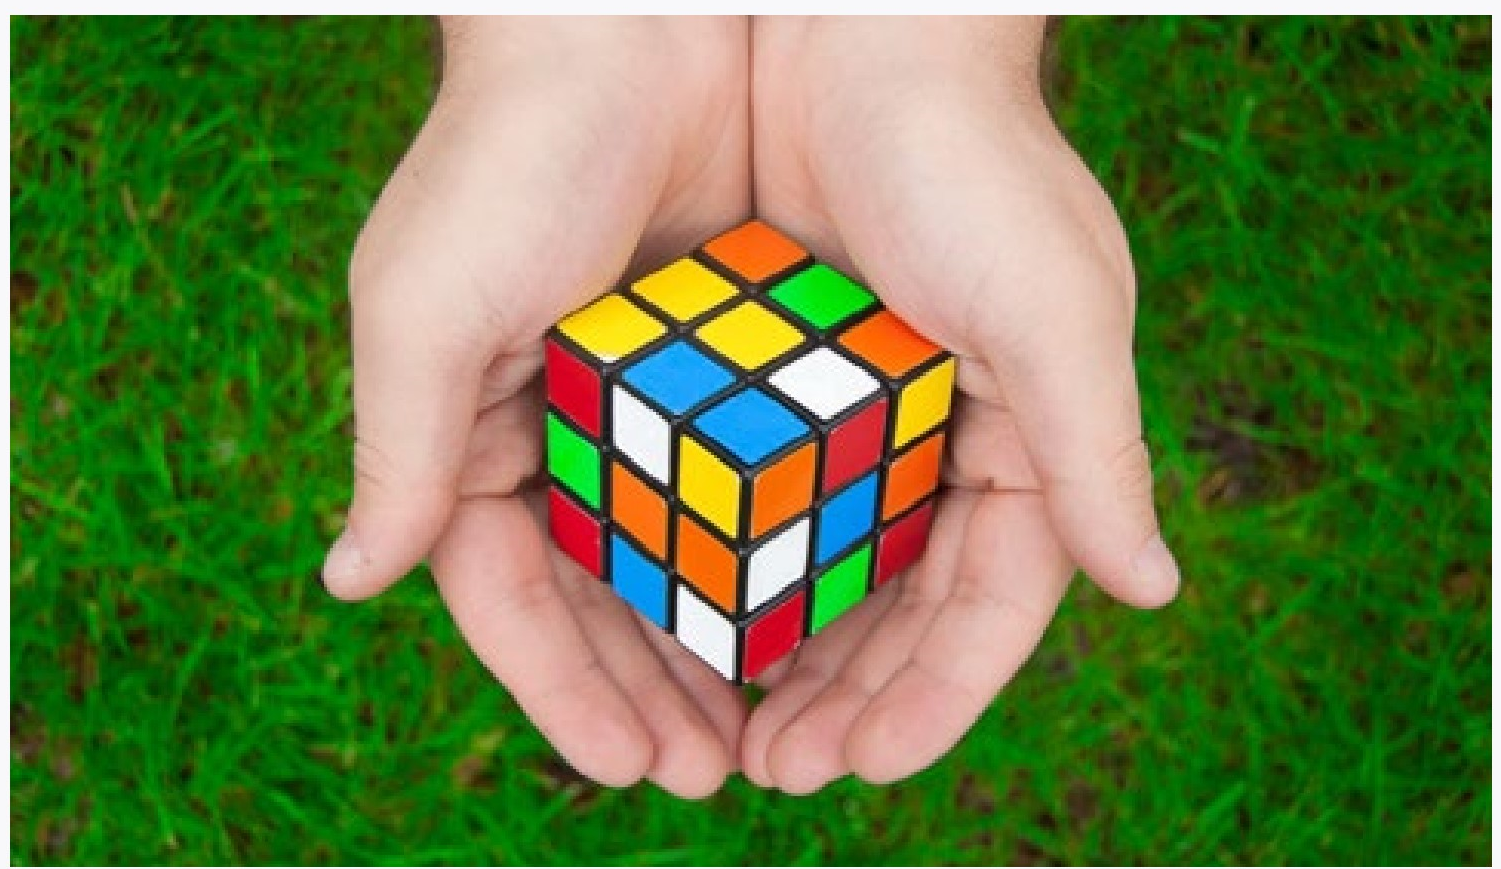
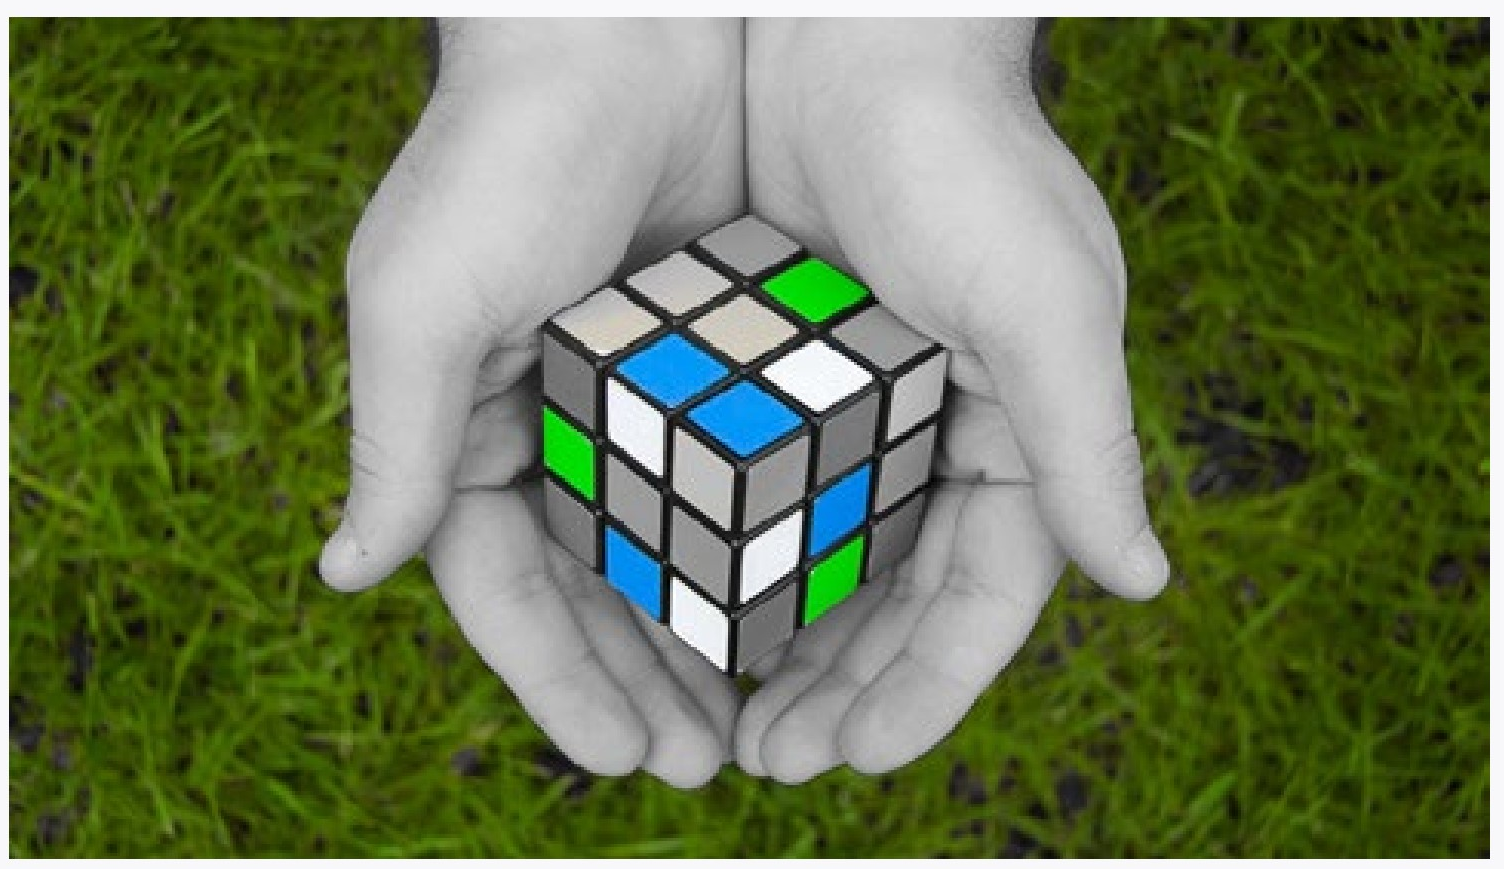
The images at right show some of the controls for adjusting colors in Camera Raw. Typically, the controls are used more subtly to correct skin tones, sky color, and over or under-saturated colors.
|
Gabrielle Calease Fox (original image) |
|
Green hue, saturation, and luminance increased, blue saturation and luminance increased. |
|
All colors except green and blue desaturated. |
CURVES
Using the parametric curve to adjust tones is an alternative to using the controls discussed in a previous chapter. It is really handy because you are actually editing the histogram directly.
Unfortunately curves don’t always help you if you are also using the highlights/shadows/whites/blacks controls since they somewhat duplicate their functionality, but in an entirely different way.
Play around with the parametric curve to see if you like the way it works. Try it on several different images. It may work great for you for small adjustment, but the other controls may work better for large adjustments. At the very least remember them so that you can try them again on an image you can’t get just right.
COLORS
Color adjustments are essential. Practice them, play with them, and remember them.
Although at first these adjustments may just seem like fun because you can change your blue car into a green car, in reality they are very useful for tweaking the color of everything. Getting that skin tone just right. Adjusting the color of the sky that your camera got wrong.
So play now, but remember these controls. You will need them if you care about good images. Modern cameras are pretty good with color
in many situations, but they often need help with interpreting that color. And color in a photograph is not reality, but an interpretation.
POINT CURVE
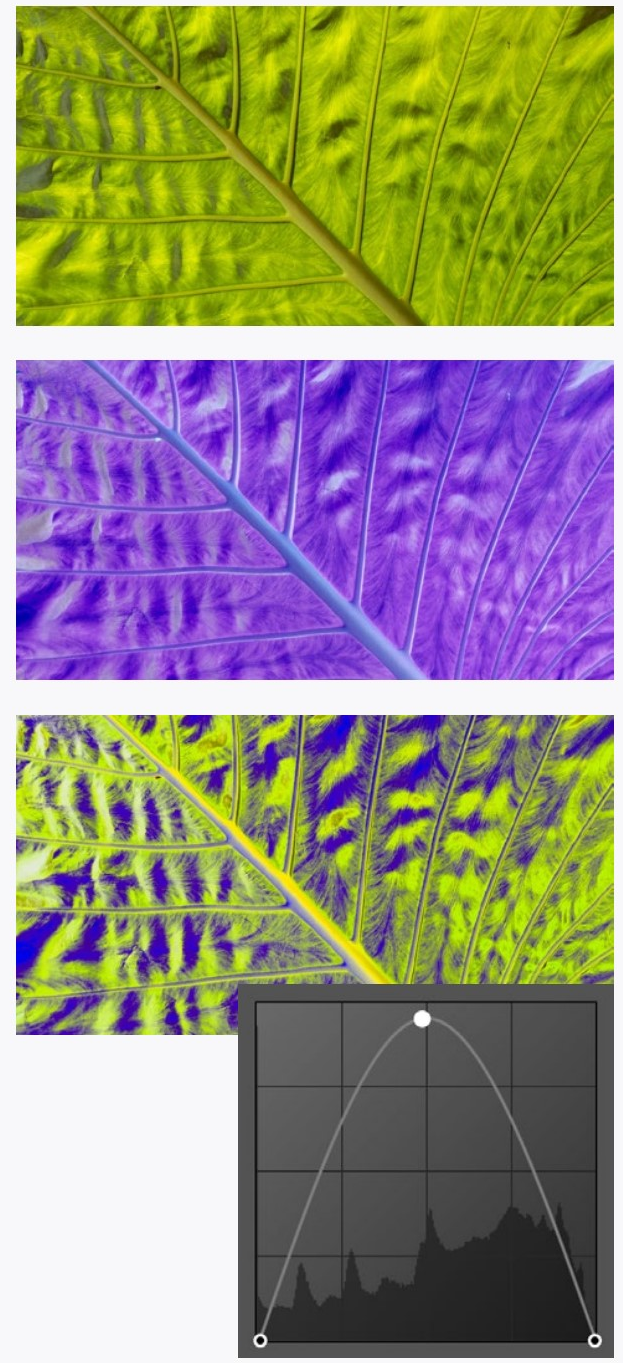
Mess around with the point curve. The worse thing that could happen is that you understand image tonality a bit more.
The illustrations to the right show three different curves. The first is the unadjusted image. For the second image the tones (and colors) were reversed by dragging the lower left of the curve to the top left and the lower right to the top right. The curve for the last image is shown below it.
Point curves are usually used for fine adjustments to tones (and colors). I doubt that you will need or want to do this right away, but playing can help you understand how the point curve could be an important advanced control.
CAN YOU...
Use the targeted adjustment tool on your image to adjust the parametric curve sliders to improve and image?
Change the extent of the four tonal areas on the parametric curve?
Add, move, and delete points on the point curve?
Understand what hue, saturation, and luminance is when referring to a color?
Adjust the hue, saturation, and luminance of individual colors in an image?
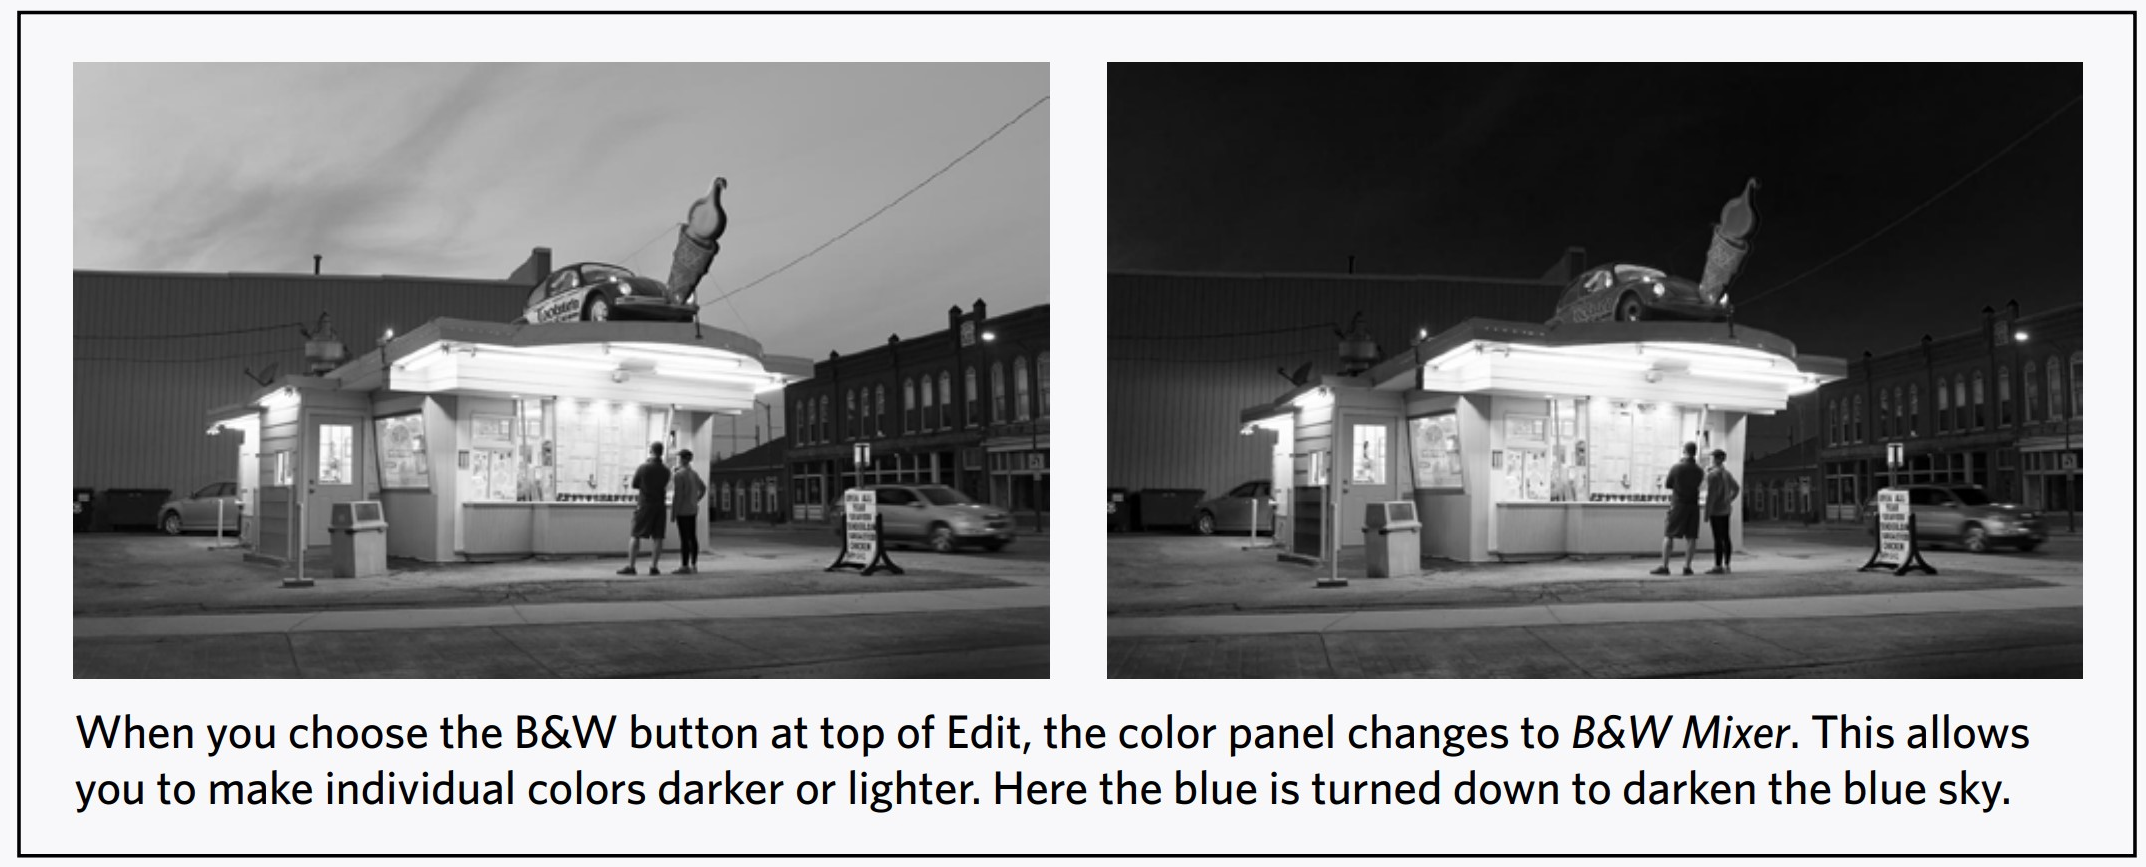
Make an image black and white and change the tonality of the original colors?