
1.2: 1CR ADOBE BRIDGE
- Page ID
- 90451
There are many ways to get images from your camera’s memory card onto the computer. Here is how you use Adobe Bridge to do this.
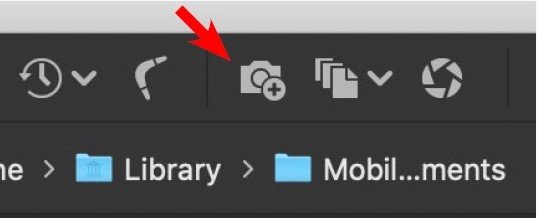
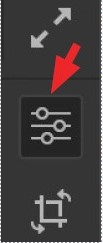
Once you have your card connected to the camera (using cord to camera, computer’s SD slot, or card reader), open Bridge and click on the download icon (red arrow below).
 |
Adobe Photoshop Camera Raw is a bit of a strange program—it doesn’t actually change your images, but instead adds instructions to your image on how it should be changed if it is opened in Photoshop, saved as a copy, or viewed in Bridge. It does this by adding instructions to either the image itself or more commonly in a separate file called a sidecar file.
When you are done changing your image, you will click the Done button instead of saving.
One of Camera Raw’s benefits is that it doesn’t save the images—if you make wrong edits or completely mess up an image, you can always go back to the original, just as it came out of the camera.

At the top right of the Camera Raw window (and in the image thumbnail when it is rolled over) there is an option to save an image, but what this actually does is make a copy. Your original remains untouched. Since your adjusted RAW images cannot be opened in most applications, you might want to make a copy to send to someone (or place into another program or whatever).
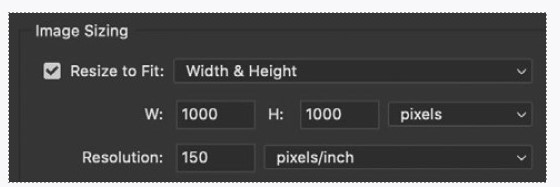
Simply push on the save image icon, set the destination, give the file a name, and probably set the file format to JPEG. If you are emailing the image you can set the size as in the illustration below.
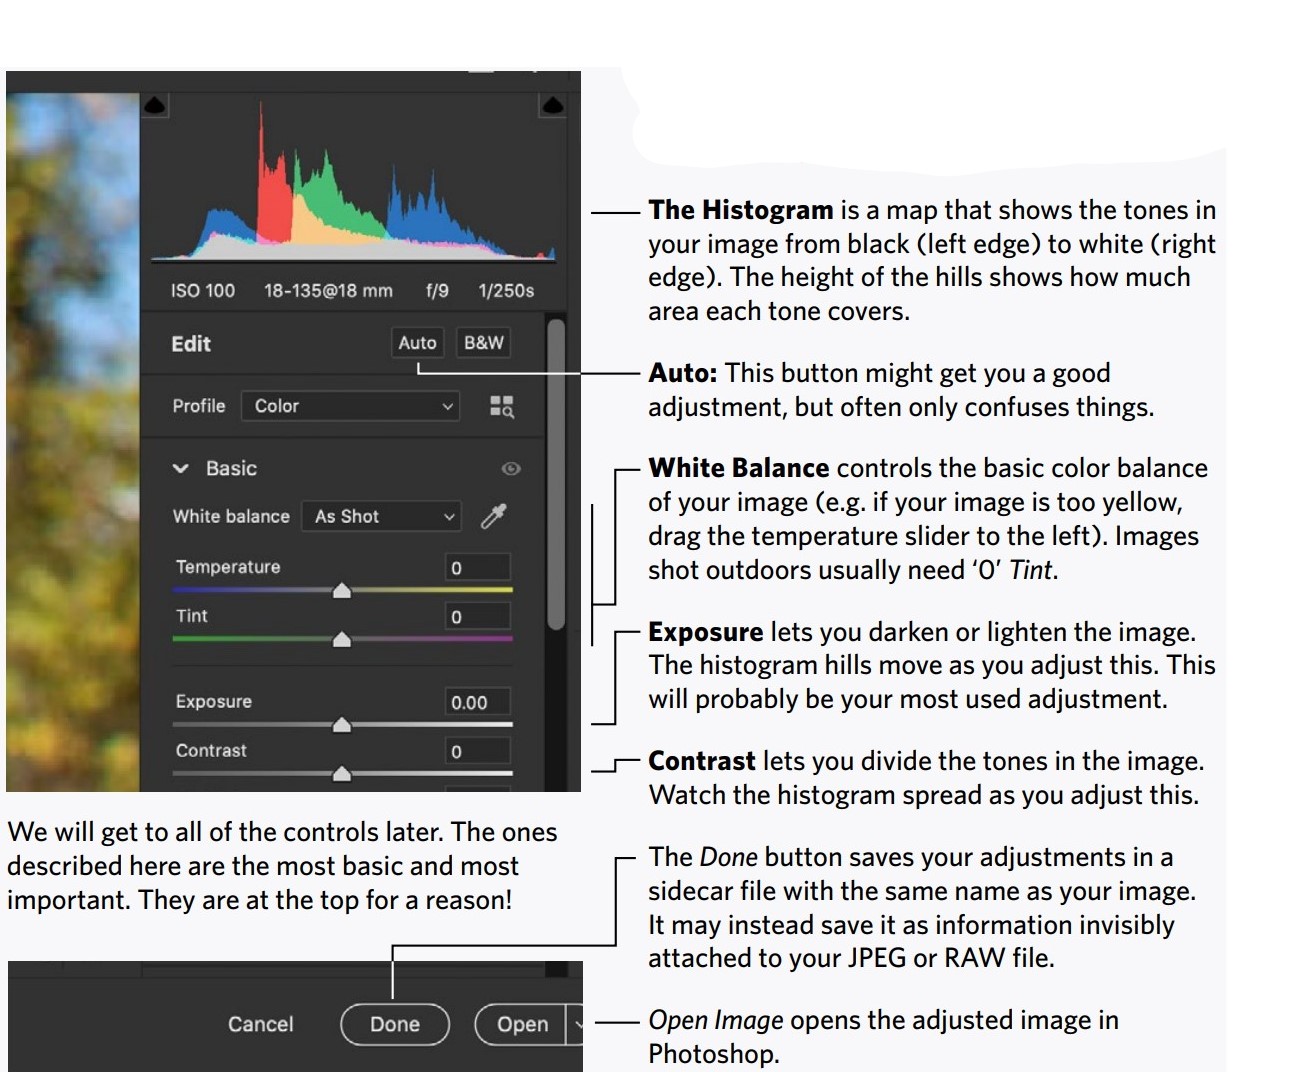
Most editing controls in Camera Raw are accessed by clicking on the Edit icon near the top right of the workspace. This brings up a panel with a series of tabs. Scroll all the way to the top of these for the Basic tab. This is by far the most used area of the application.
BASIC FEATURES OF CAMERA RAW
All of these adjustments should be tried on just about every image you make, even though you will probably find that some images will not benefit from any adjustments.
The adjustments not shown here are much more special-purpose, and can easily fight with each other. For now you might want to play with them, but be prepared to reset each by double-clicking on the slider pointer ( ).
).
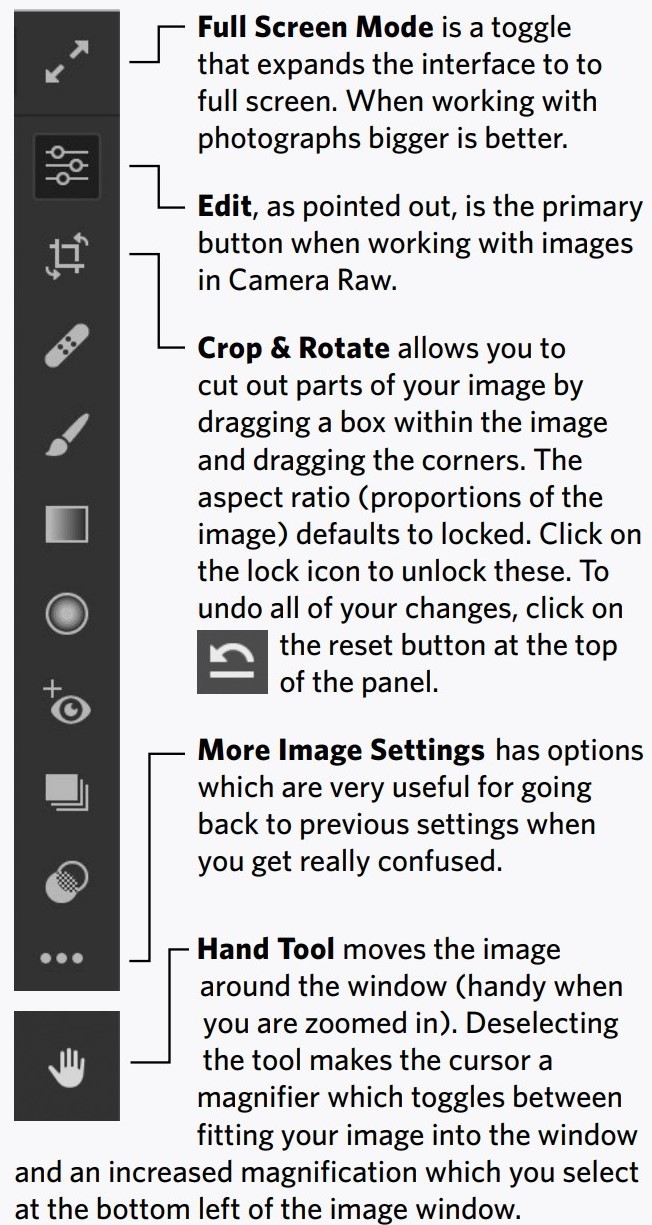
Along the right side of the Camera Raw interface are the panel selector icons. Many of these will be covered later, but a few are important now.
When making adjustments, human visual memory is very bad. There are a few ways that Camera Raw can help you effectively compare changes you make.

The buttons at the lower right of the image window both illuminate after you make a change to your image. The button on the right simply allows you to toggle your adjustments on and off so that you can make sure you are making your image better.
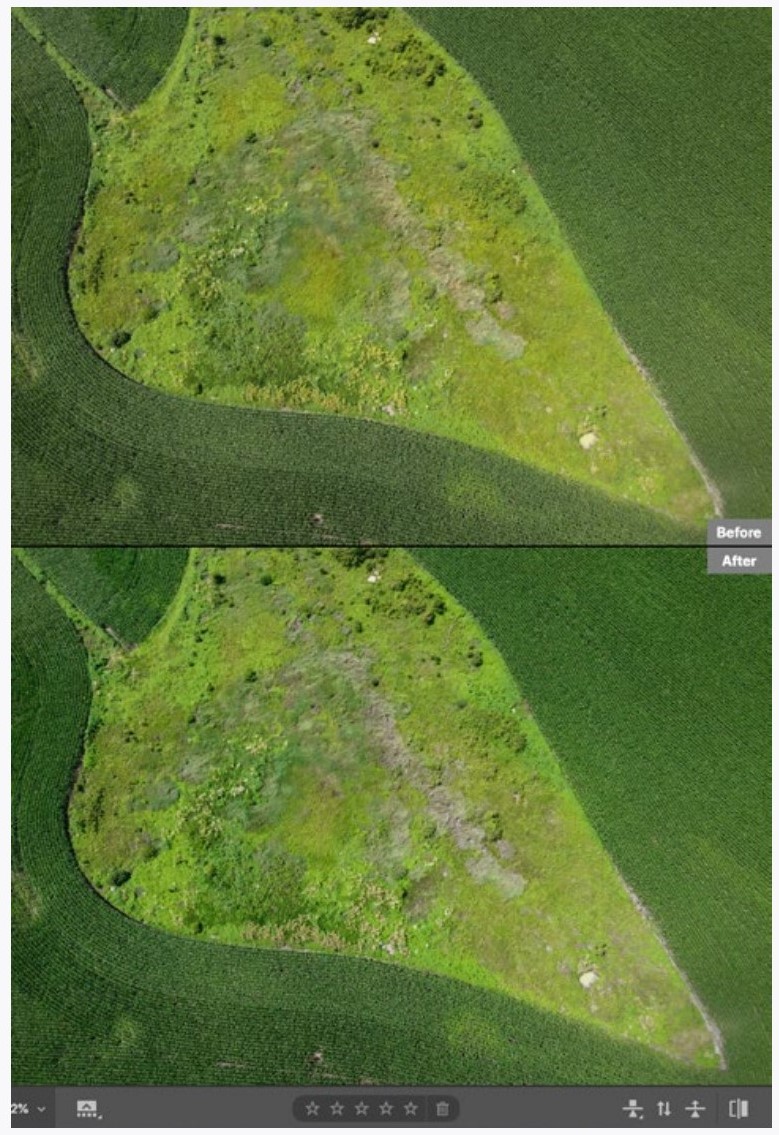
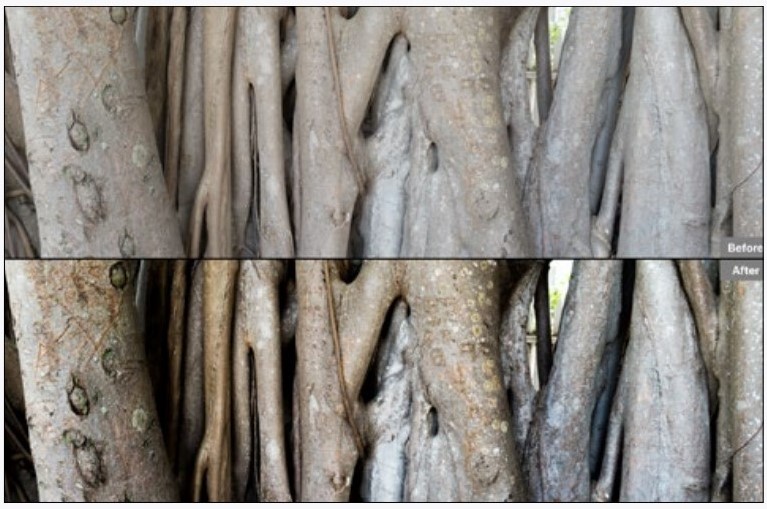
The button on the left is a little trickier, but is well worth exploring as it activates before and after views of your image on the same screen. You can either click on this button repeatedly to get to the different comparison views or hold down and select them from the pop-up menu.

Once you activate the you can make adjustments and see the effects clearly, but some very confusing but useful new buttons appear.

The first button is simply the same button as you pushed or chose the menu with. Yes, I know it looks different, but it is the same.

The next two buttons either exchange the before/after or send the after image to the before (respectively). For example, if you don’t like all the edits you have made, you can exchange the images so that the original is the image that is now being edited. Conversely, if you like all the edits you made, you can send the after image to the before and continue to edit. Play with it.

At the top right of the image window is a gear icon that brings up the preferences for Camera Raw. You might want to see what these involve, but right now the defaults are just fine.

And finally, I am sure you would figure this out yourself, but the little button by the window magnification on the lower left hides the filmstrip, giving you more screen area for your image.
BRIDGE
After you have downloaded your images, view them in Bridge. Keep the instructions on the previous pages handy while you do this so that you can go through the options presented.
Drag the panel edges to resize them in Bridge. Sometimes you might want the preview panel to be large so you can better see the selected image or you can see several enlarged images at once. Other times it will be better to see a lot of thumbnails at once, so that window should be bigger.
Find your best images and group them together.
CAMERA RAW
Open an image in Camera Raw and poke around the window using the instructions on the previous pages. Try different things to see what happens. If you don’t like what you get (or get confused) then just hit the cancel button. You could instead hold the option key which changes the cancel button to Reset.
Try adjusting the white balance, exposure, and contrast with different images. These are the most important controls, and although not all images will need adjusting, you should get very familiar with what the changes look like.
Go ahead and try other adjustments as well, but be aware that the other adjustments can easily work against each other and most images just need the first three adjustments. Again, refrain from using the Auto button. It makes further adjustments very difficult.
COMPARE, DANG IT
It always amazes me how students will make changes to an image and then compare these changes to an image they only hold in their memories from before the changes were made. This only works for extreme adjustments, and is not good for getting the best from an image.
Instead of comparing changes you have made to an image in your memory, use the before/after buttons. Sure, these are a little hard to figure out at first, but they are important.
OH, AND ALSO
Look under your image in Camera Raw and you will see a descriptor of how the image would be sent to Photoshop.

Click on this and change the color space to the description that starts with sRGB if it is not already. More about why you want to do this is in the Color chapter. For now, just do it.
The following are questions you should ask yourself about this section of Camera Raw instructions.
CAN YOU...
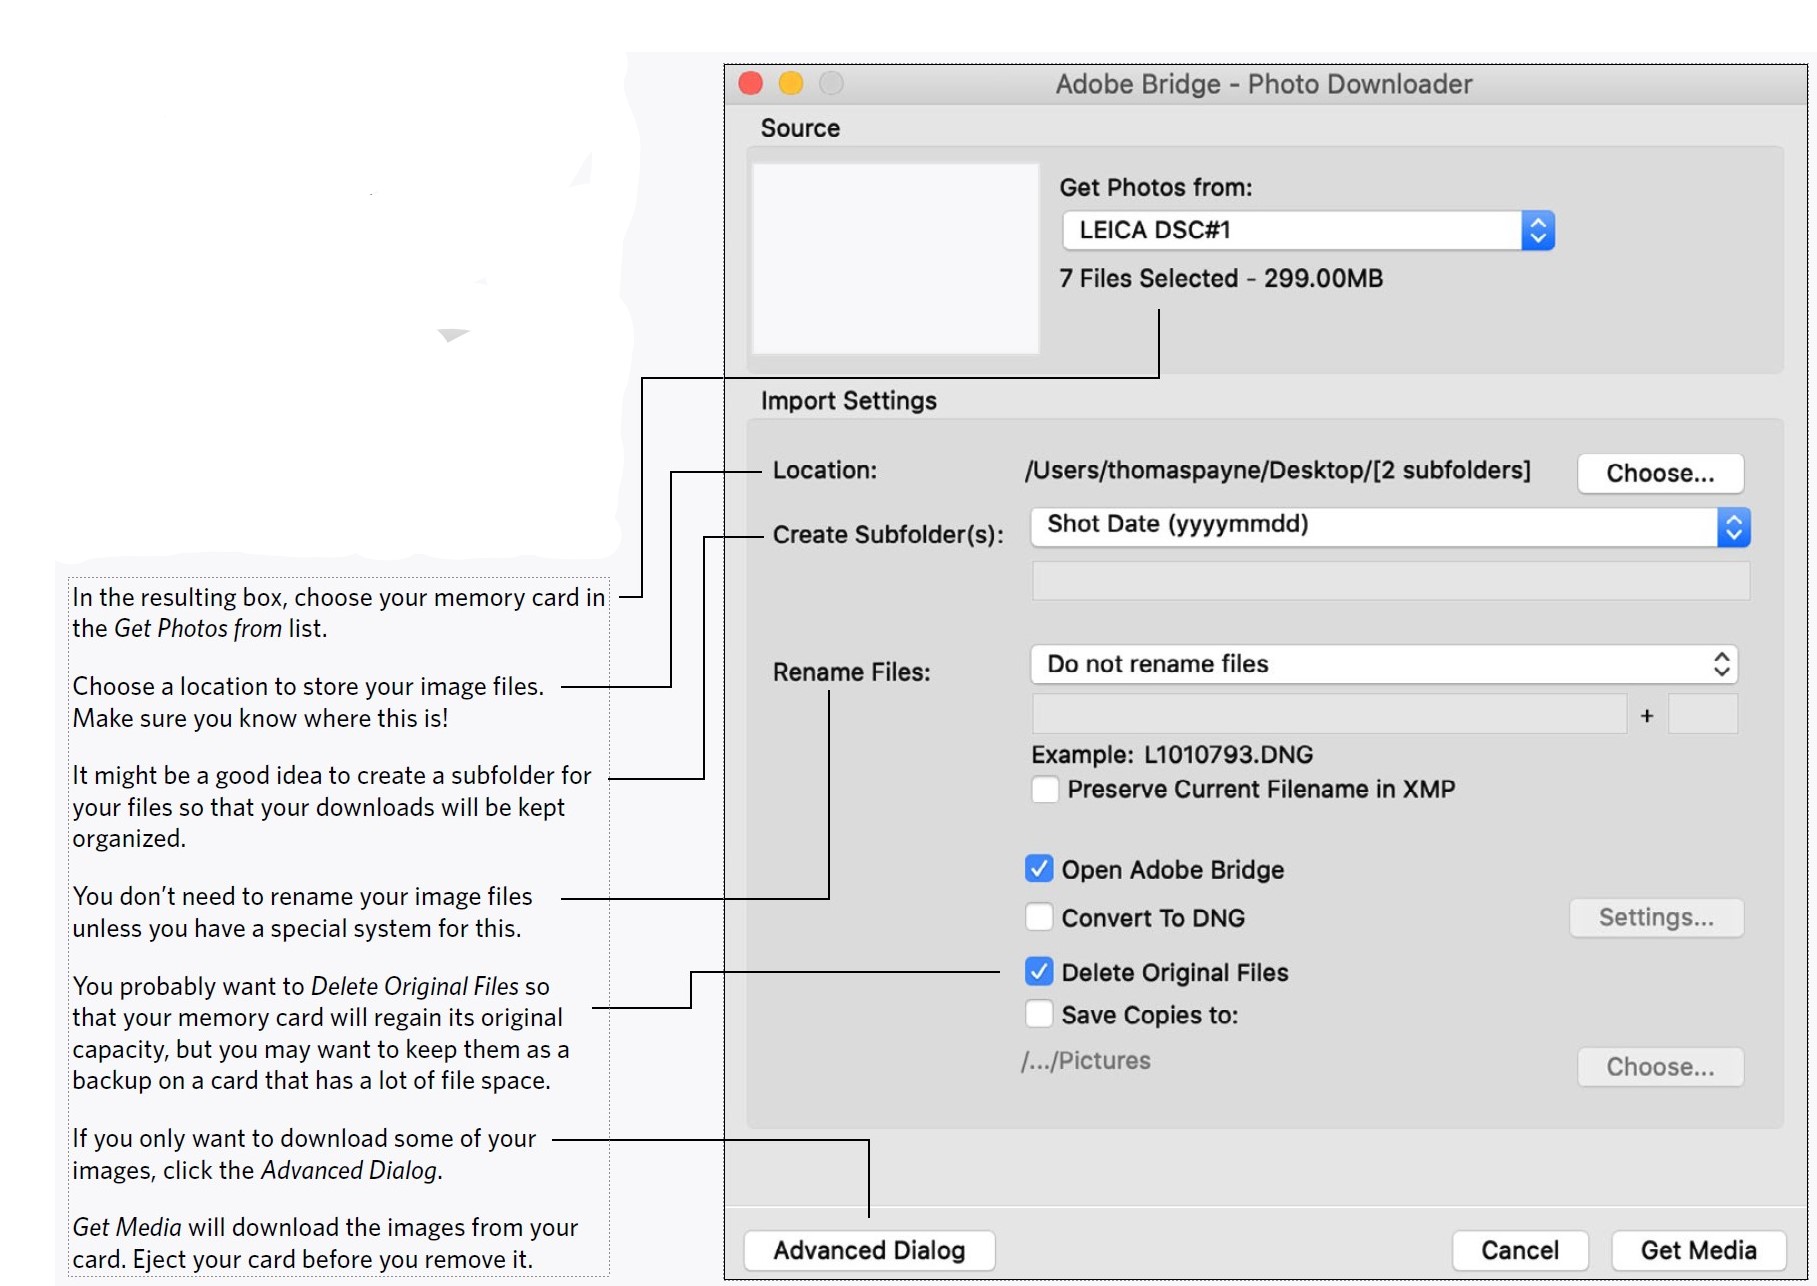
Import images using Bridge and know where those images are being stored and organized?
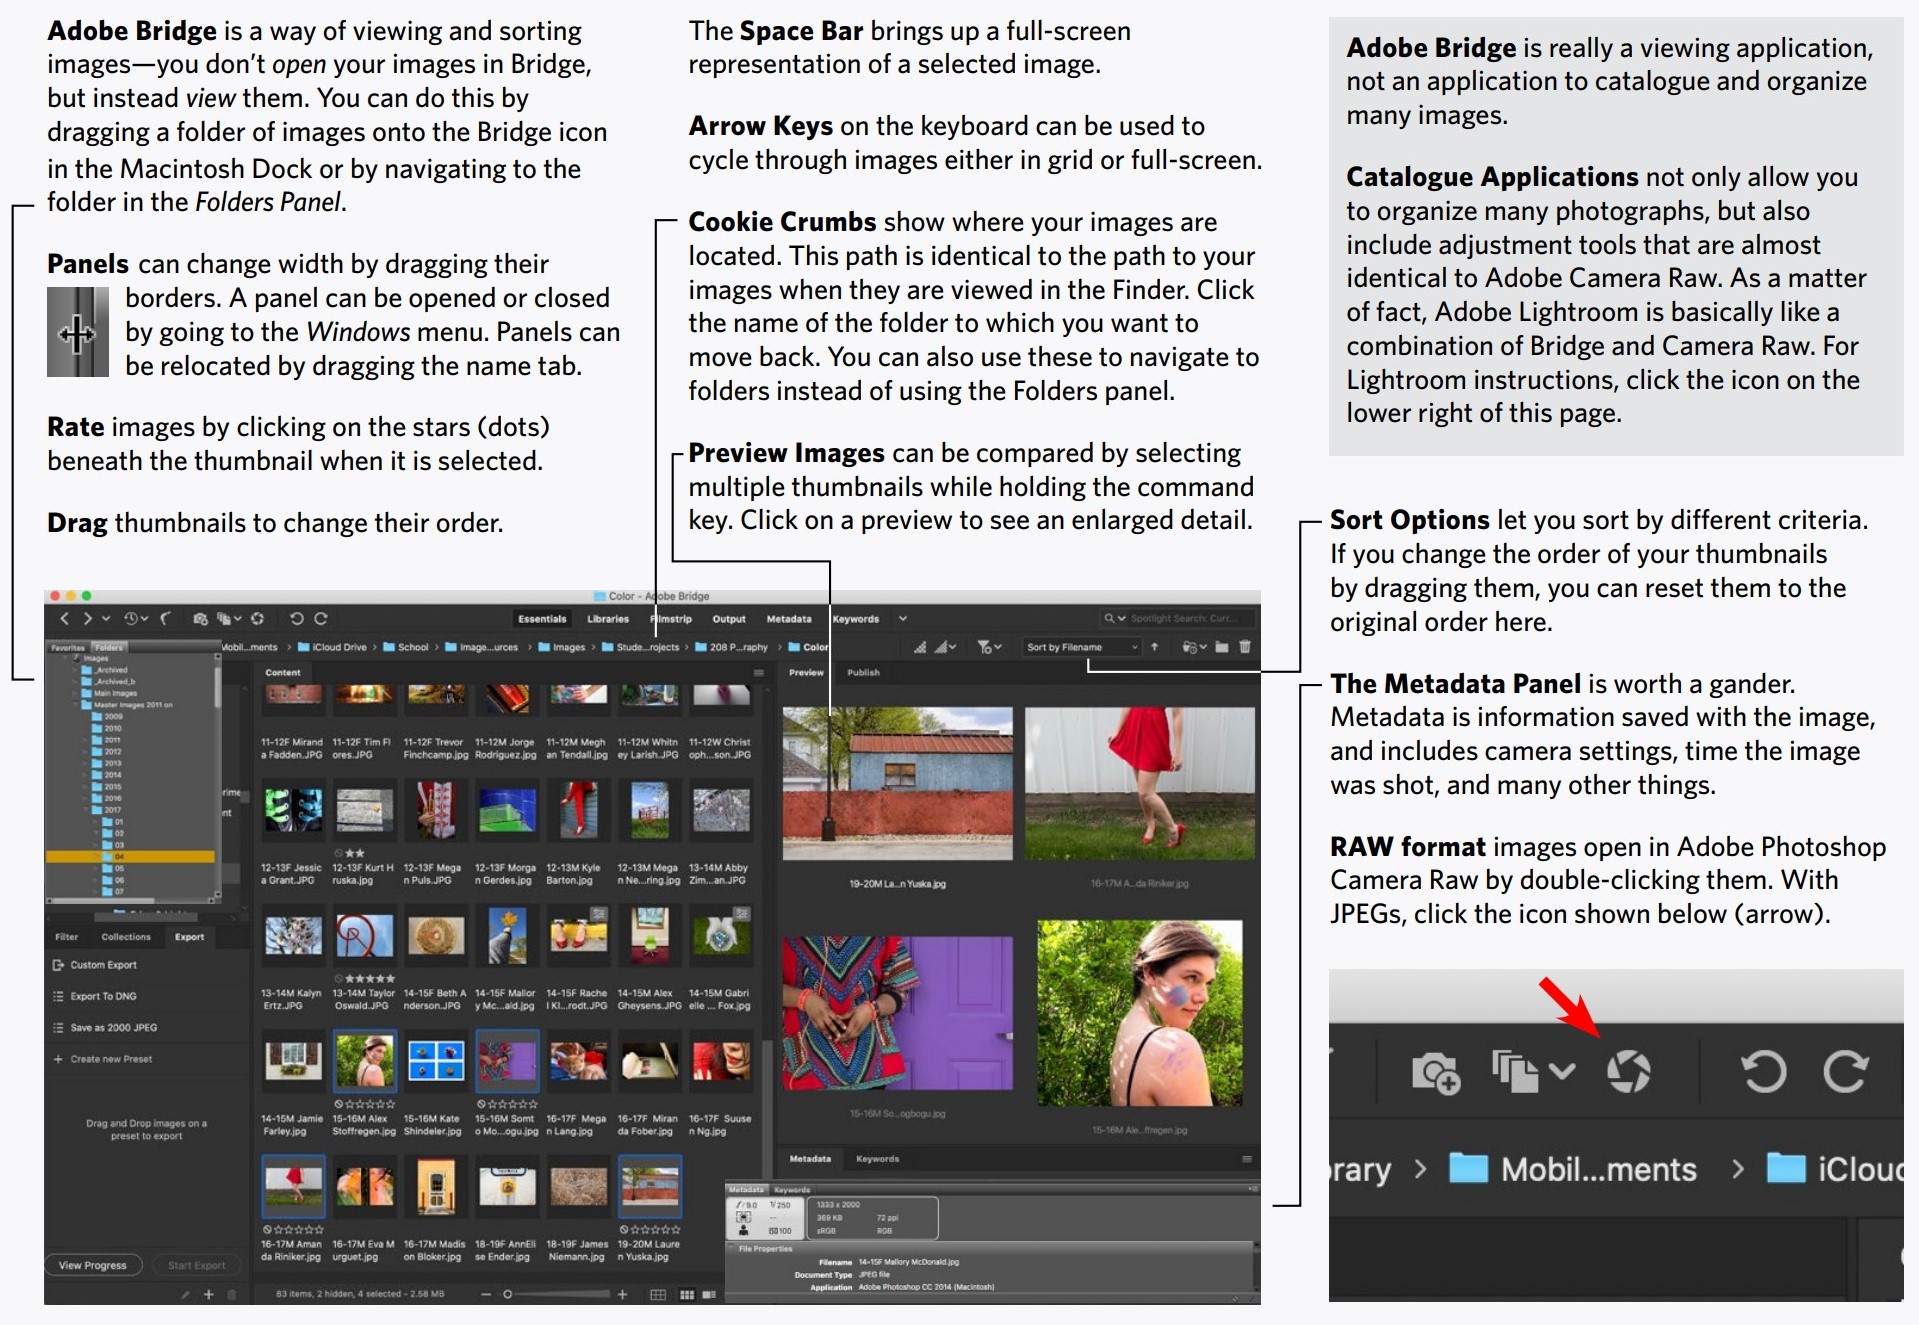
View a set of images from within Bridge?
Drag Bridge panels and click tabs to reveal and resize windows in the work areas?
Sort your best images by dragging or rating?
Find information about your images, including the time and date they were taken?
Select multiple images to view in the preview panel or open in Camera Raw?
Export a sized JPEG image from Camera Raw?
Adjust the white balance of images in Camera Raw?
Adjust the exposure and contrast of an image?
Zoom in or out of an image to see details or entire image?
Look at different areas of an enlarged image?Crop and rotate images?
Use comparison views and move adjusted images back and forth or reset them?