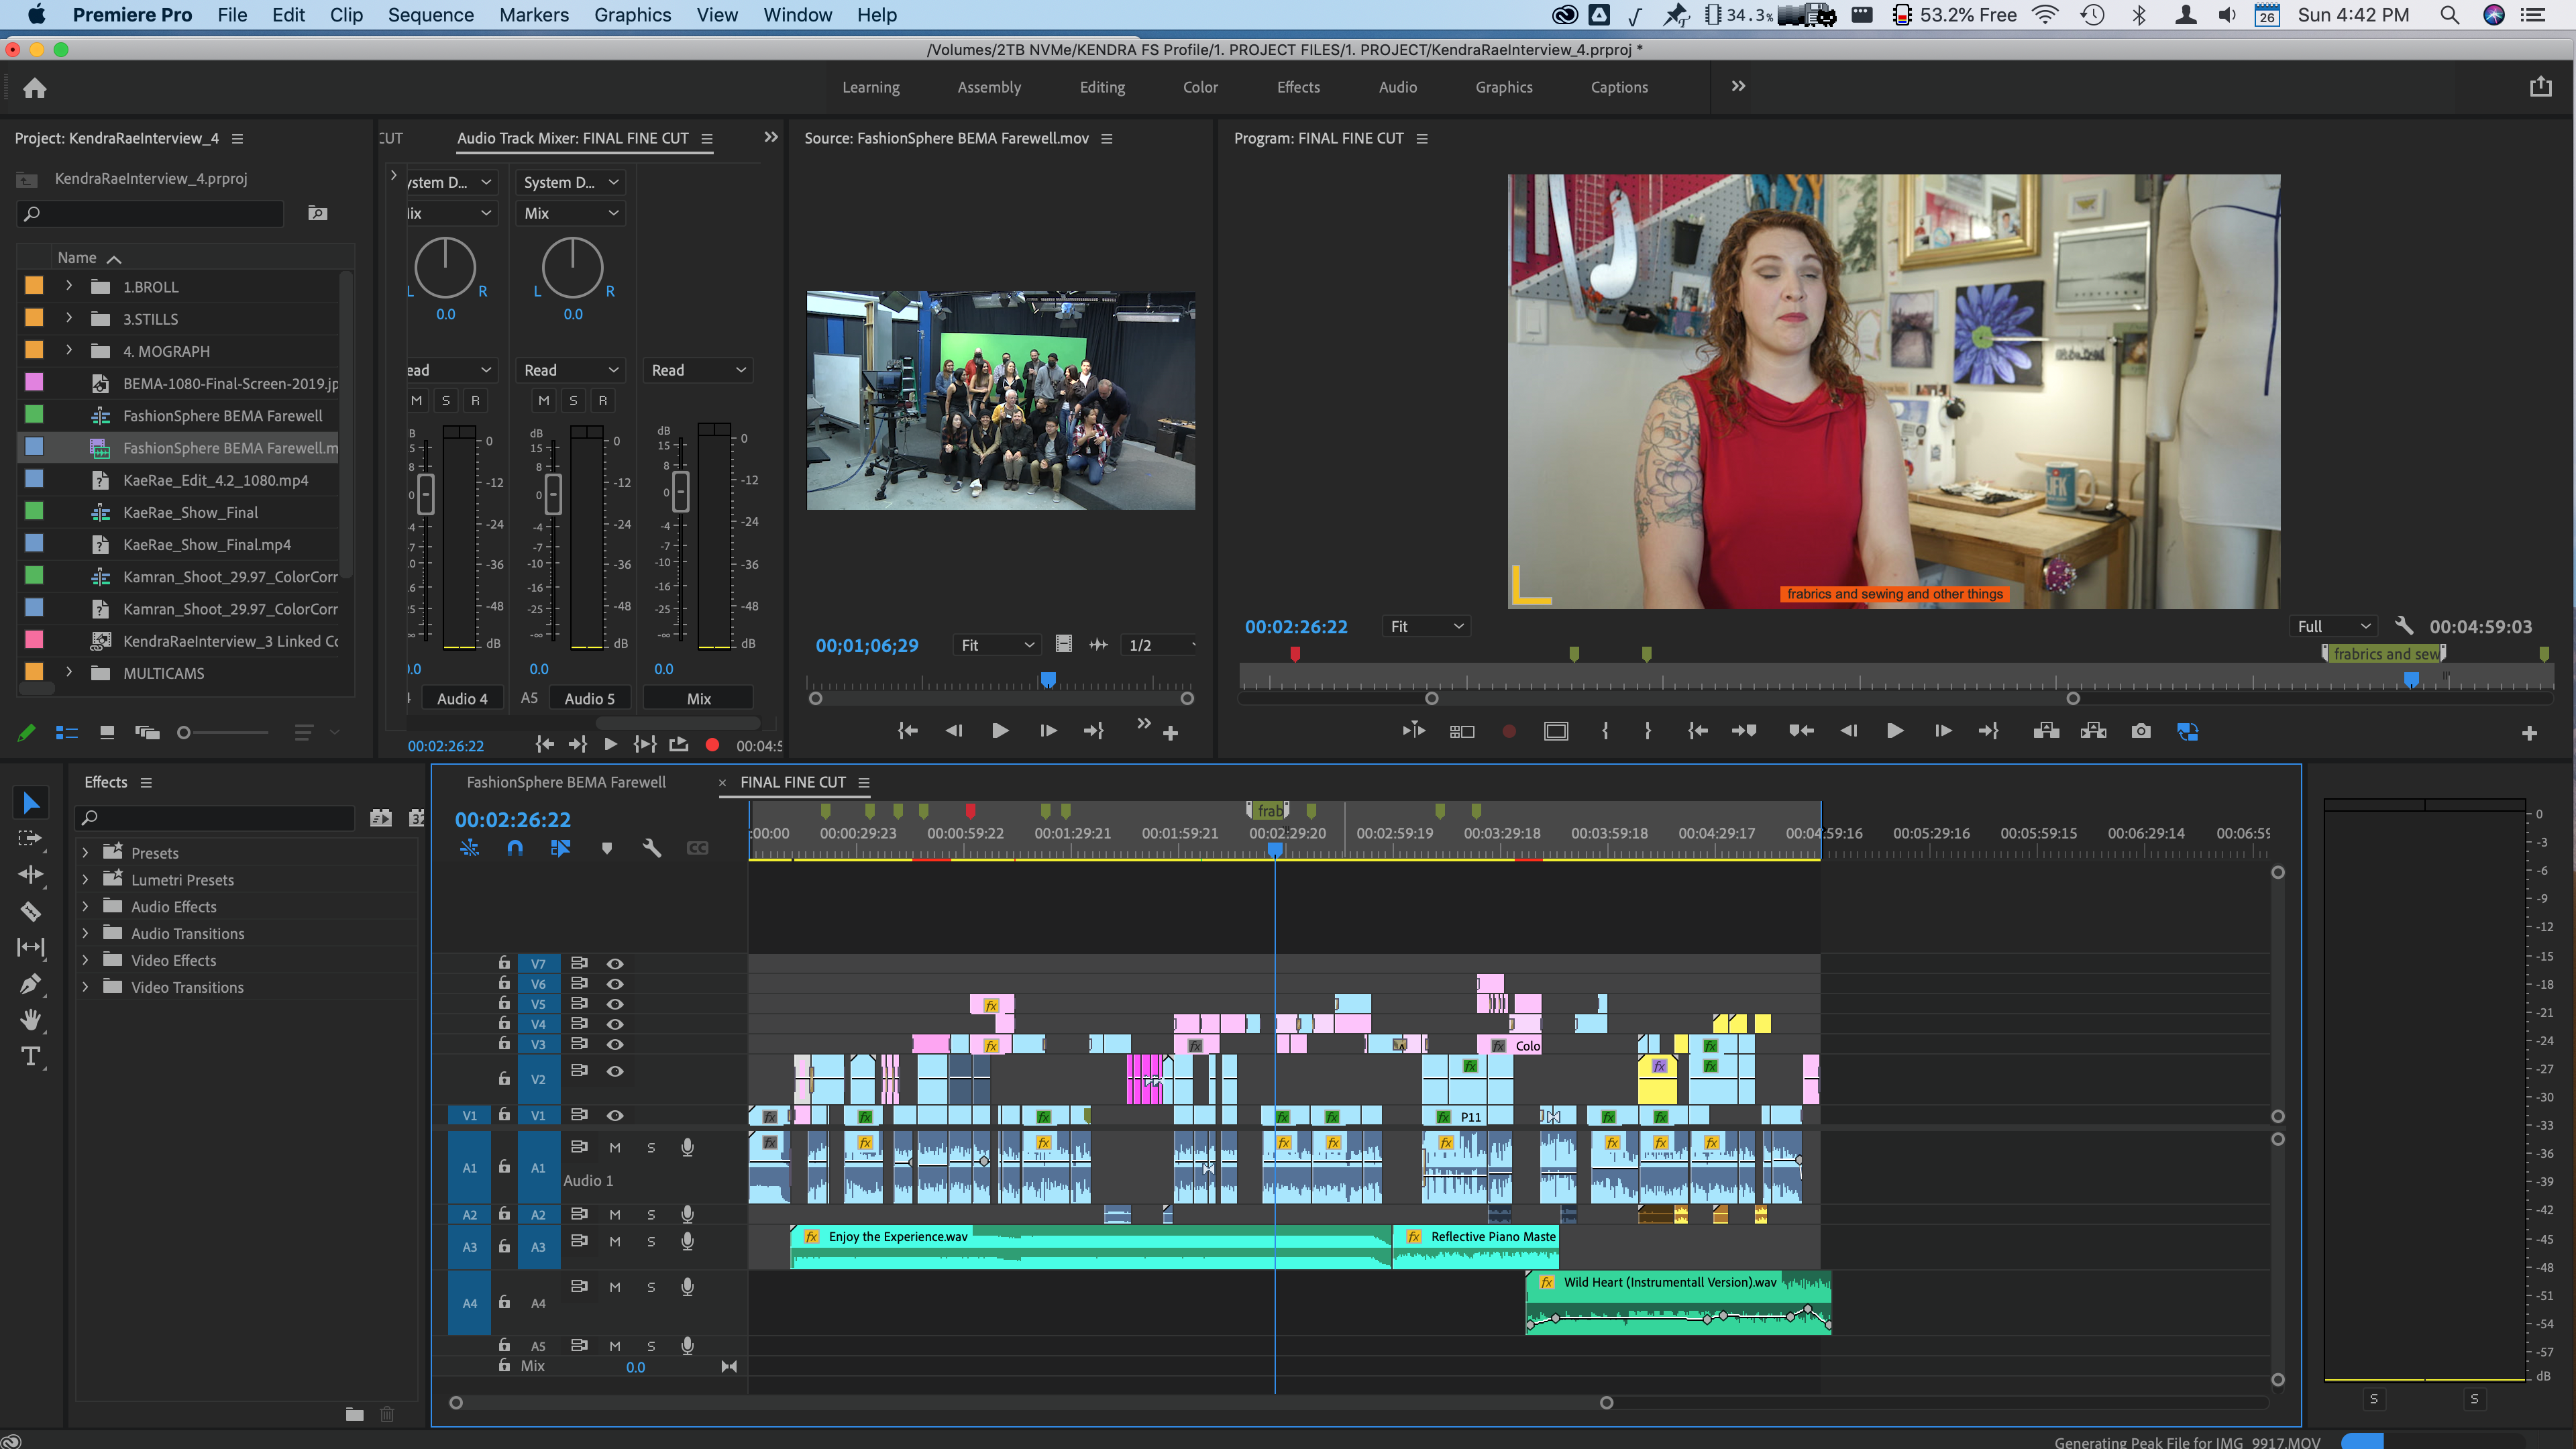
16.1: Steps of the Finishing Process
- Page ID
- 153066
What is Finishing?
The process of “finishing” a video project refers to taking steps and applying post-production techniques such as color-correction and sound sweetening. The goal is to make your project look and sound its best. This is generally a very last step in completing a video project and it’s important that all producing, shooting and editing is completed before starting into the finishing process. Even though one might want to continue to make changes to a project, deadlines and time constraints need to be observed (and in professional work are crucial).
Picture Lock
This stage now allows you to optionally export your sequence, with all the video tracks in place, for color correction and color grading to dedicated software, such as Blackmagic Design’s DaVinci Resolve. Once that’s completed, you’ll re-import your edited timeline and replace your old timeline with a new color corrected one (once you’ve checked all is well).
Picture Lock is also the stage at which you have the option to export your audio tracks, keeping their place in time in your sequence, to optimize or sweeten the sound.
You, or a colleague, with experience using a DAW, or Digital Audio Workstation, such as Avid ProTools or Apple LogicPro will be able to adjust gain, pan, EQ, fix noise a bit better than in your main video NLE, non-linear editor. This is whether you are working with the most popular software in the US for this, Adobe Premiere, or an alternative, such as Apple’s Final Cut Pro.
Keep in mind that “sending” your video or audio for optimization is optional and really comes down to the time and the skills you have, since it adds a significant level of complexity, file and software management to your duties. If you are just starting out, it’s best to use and become familiar with the options you easily have access to. Below are examples of each approach.

When to do a Finishing pass
What and how many techniques you apply to a finishing pass depends on a few things: your time, your skill and the context of a project. Are you racing to meet an assignment deadline with little time to spare? Are you comfortable with intermediate color and/or audio sweetening concepts or are you new to them? Are you working on a first student film or the final episode of a hit series on Netflix?
Professional films and videos, edited for movie, television, corporate or institutional distribution generally include finishing as an important last stage before publishing and distributing a project. In contrast, for an early student project, that might not seem as appropriate.Often, however, there are some steps you can take at the end of editing any project that can make a world of a difference.
Read on to see a checklist of options to consider for all and any projects you work on.
What follows are some quick finishing techniques you can consider for any project.
After that you’ll find suggested techniques that go beyond this and are appropriate for projects that you are more invested in.


