
7.4: Iris/Aperture
- Page ID
- 124308
Defining Iris & Aperture
The Iris of the camera is very much like the iris in the human eye because it controls how much light passes through it. In the eye, the iris controls how much light hits the retina, and in the camera, the iris controls how much light hits the image sensor. The iris is the physical blades that open and close, blocking or allowing light into the camera. The Aperture is the opening of the iris, like the pupil of the human eye. The term iris is most commonly used when using camcorders or television cameras, but DSLR and mirrorless cameras usually refer to aperture. When referring to how much light is let into the camera, f-stops are the typical measure. The higher the f-stop number, the less light is let in and the image appears darker. Conversely, the lower the f-stop number, the more light is allowed in and the image appears brighter.
F-Stops
There is a range of f-stops, which halves or doubles the amount of light let into the camera. The range is f/1.4, f/2, f/2.8, f/4, f/5.6, f/8, f/11, f/16, f/22, f/32, f/64, but you may see a narrower or wider range depending on the camera and lens. When you close the iris down from f/2.8 to f/4, you are reducing the amount of light let into the camera by half. This remains true when you go from f/5.6 to f/8. When you open the iris, it doubles the amount of light. Opening the iris from f/22 to f/16 doubles the amount of light allowed into the camera. When a director says to “stop down one stop”, they mean to increase the f-stop, for example from f/5.6 to f/8.
Depth of Field
Depth of field is the area going from the front of the camera lens to the furthest point away from the camera lens in which objects appear in sharp focus. You can have a large depth of field (also called deep focus) where everything in the image is in focus (See the right image in Figure 7.4.2) and you can have a narrow depth of field (also called shallow focus) where only part of the image is in focus (See the left image in Figure 7.4.2). When you adjust your f-stop, you are also controlling your depth of field. When you have an f-stop of 1.4, you will have shallow focus. When you have a larger f-stop of f-22, you will have deep focus where everything appears in focus. Here are some images of different f-stops and the effect on depth of field:


Camera Functions for the Iris
Auto Iris
The Auto Iris function gives the camera control over exposure. It uses an internal reflective light meter to measure the average brightness of the screen and continuously chooses the best f-stop for the image. This may cause issues in two ways: 1) If the image has high contrast, the camera will set the exposure for the brightest parts of the screen, leaving anything darker looking almost black. 2) The camera will continuously adjust the exposure when you pan, tilt, or zoom, or if movement within the shot changes the exposure.
Leave the auto iris off unless you are in a situation where you do not have time to adjust and the lighting continuously changes, like in a breaking news situation. To see whether the auto iris function is on or off, check the information overlays on the camera screen. If there is an “A” next to the f-stop, then the auto iris is on.
Push Auto Iris
Some video cameras have “Push Auto Iris” button (See Figure 7.4.3). The push auto iris function is a combination of Auto Iris and Manual Iris. The iris stays in manual mode until you push down on the Push Auto Iris button. When you press the Push Auto Iris, you give the camera temporary control over the iris. When you let go of the button, the iris goes back into manual mode. This is good to use if you don’t have a lot of time to do a complete manual iris setup and the lighting will remain relatively the same.
Manual Iris
Once the iris is set to manual, you can control how much light is let in without the camera changing it. You can open and close the iris by turning the iris ring on the lens (See Figure 7.4.4 below). When you turn the ring, you’ll notice the f-stop indicator on the screen changes with the size of the iris.

Zebra Stripes
Video cameras are commonly equipped with Zebra Stripes. Zebra stripes warn you when the objects in a shot are too bright. Having objects too bright could cause image distortion. If your image is too dark, you will not see any Zebra stripes. One way to make sure the zebra stripes are on is to use the iris ring to open the iris. When the image gets brighter, zebra stripes should appear on the screen, if you have enough light in your shot (See Figure 7.4.5 below).
Check your user manual to see where the Zebra Stripes settings are in the menu. If you set them at 100% brightness, it will warn you when a portion of your image will be distorted because it is too bright. The video below will explain how zebra stripes work and offer examples of how different zebra stripe settings will help create a well-exposed image.
To watch this video with Closed Captions: https://amara.org/en/videos/j66H7kfZ5RJv/info/how-to-use-zebras-for-exposure/
When you are done setting your exposure with the iris ring, you can leave the zebra stripes on or turn them off. If you leave them on, they will not be recorded onto the SD card when you record your video. Zebra stripes only appear on the screens on the camera and will not alter your final image.
Histogram
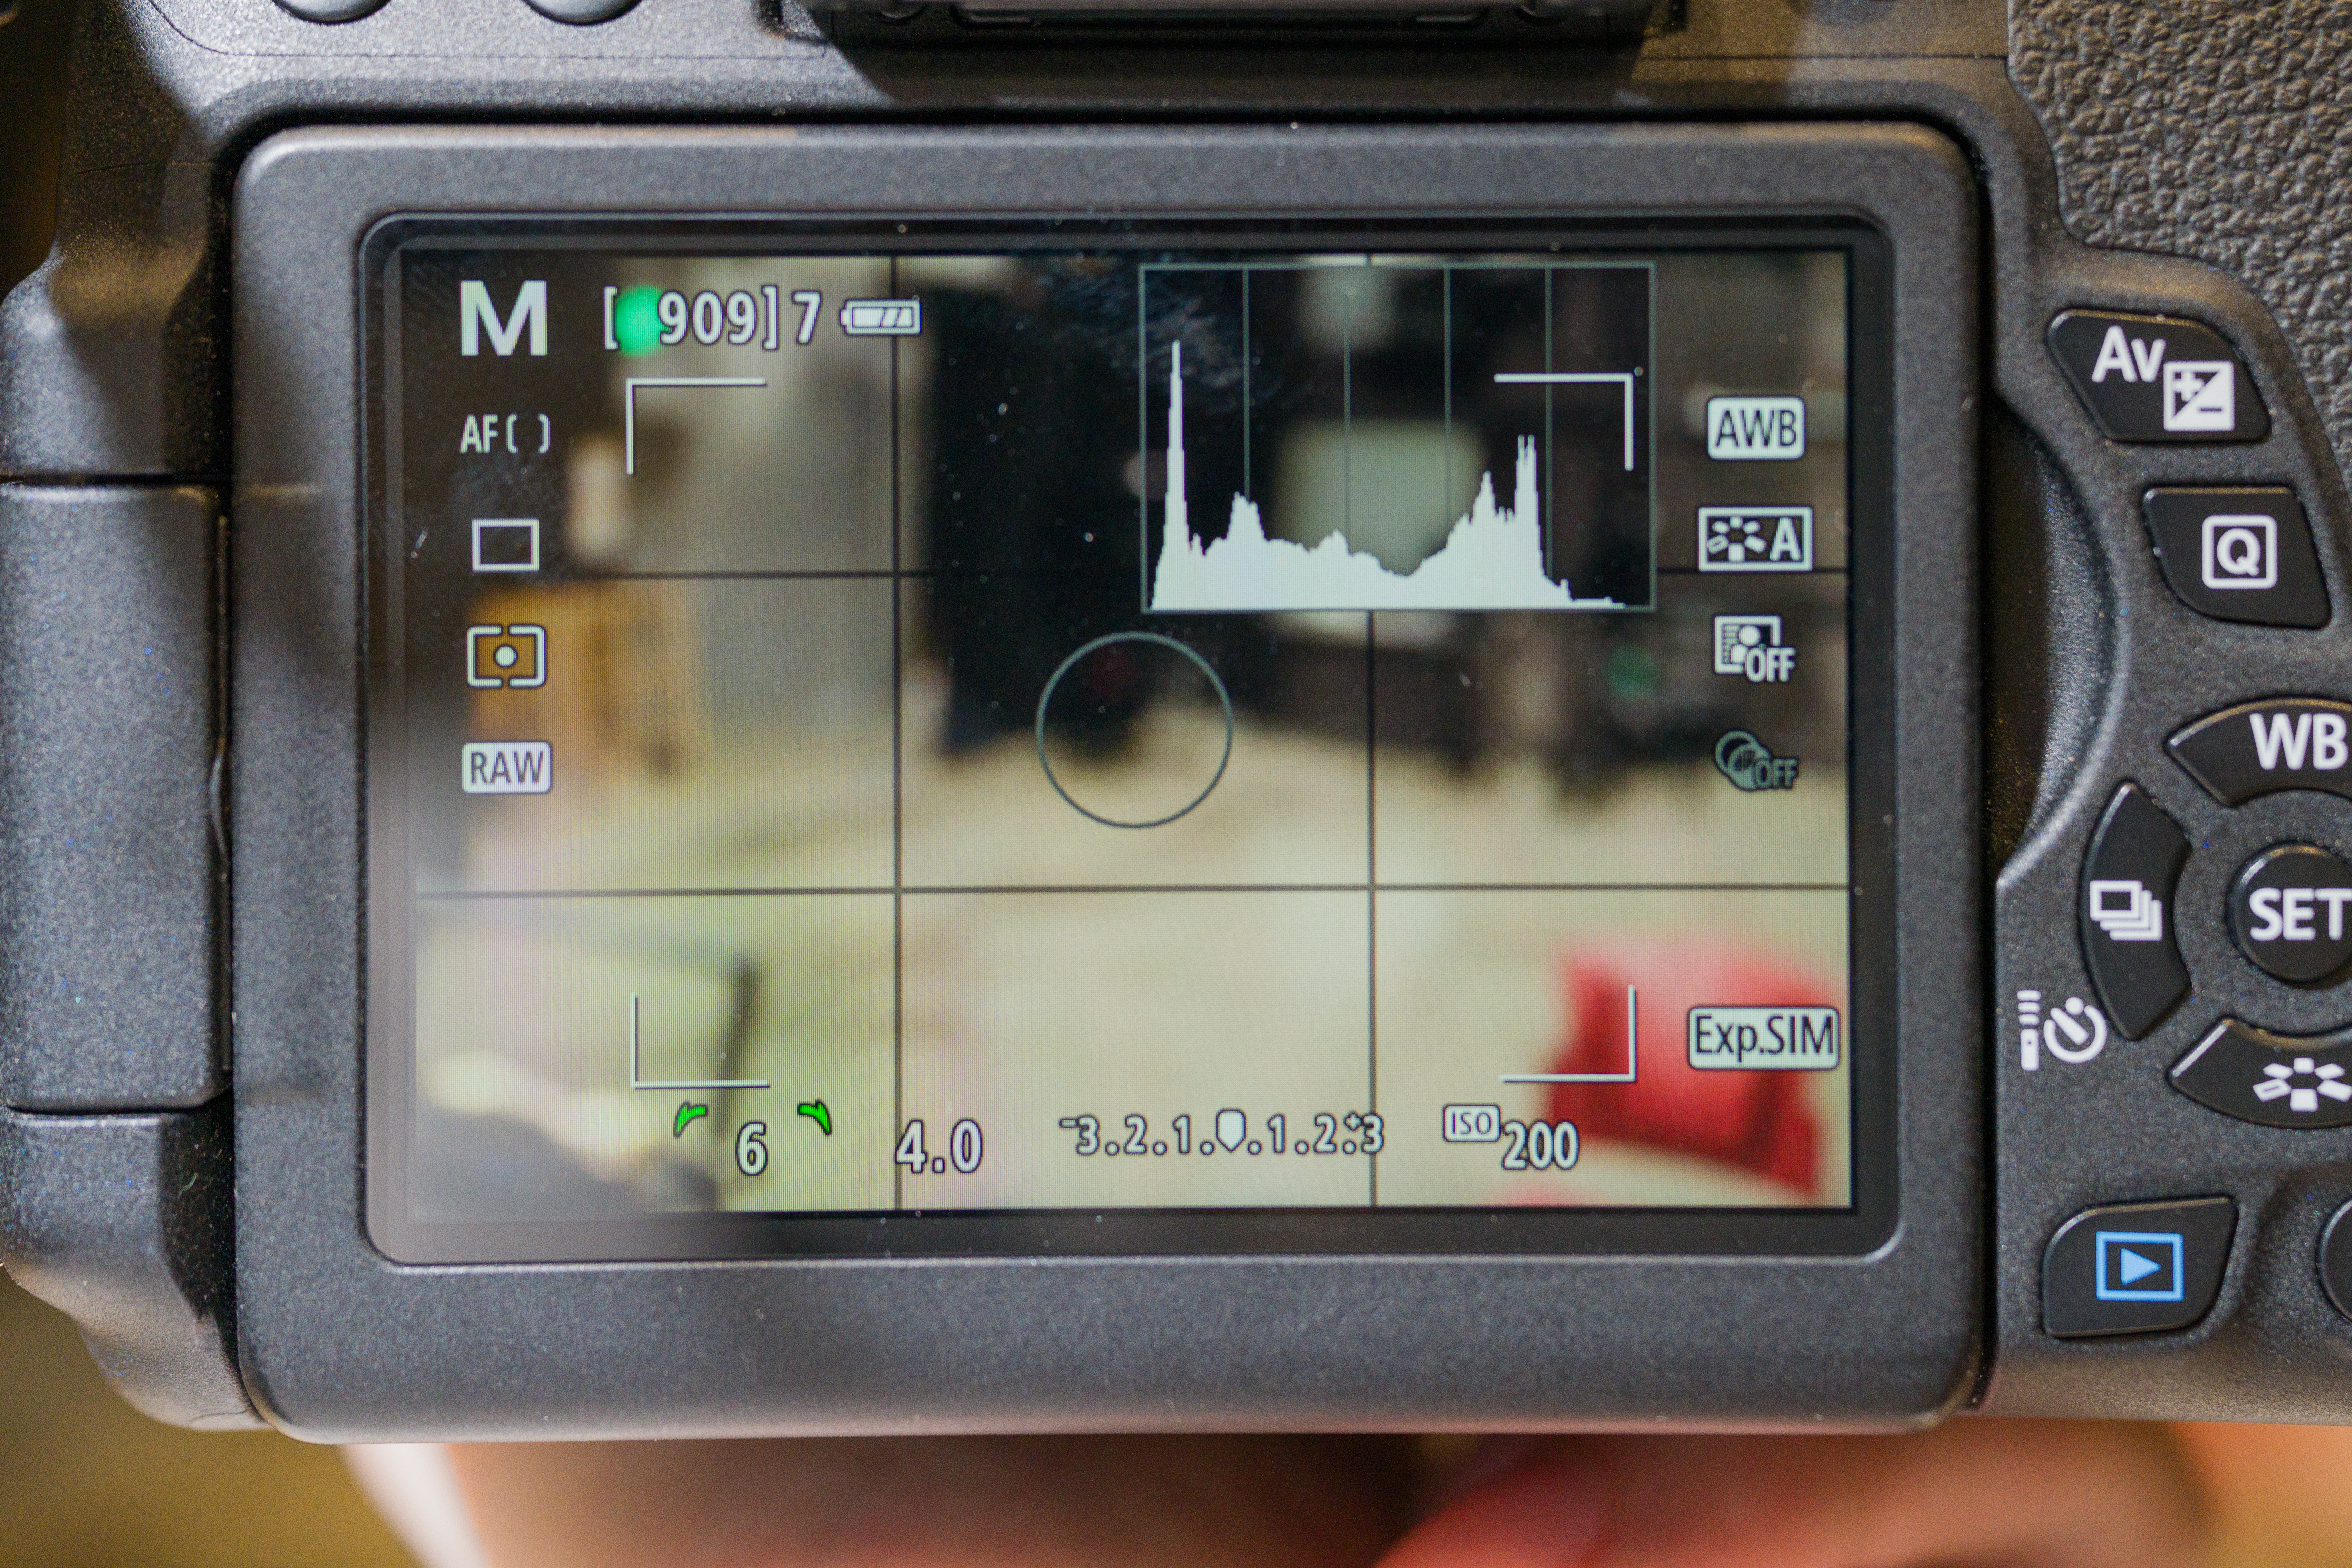
A histogram, when it comes to cameras, is a graphic representation of the distribution of shadows, midtones, and highlights within a given image (See Figure 7.4.6 above). The height of each section represents the number of pixels that fall into that category. When a shot is too dark, the pixels will be bunched to the left side of the histogram. The opposite is true of shots that are too bright, the pixels will be bunched on the right side of the histogram. When a shot is too bright or too dark, it is considered clipped because the image has lost details in the shadows or highlights. What most people aim for is an ideal histogram, which has a good distribution of pixels where most land within midtones. This may not be possible with some images depending on what you are shooting, but it is a good rule of thumb.
The video below will explain what a histogram is, how it works, and give examples of what the histogram will look like in different lighting conditions.
To watch this video with Closed Captions: https://amara.org/en/videos/OJMFI6pi5TQL/info/how-to-read-a-camera-histogram/