15.1: Rough Cuts
- Page ID
- 140341
Rough Cuts or Beginning the Actual Edit
In the previous Chapters, we talked about organizing for the edit, importing files into the editing project, and playing around with the assembly of clips to find their best order within the edit. Once this is generally established, (basically "knowing where you’re going and more or less, how to get there,") the serious, and nitty gritty job of editing begins. This initial "Rough Cut" still has a lot of work ahead of it, where you’ll need to spend a lot of time "tweaking" all your clips as you try and re-try, to find the best frame for them to begin and end with, as each clip follows the other, in the timeline of your story.
But even before you actually think of this fine tuning, for this initial assembly, ask yourself, "How do I choose the best shot to use?"
It is the shot that answers our questions about the "who, what, when, where, how" in the story you’re trying to tell. These answers have to be revealed to the viewer in a timely manner, when they’re expecting that information. Actually, every shot used, should be advancing the story in this revealing way. If you’re very new to the world of editing, this is a good time to go back to the camera section on different types of shots and review what they tell you, before you seriously begin to unfold your sequences/projects.
For example, a wide or long shot, sometimes referred to as a Master shot, tells the audience where a story is taking place. A close up (CU) shot tells us who the story is about, and an over the shoulder shot sets up the relationships between the characters.
Remember that your ultimate goal is to focus the viewer’s attention on the story, and away from any artifice of production, making the edit invisible to your audience. The most important choice an editor can make, is to only use the shots that enhance and advance the story, and to throw away the shots that do not, no matter how pretty these are, or how much time and money was spent on getting them!
There are many ways to tell an effective story, but the successful editor must first master the software available, and also be fluent in how to focus attention to the story. Many films begin with a Master shot, that sets the scene for the story, then zoom in to reveal the characters and conflict. Try to choose those takes with best actor performances. Another invisible way of changing a shot is to make the cut in the middle of an action.
Most importantly, keep in mind that every new shot used should add new information, answering the questions referred to earlier.
Types of Edit Trimming Operations
All apps will have a set of Editing Tools which will allow you to manipulate your media repository and timeline clips. There will be tools for selection of clips or ranges within, trimming, positioning, slicing into smaller portions, and zooming in and out. These will usually be found singly in the main menu, in some kind of tool browser, or even have individual icons. They will also have many keyboard shortcuts, which I suggest you learn as soon as possible, since these are the quickest way to perform an editing operation. Knowing the many different ways of doing any one single step will enable you to edit most quickly and efficiently. You’ll have to become thoroughly familiar with all of these, in whichever application you’re working.
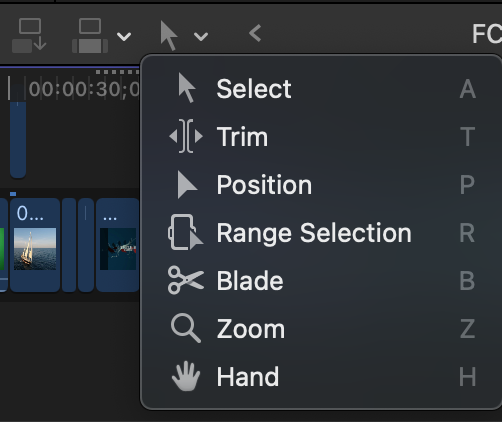
From the tool browser, you can choose various editing tools, like the selection tool, the trimming tool, positioning and range selecting tools, etc. Notice also the keyboard shortcuts for these, on the right side of the list. Most of the shortcuts are easy to remember, since they take the first letter of the beginning name of the tool. For example, the Position tool shortcut is the letter 'P', and the Zoom tool is the letter 'Z.' The only exception is the selection tool, with the shortcut of "A." However this is also easy to remember because it has the shape of an Arrow, and is often called the arrow tool.
Once in your timeline, clips will need to be fine-tuned to the exact edit points (ins and outs) that help propel your story theme. Regardless of what different applications name them, they fall into the following general categories:
Rippling
Trimming one side of a clip (either the in or the out point). Usually, with the proper tool, you hover over one of the edit points, then drag in either direction (right or left), to make the clip longer or shorter. There will be some kind of indicator/s to see the actual amount of your trim as you work it. There are also operations to allow you to move automatically in one or more increments at a time. Most applications will have two or more ways of affecting this trim. A great deal of your editing time will be spent on rippling and rolling (which we’ll cover next). You should also keep in mind the fact that the rippling process always affects the duration/length of your project – an important point when you are tied into a specific duration or time deadline for any program.
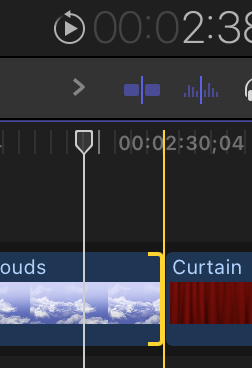
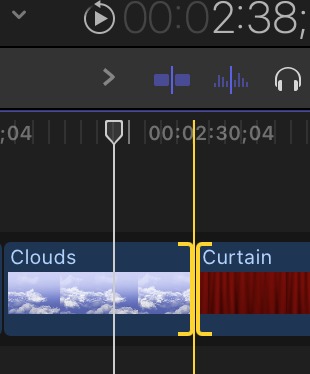
Rolling
Trimming two sides of a clip at the same time (both the in and the out points). Here, the end of the outgoing clip is trimmed in tandem with the beginning of the incoming clip. An edit point is chosen, and with the proper tool, you drag to the left or right, affecting frames of the clips on either side of the edit point, as you drag. Indicators of some kind will show you the exact number of frames affected on either side, and automatic trimming moves will also be available. Again, you should learn these operations thoroughly for keeping on your creative roll. The process of rolling does NOT affect the duration/length of your program. The see-saw effect between the two clips (meaning, as you shorten or lengthen the outgoing clip, the incoming clip compensates in the opposite direction) thereby neutralizes any change of the overall length/timing of your project.
Slipping
Trimming within a clip already in the timeline. When a clip in the timeline has the needed placement and duration, but you then decide that you’d like to use a different portion of the larger, imported source clip within this same spot in the timeline. The slipping edit tool allows you to move to the desired part of that clip, without having to first remove the unwanted clip portion, and then replacing it with the newer one. This is not so common an editing procedure, but still very useful and timesaving when needed.
There are also many other different types of editing operations, which you’ll learn with the application you’ve chosen to use. These include tools and shortcuts for extending edits to specific lengths, "back timing" (meaning choosing the ending frame in a timed spot in your timeline, which then automatically selects your in point), lining up edits to specific timecodes, jumping between edit points, replacing edits, writing over timeline clips, and many more. The more adept you are at accomplishing what you wish to do within the application, the less time you have to quit your creative impetus to scratch your head and wonder, "Gee, how do I do that?" Needing to stop everything and look up how/what to do in any particular operation is a quick way to fall out of your creative momentum.

Special Editing Tools
Editing applications will also have special tools that aid the operations explained above. These are usually visual tools that help you see what the effect of your editing move will actually look like to your viewing audience. Final Cut names will be used here, but all apps will have a similar type of tool/display.
Snapping is an operation that, when turned on, the items you are placing into the timeline - including the skimmer and playhead - seem to "snap" or glom on to each other at various editing points in the timeline. Snapping affects the functions of many of the editing tools. In Final Cut Pro, these include the Select tool, the Trim tool, the Position tool, the Range Selection tool, and the Blade tool.
Snapping is a big help especially when you're first assembling clips into your timeline. You never have to worry about where you're placing the clips so they don't write over each other, or cause a gap.
However, when you're focusing on fine-tuning your edit points, snapping can become a hindrance, because this snapping procedure begins a few frames at either end of the clip, not allowing you to make very fine adjustments to these points. But, you can disable snapping when frame-by-frame precision editing in these areas is necessary.
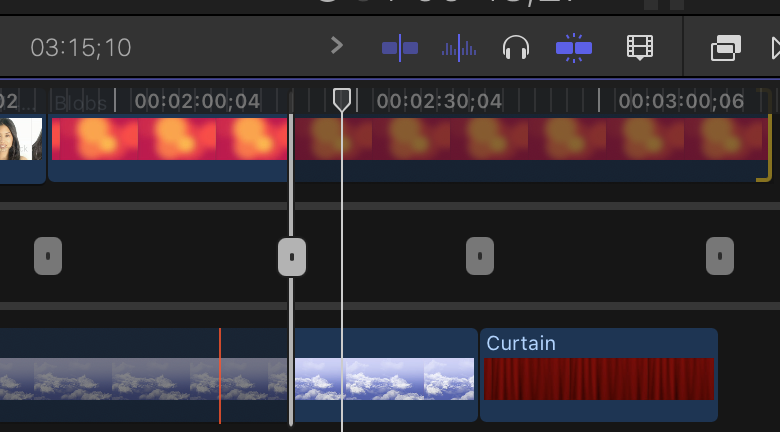
Two-Up Display
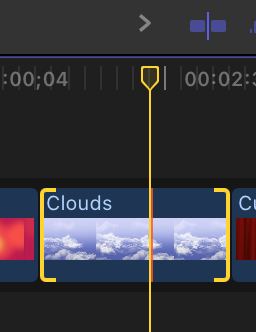
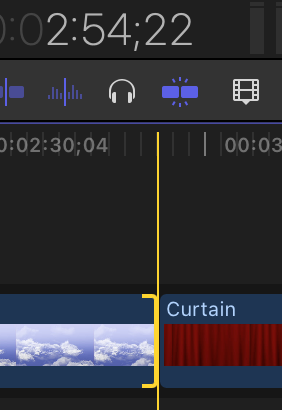
This is particularly useful in ripple and roll operations. When trying to decide the best in and out points for these, a divided display comes up in your viewing window, showing you a view of each side of the clips affected, thereby allowing you to see which of the frames provide the best cut for your storytelling.
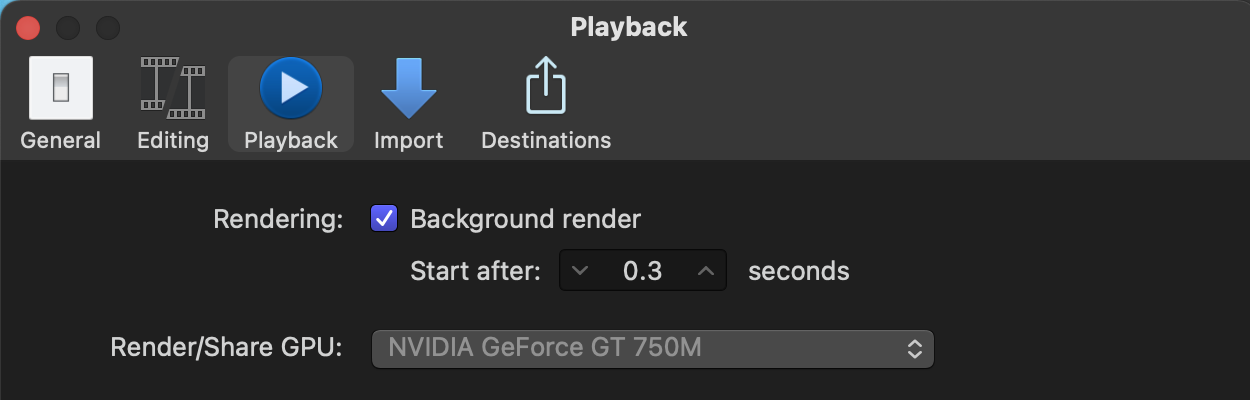
This is some type of display that shows the amount and status of any rendering. Rendering is the process of creating new editing materials, such as transitions, various effects. This allows the editor to know if/when such an operation has been completed. Most editing applications will allow you to see a realistic view of the procedure immediately, before the render is complete, though not at full resolution. This monitor will tell you when the rendering is done, and you are looking at the final view. You can also make choices in the Preferences section of your editing application, as to when the rendering process will take place - either in the background, or by manual choice.

Preferences
Preferences refer to setting up your editing interface and operations to accommodate your personal working style. You’ll find a preferences browser in each app, with a myriad of ways to make the app work with and for you.

Help
Help for editing questions is always available in each application. Usually this is in two forms:
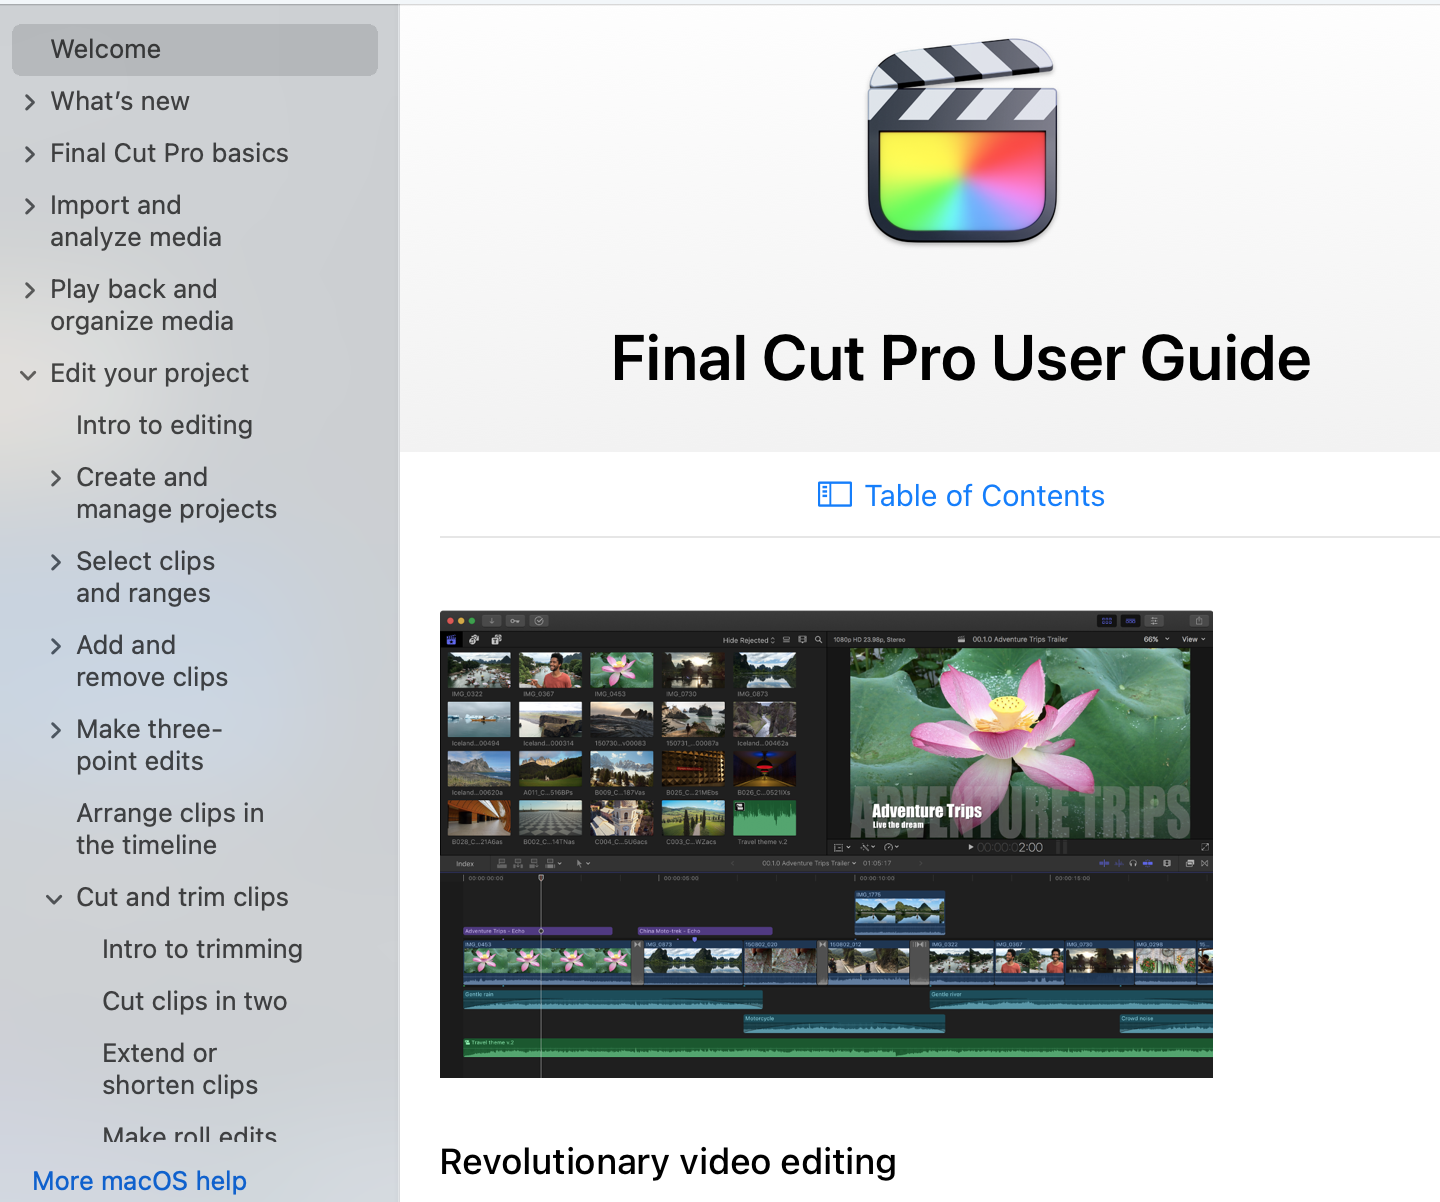
- One from the website of the company that makes the app, containing all the information in the application manual. This is always accessed with a very prominent help button in the main menu

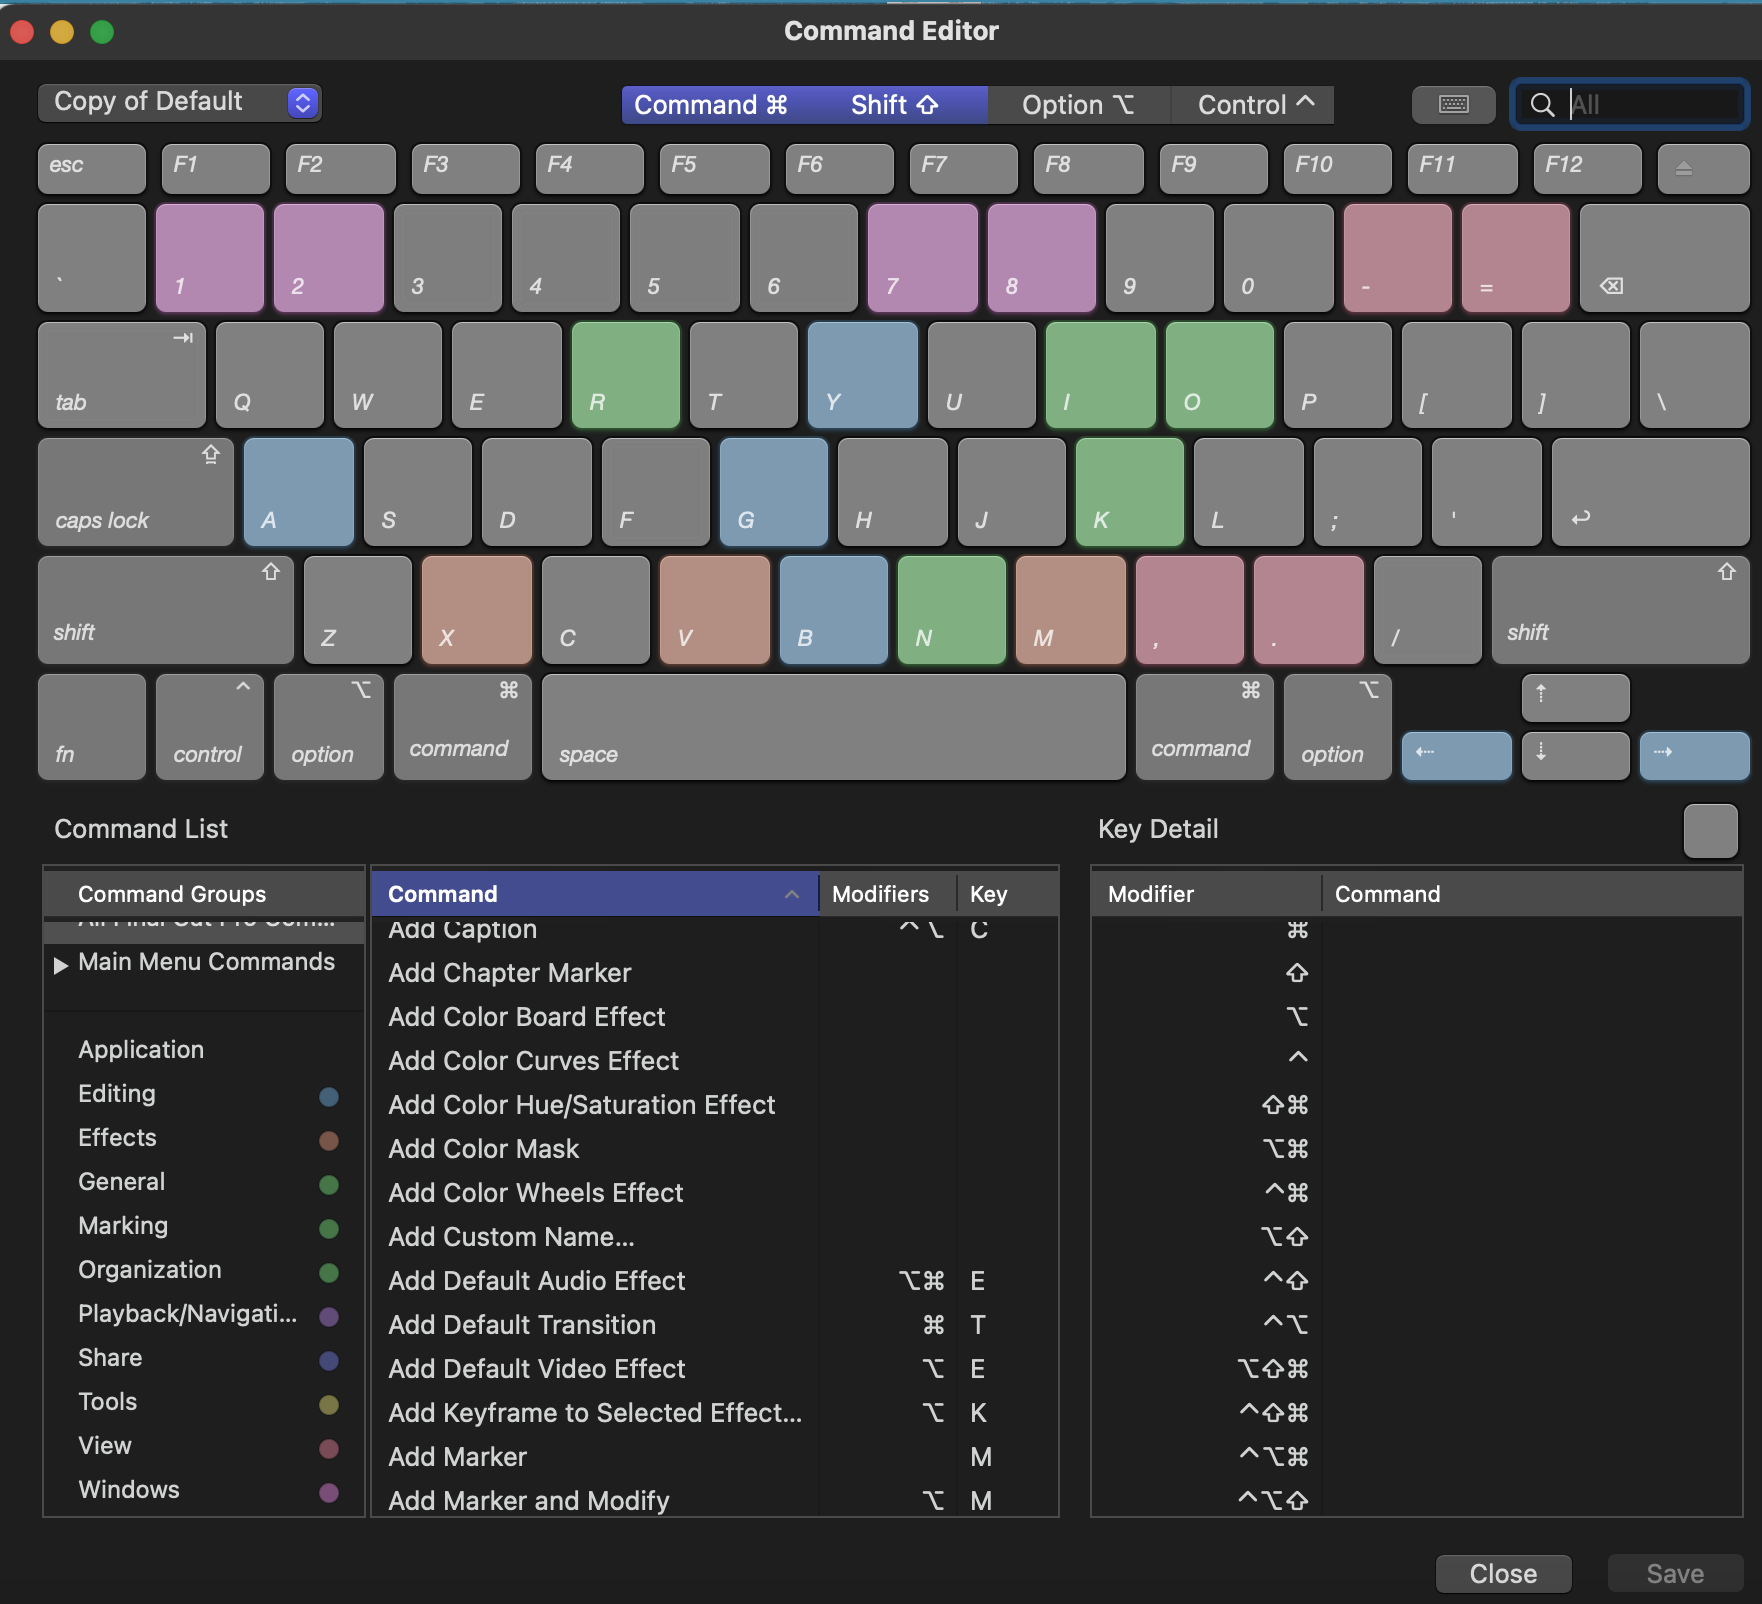
2 And one from within the application itself, such as the Command Editor in Final Cut Pro:
Application Specific Tools
Precision Editor in Final Cut Pro
An editing device which allows the editor to see what handles are available in your resource clips, that have not yet been used, and also allows the editor to perform the ripple/roll functions from therein. A very handy gadget.