
1.12: Charcoal Drawing
- Page ID
- 67702
\( \newcommand{\vecs}[1]{\overset { \scriptstyle \rightharpoonup} {\mathbf{#1}} } \)
\( \newcommand{\vecd}[1]{\overset{-\!-\!\rightharpoonup}{\vphantom{a}\smash {#1}}} \)
\( \newcommand{\dsum}{\displaystyle\sum\limits} \)
\( \newcommand{\dint}{\displaystyle\int\limits} \)
\( \newcommand{\dlim}{\displaystyle\lim\limits} \)
\( \newcommand{\id}{\mathrm{id}}\) \( \newcommand{\Span}{\mathrm{span}}\)
( \newcommand{\kernel}{\mathrm{null}\,}\) \( \newcommand{\range}{\mathrm{range}\,}\)
\( \newcommand{\RealPart}{\mathrm{Re}}\) \( \newcommand{\ImaginaryPart}{\mathrm{Im}}\)
\( \newcommand{\Argument}{\mathrm{Arg}}\) \( \newcommand{\norm}[1]{\| #1 \|}\)
\( \newcommand{\inner}[2]{\langle #1, #2 \rangle}\)
\( \newcommand{\Span}{\mathrm{span}}\)
\( \newcommand{\id}{\mathrm{id}}\)
\( \newcommand{\Span}{\mathrm{span}}\)
\( \newcommand{\kernel}{\mathrm{null}\,}\)
\( \newcommand{\range}{\mathrm{range}\,}\)
\( \newcommand{\RealPart}{\mathrm{Re}}\)
\( \newcommand{\ImaginaryPart}{\mathrm{Im}}\)
\( \newcommand{\Argument}{\mathrm{Arg}}\)
\( \newcommand{\norm}[1]{\| #1 \|}\)
\( \newcommand{\inner}[2]{\langle #1, #2 \rangle}\)
\( \newcommand{\Span}{\mathrm{span}}\) \( \newcommand{\AA}{\unicode[.8,0]{x212B}}\)
\( \newcommand{\vectorA}[1]{\vec{#1}} % arrow\)
\( \newcommand{\vectorAt}[1]{\vec{\text{#1}}} % arrow\)
\( \newcommand{\vectorB}[1]{\overset { \scriptstyle \rightharpoonup} {\mathbf{#1}} } \)
\( \newcommand{\vectorC}[1]{\textbf{#1}} \)
\( \newcommand{\vectorD}[1]{\overrightarrow{#1}} \)
\( \newcommand{\vectorDt}[1]{\overrightarrow{\text{#1}}} \)
\( \newcommand{\vectE}[1]{\overset{-\!-\!\rightharpoonup}{\vphantom{a}\smash{\mathbf {#1}}}} \)
\( \newcommand{\vecs}[1]{\overset { \scriptstyle \rightharpoonup} {\mathbf{#1}} } \)
\(\newcommand{\longvect}{\overrightarrow}\)
\( \newcommand{\vecd}[1]{\overset{-\!-\!\rightharpoonup}{\vphantom{a}\smash {#1}}} \)
\(\newcommand{\avec}{\mathbf a}\) \(\newcommand{\bvec}{\mathbf b}\) \(\newcommand{\cvec}{\mathbf c}\) \(\newcommand{\dvec}{\mathbf d}\) \(\newcommand{\dtil}{\widetilde{\mathbf d}}\) \(\newcommand{\evec}{\mathbf e}\) \(\newcommand{\fvec}{\mathbf f}\) \(\newcommand{\nvec}{\mathbf n}\) \(\newcommand{\pvec}{\mathbf p}\) \(\newcommand{\qvec}{\mathbf q}\) \(\newcommand{\svec}{\mathbf s}\) \(\newcommand{\tvec}{\mathbf t}\) \(\newcommand{\uvec}{\mathbf u}\) \(\newcommand{\vvec}{\mathbf v}\) \(\newcommand{\wvec}{\mathbf w}\) \(\newcommand{\xvec}{\mathbf x}\) \(\newcommand{\yvec}{\mathbf y}\) \(\newcommand{\zvec}{\mathbf z}\) \(\newcommand{\rvec}{\mathbf r}\) \(\newcommand{\mvec}{\mathbf m}\) \(\newcommand{\zerovec}{\mathbf 0}\) \(\newcommand{\onevec}{\mathbf 1}\) \(\newcommand{\real}{\mathbb R}\) \(\newcommand{\twovec}[2]{\left[\begin{array}{r}#1 \\ #2 \end{array}\right]}\) \(\newcommand{\ctwovec}[2]{\left[\begin{array}{c}#1 \\ #2 \end{array}\right]}\) \(\newcommand{\threevec}[3]{\left[\begin{array}{r}#1 \\ #2 \\ #3 \end{array}\right]}\) \(\newcommand{\cthreevec}[3]{\left[\begin{array}{c}#1 \\ #2 \\ #3 \end{array}\right]}\) \(\newcommand{\fourvec}[4]{\left[\begin{array}{r}#1 \\ #2 \\ #3 \\ #4 \end{array}\right]}\) \(\newcommand{\cfourvec}[4]{\left[\begin{array}{c}#1 \\ #2 \\ #3 \\ #4 \end{array}\right]}\) \(\newcommand{\fivevec}[5]{\left[\begin{array}{r}#1 \\ #2 \\ #3 \\ #4 \\ #5 \\ \end{array}\right]}\) \(\newcommand{\cfivevec}[5]{\left[\begin{array}{c}#1 \\ #2 \\ #3 \\ #4 \\ #5 \\ \end{array}\right]}\) \(\newcommand{\mattwo}[4]{\left[\begin{array}{rr}#1 \amp #2 \\ #3 \amp #4 \\ \end{array}\right]}\) \(\newcommand{\laspan}[1]{\text{Span}\{#1\}}\) \(\newcommand{\bcal}{\cal B}\) \(\newcommand{\ccal}{\cal C}\) \(\newcommand{\scal}{\cal S}\) \(\newcommand{\wcal}{\cal W}\) \(\newcommand{\ecal}{\cal E}\) \(\newcommand{\coords}[2]{\left\{#1\right\}_{#2}}\) \(\newcommand{\gray}[1]{\color{gray}{#1}}\) \(\newcommand{\lgray}[1]{\color{lightgray}{#1}}\) \(\newcommand{\rank}{\operatorname{rank}}\) \(\newcommand{\row}{\text{Row}}\) \(\newcommand{\col}{\text{Col}}\) \(\renewcommand{\row}{\text{Row}}\) \(\newcommand{\nul}{\text{Nul}}\) \(\newcommand{\var}{\text{Var}}\) \(\newcommand{\corr}{\text{corr}}\) \(\newcommand{\len}[1]{\left|#1\right|}\) \(\newcommand{\bbar}{\overline{\bvec}}\) \(\newcommand{\bhat}{\widehat{\bvec}}\) \(\newcommand{\bperp}{\bvec^\perp}\) \(\newcommand{\xhat}{\widehat{\xvec}}\) \(\newcommand{\vhat}{\widehat{\vvec}}\) \(\newcommand{\uhat}{\widehat{\uvec}}\) \(\newcommand{\what}{\widehat{\wvec}}\) \(\newcommand{\Sighat}{\widehat{\Sigma}}\) \(\newcommand{\lt}{<}\) \(\newcommand{\gt}{>}\) \(\newcommand{\amp}{&}\) \(\definecolor{fillinmathshade}{gray}{0.9}\)Charcoal

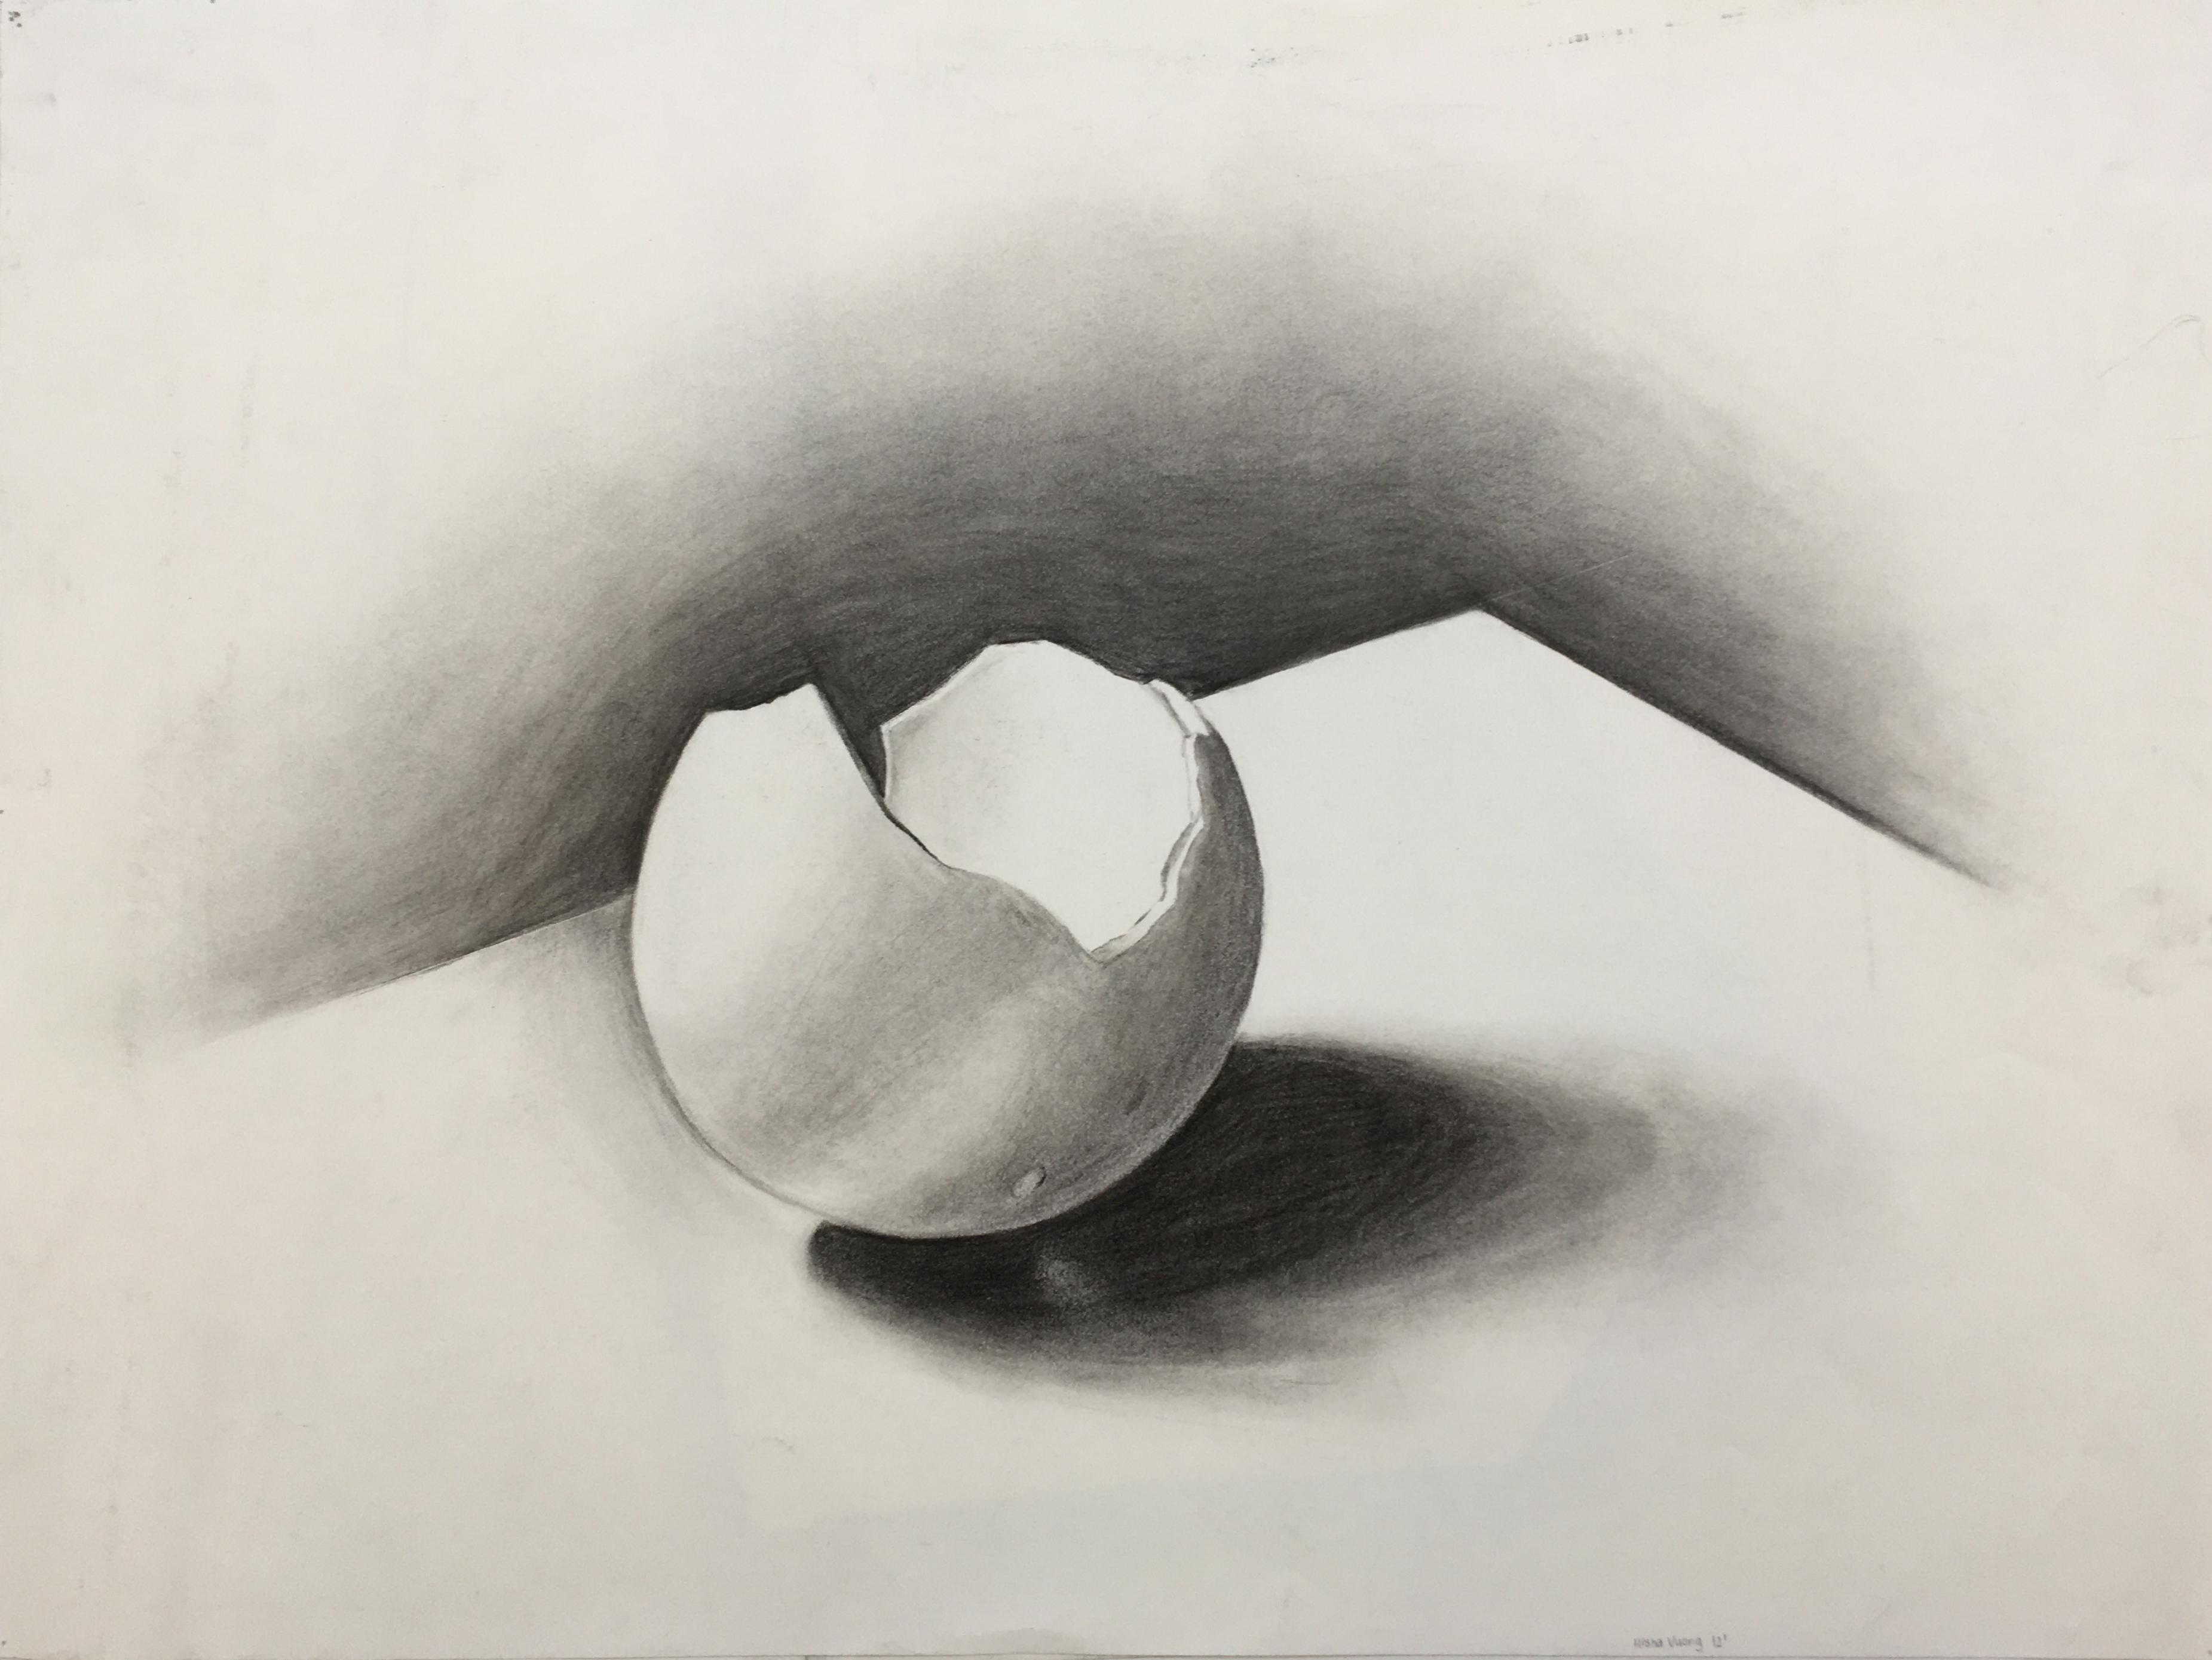
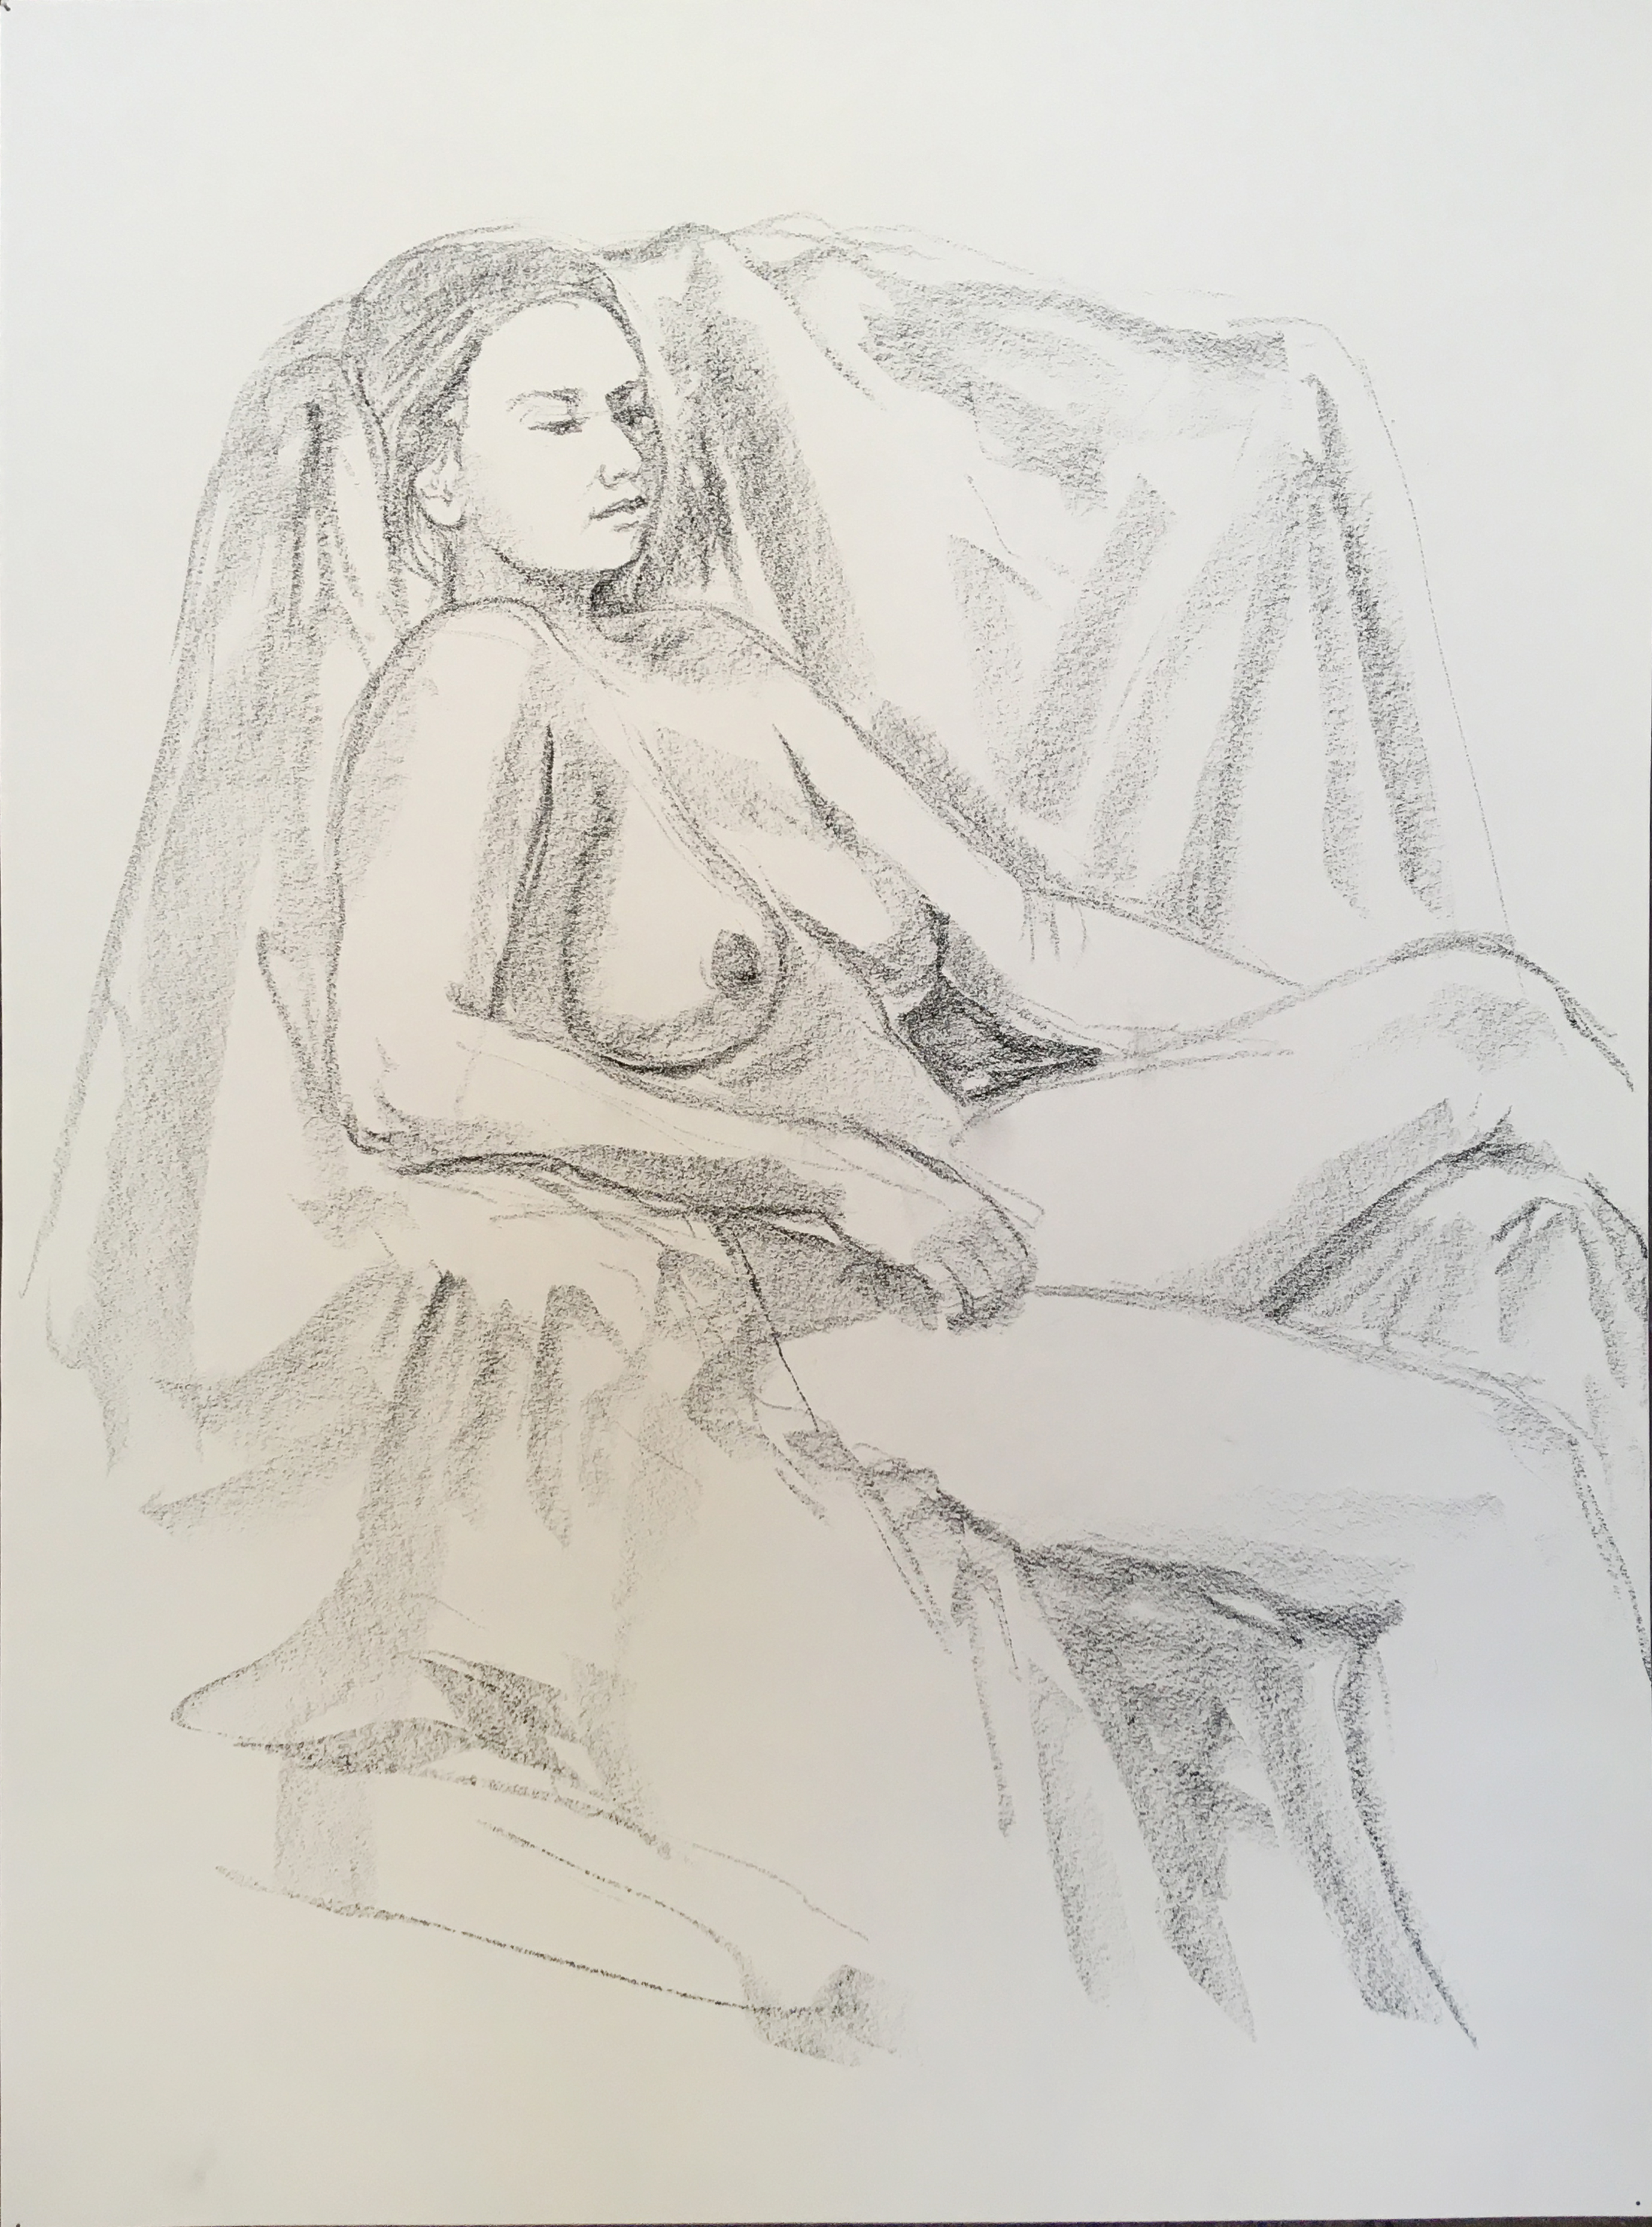
Student Drawings in Charcoal. 2011
Charcoal is arguably the oldest of drawing media used by humans going back over 20,000 years. It has several advantages over other drawing media. You can achieve a rich black at one end of the value scale. Also, it can be blended into the subtlest of tones, while also being able to be scrubbed into the paper so you can erase out the areas you want revealed. That is much like drawing in reverse! Using that technique, which I call a “reverse-out” drawing, you can achieve amazing results in a matter of a few hours at the drawing table. To use a graphite pencil and create a similar visual illusion would take days, instead of hours.
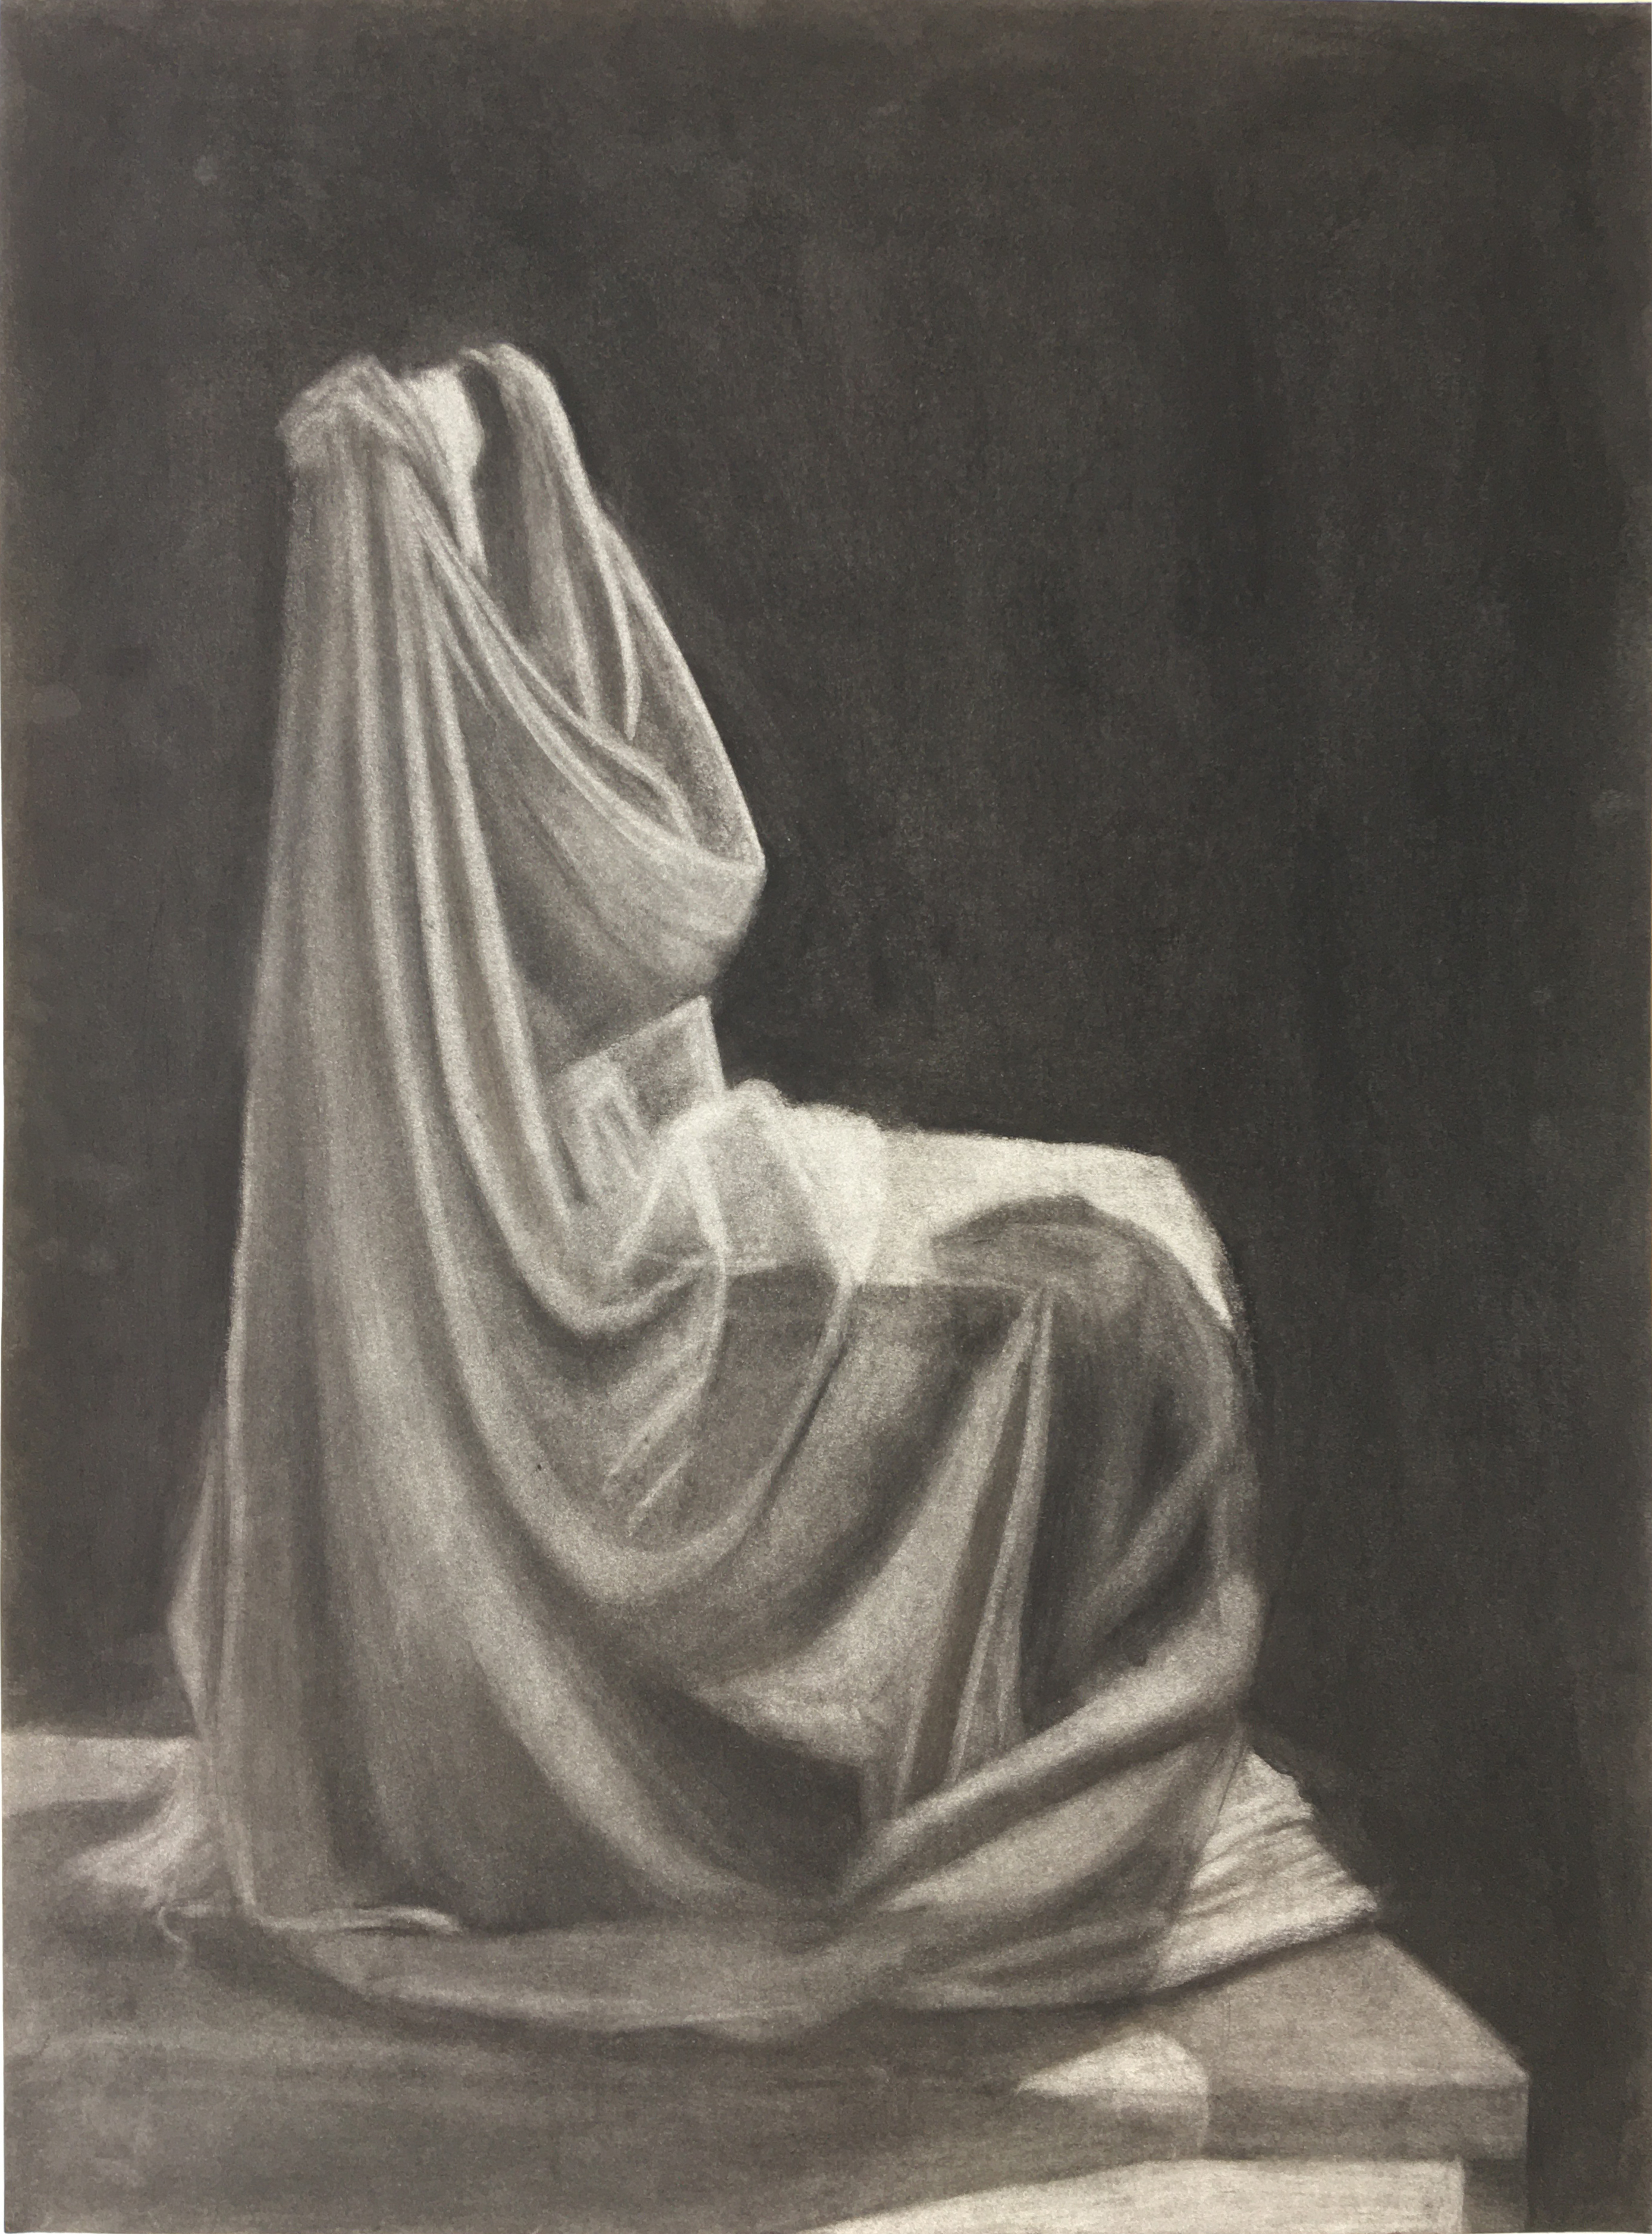
Because of the subtleties of the medium, charcoal is a favorite of artists producing figurative drawings. Charcoal clubs were popular venues for professional and aspiring amateur artists to draw from the nude or partially draped model. Today, figure study sessions and classes are still available for artists to learn to draw human anatomy and to learn the aesthetics of this specialized art genre. Charcoal as a medium is a great choice for portraits and figurative work.
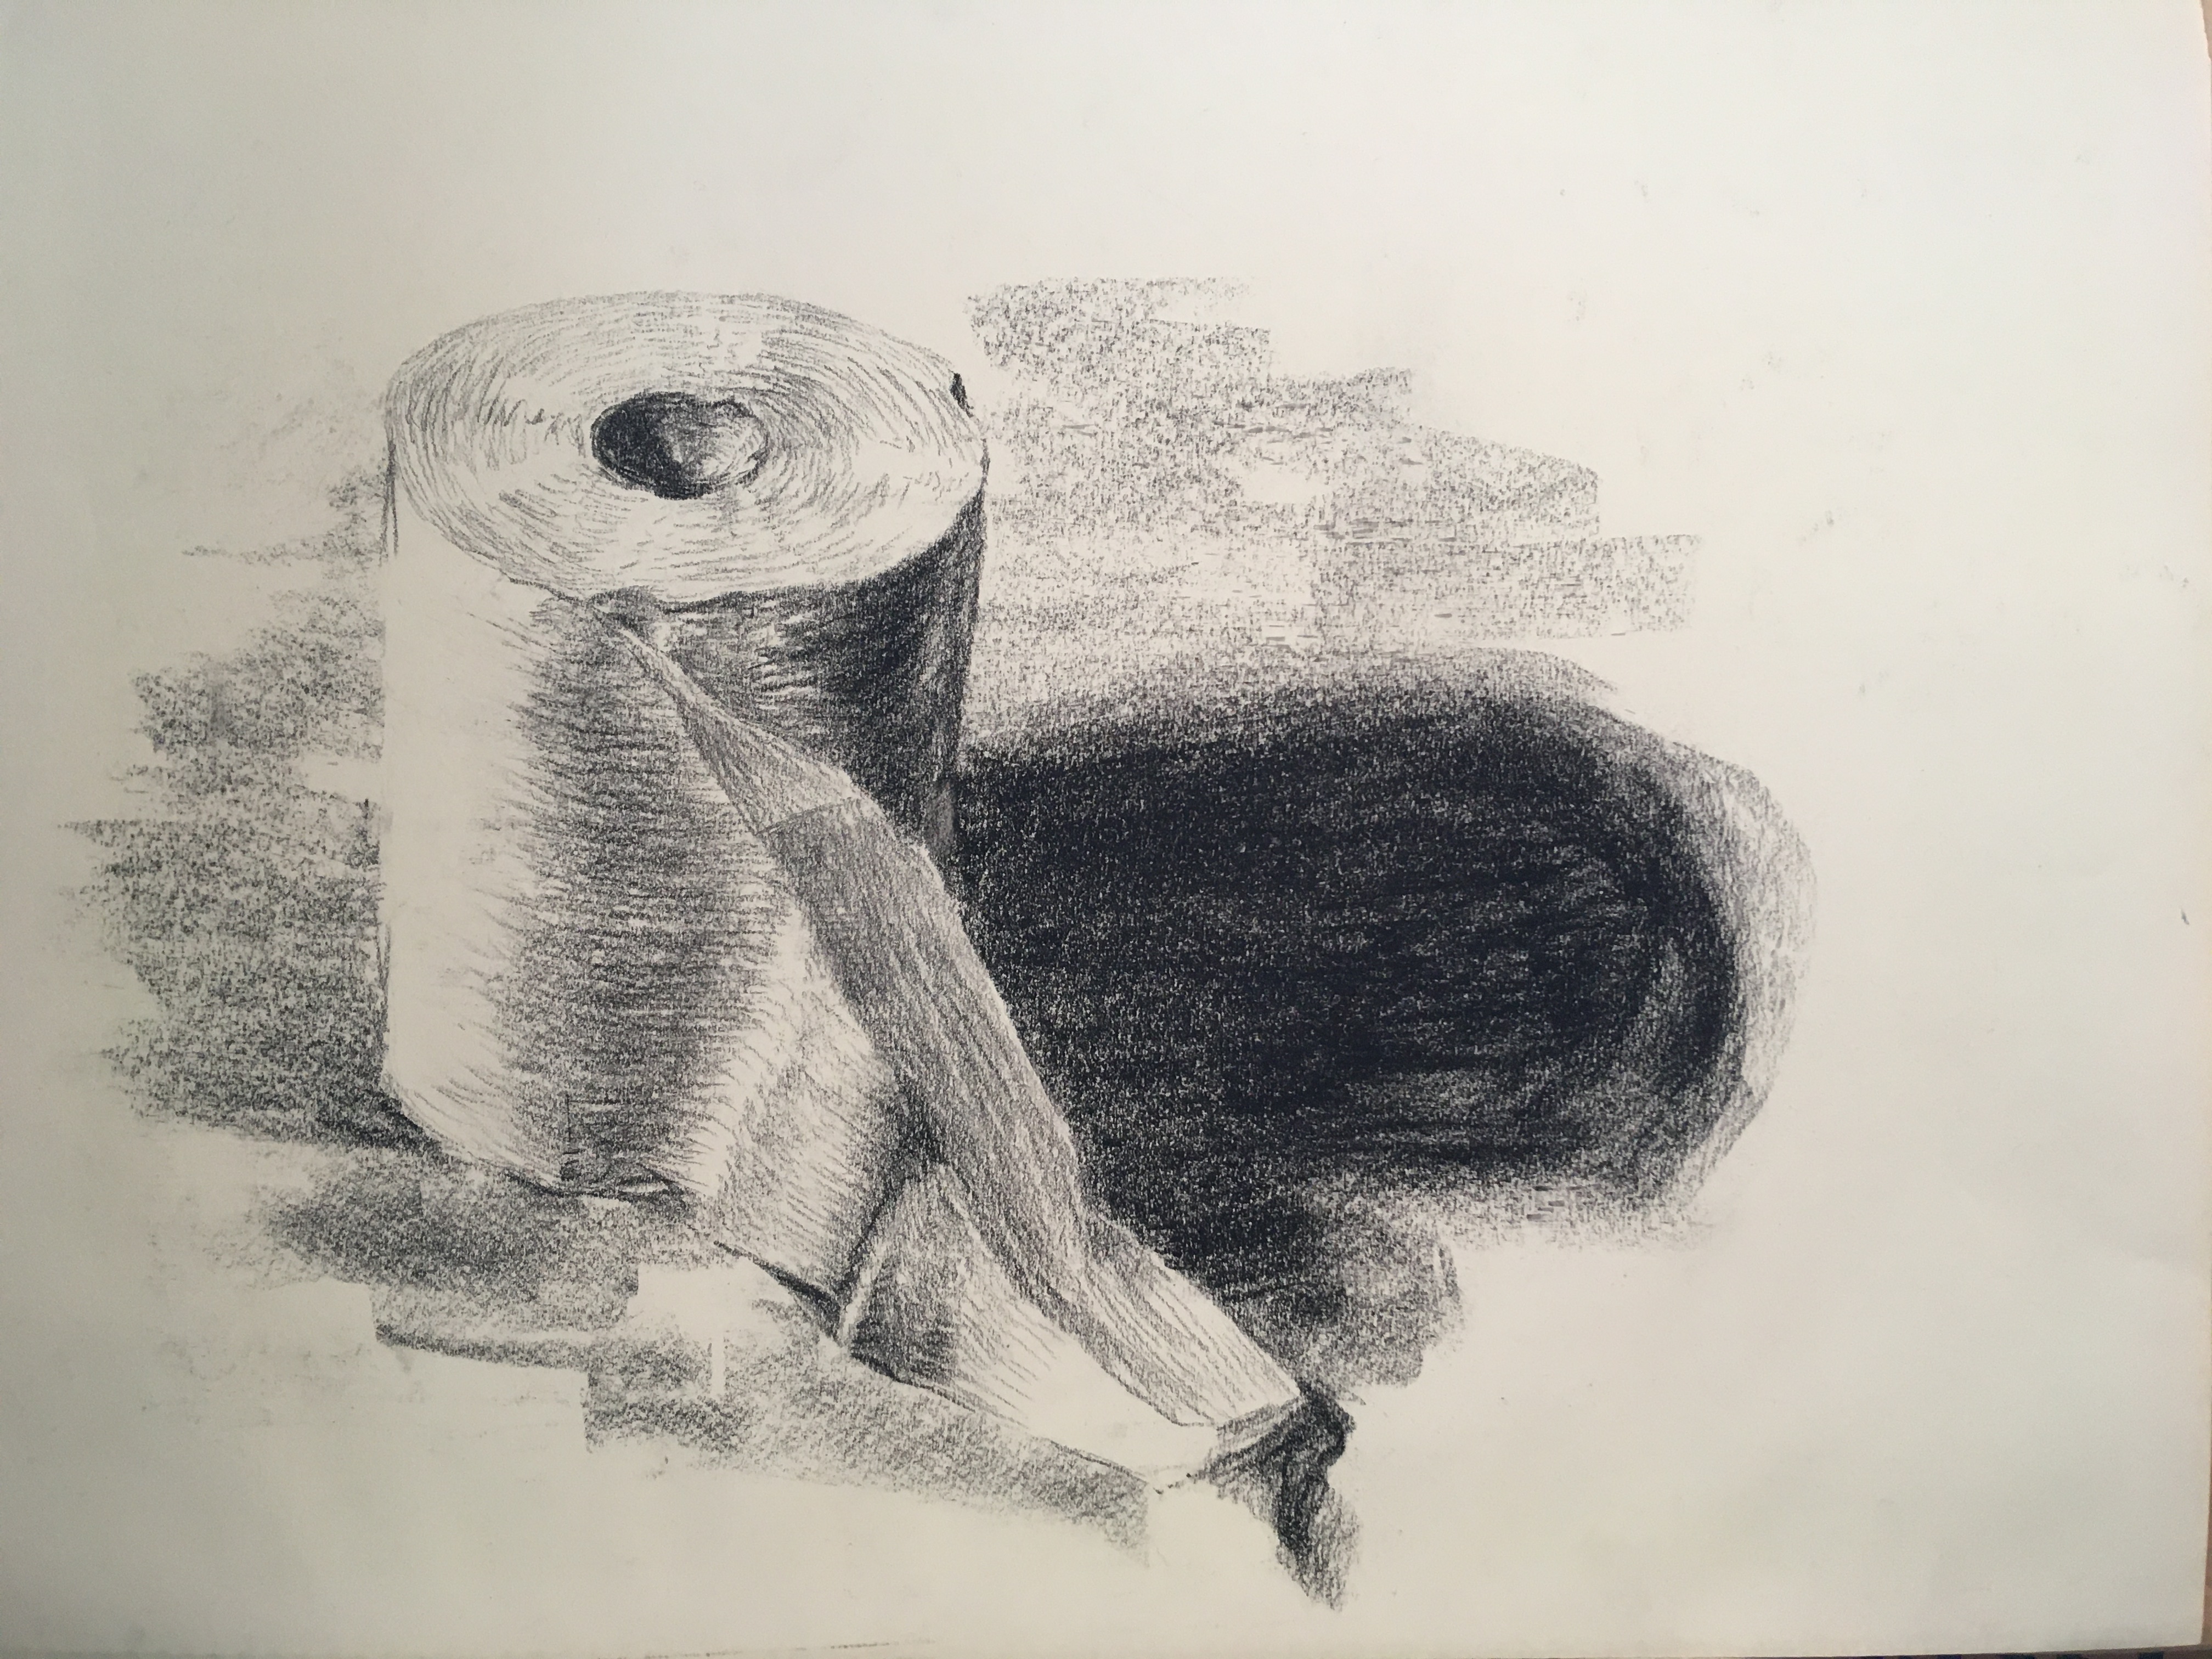
The preferred erasers for charcoal drawing are the kneaded eraser and the white plastic eraser, each performing specific tasks. The kneaded eraser works well for subtle and detailed erasing when made into a point. Flattening out this eraser allows for broad areas to be lifted from the paper. The pressure from your hand or fingers determines the amount of the drawing removed. With enough practice, you can become adept at removing very specific area and amounts of the drawing with this eraser. It really is a versatile tool! The white plastic eraser can also be used for detail work if it is trimmed to the desired size and shape using a blade, and held in a brass ferulle. You can even draw with the eraser in this way. Of course, you can purchase a white plastic eraser that is in the shape of a pencil and use that to erase and draw as well. The white plastic eraser also is used for firm scrubbing of the charcoal to remove it. Again, another versatile tool for the artist with some specific uses.
Student Reverse Out Charcoal Drawing (using kneaded and white plastic erasers). 2018

Illustration using brushes and carbon dust (charcoal/Conté mixed powder). 1982
Conté Pencils and Crayons
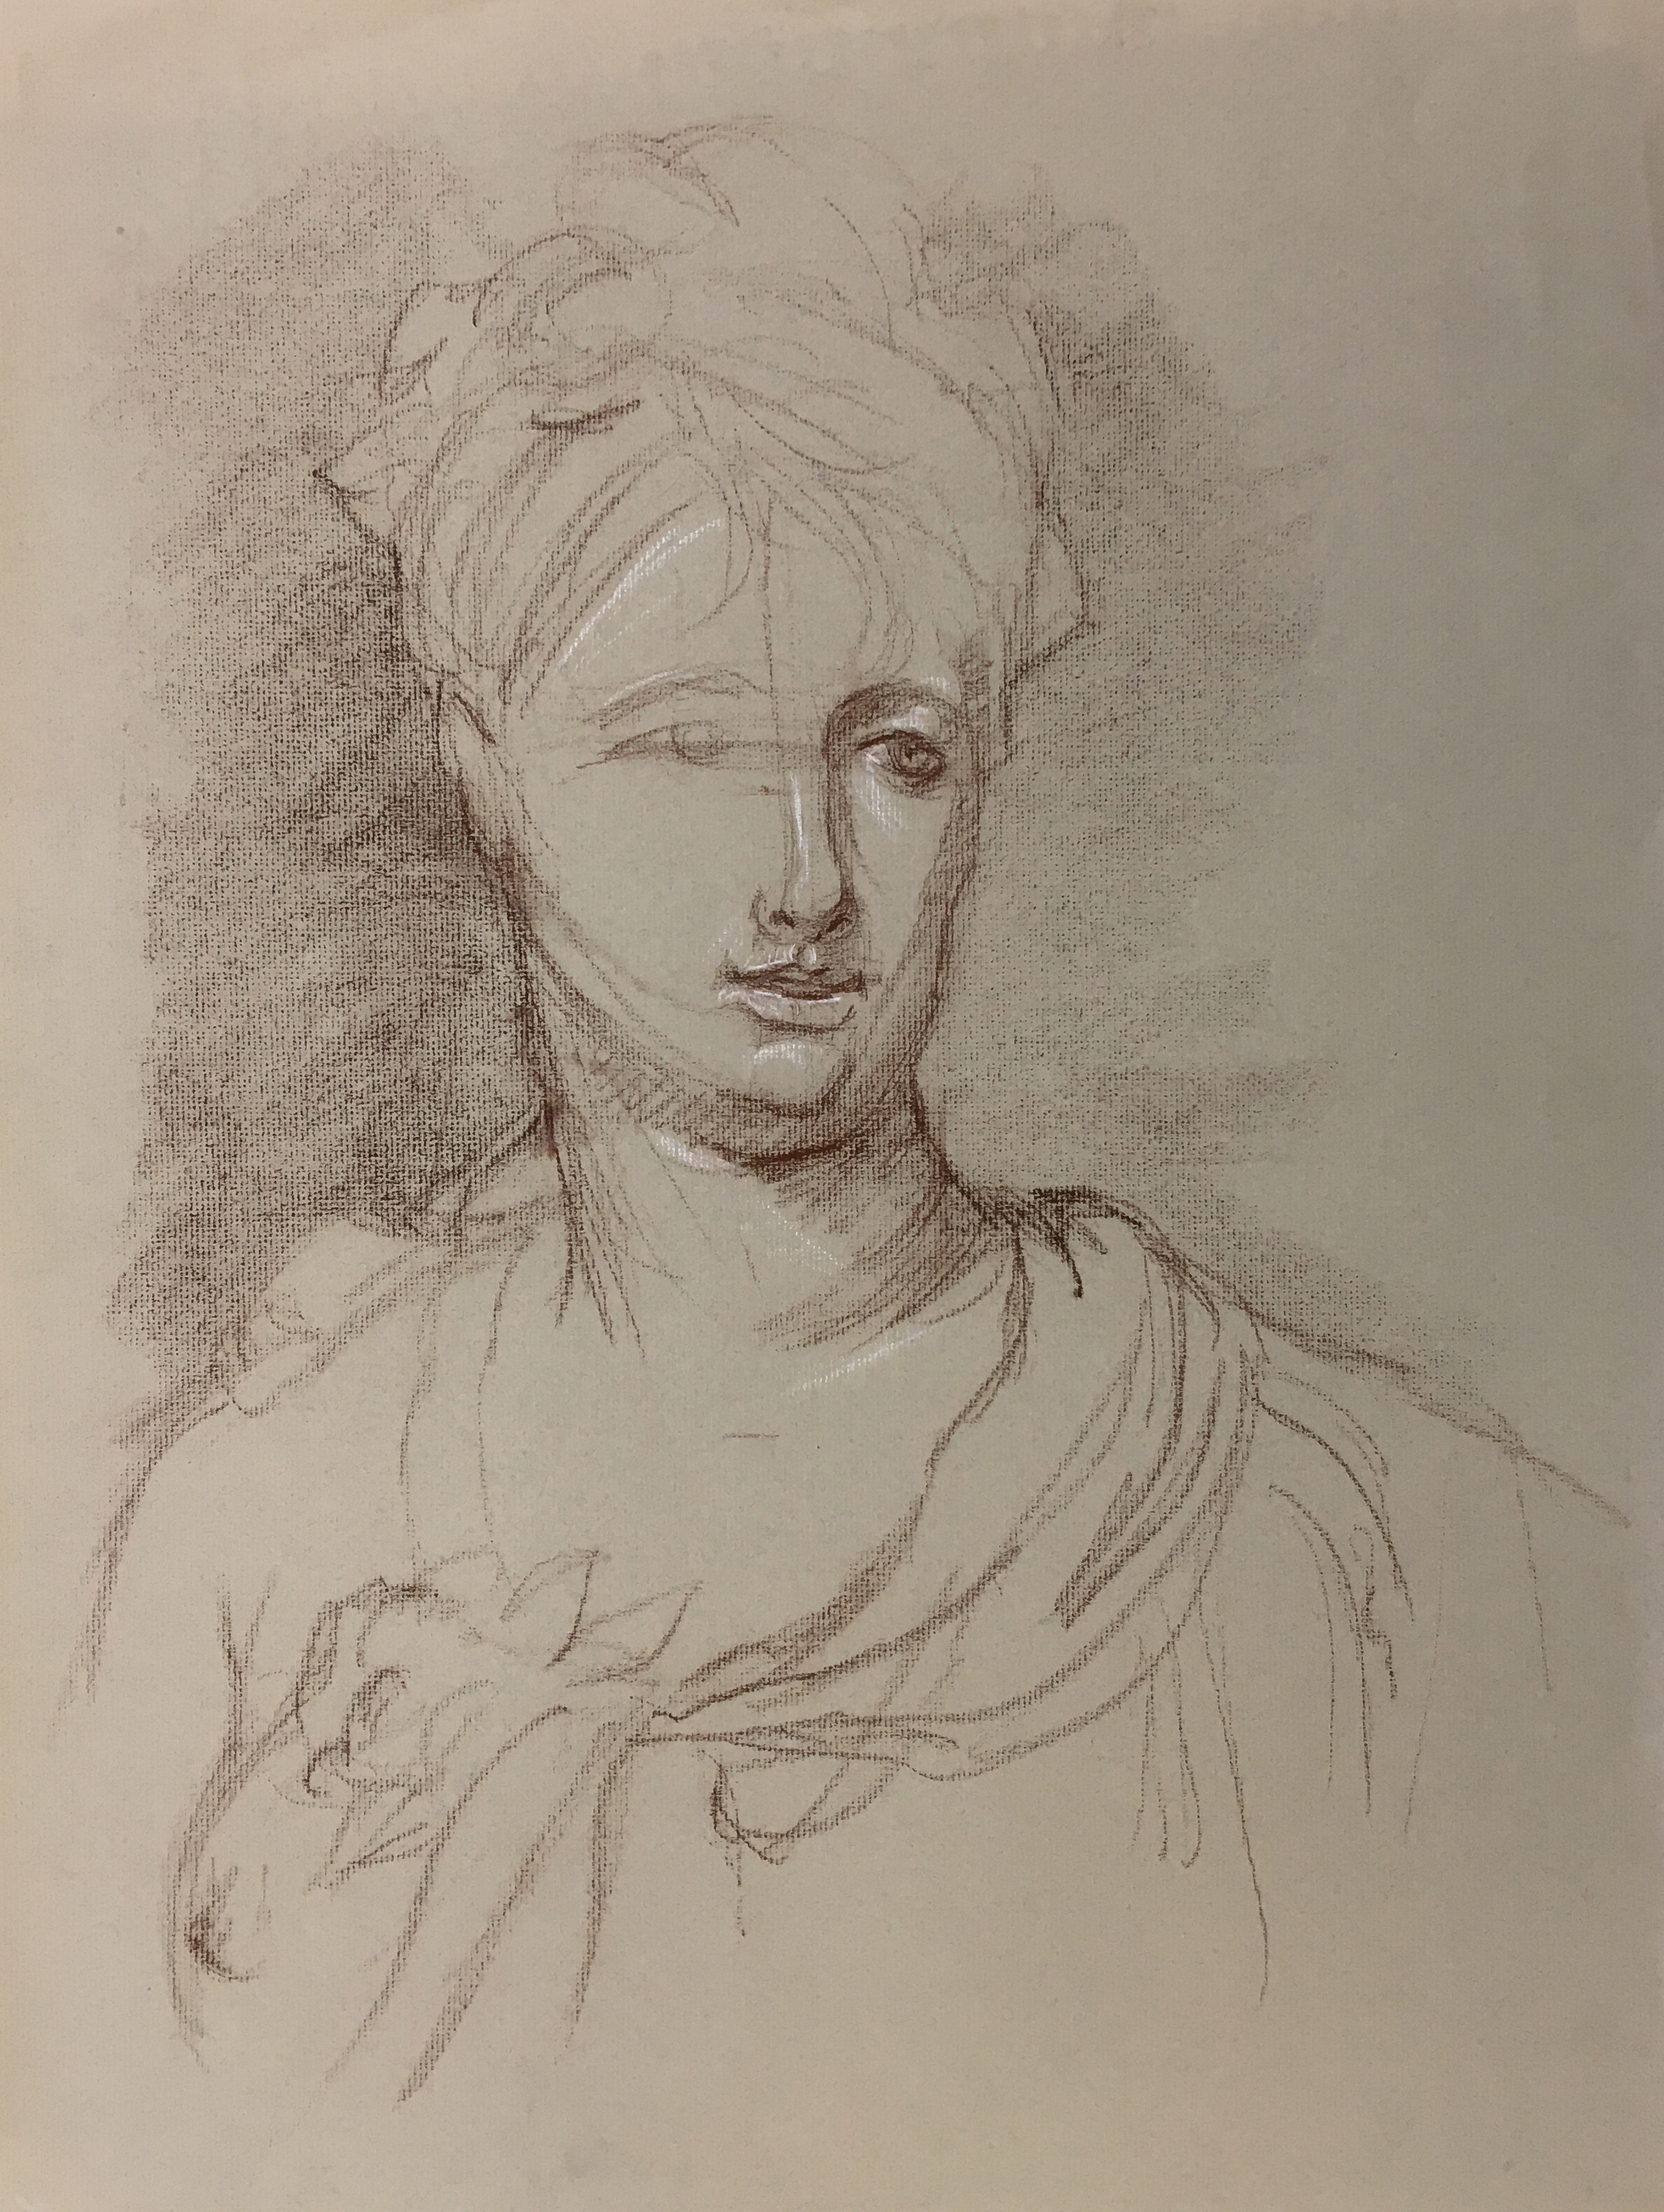

Drawing demonstration. Conté (white and burnt sienna). 2008 - 2011 Demonstration drawing from live model. Conté. circa. 1995
The characteristics of Conté are similar to charcoal, yet there are some differences that should be noted. The size of the Conté sticks is ideal for both drawing with the end, as well as drawing from the side of the stick. Conté comes in different levels of hardness as does charcoal. I prefer the softer sticks since I find it easier to get a range of tone and textures on the paper surface. Drawing directly with the sticks yields a drawing different from one that is blended and pushed into the paper with brushes, paper stumps, or blending tools. Conté is harder to erase than charcoal, yet is more permanent on the paper surface. Both charcoal and Conté benefit from using a fixative to help prevent smudging and lifting of the drawing. To protect and preserve a finished charcoal or Conté drawing, it is best to place it under glass after placing a properly sized cut mat around the drawing.
.jpg?revision=1&size=bestfit&width=629&height=814)
Charcoal reverse out drawing by student. circa. 2015

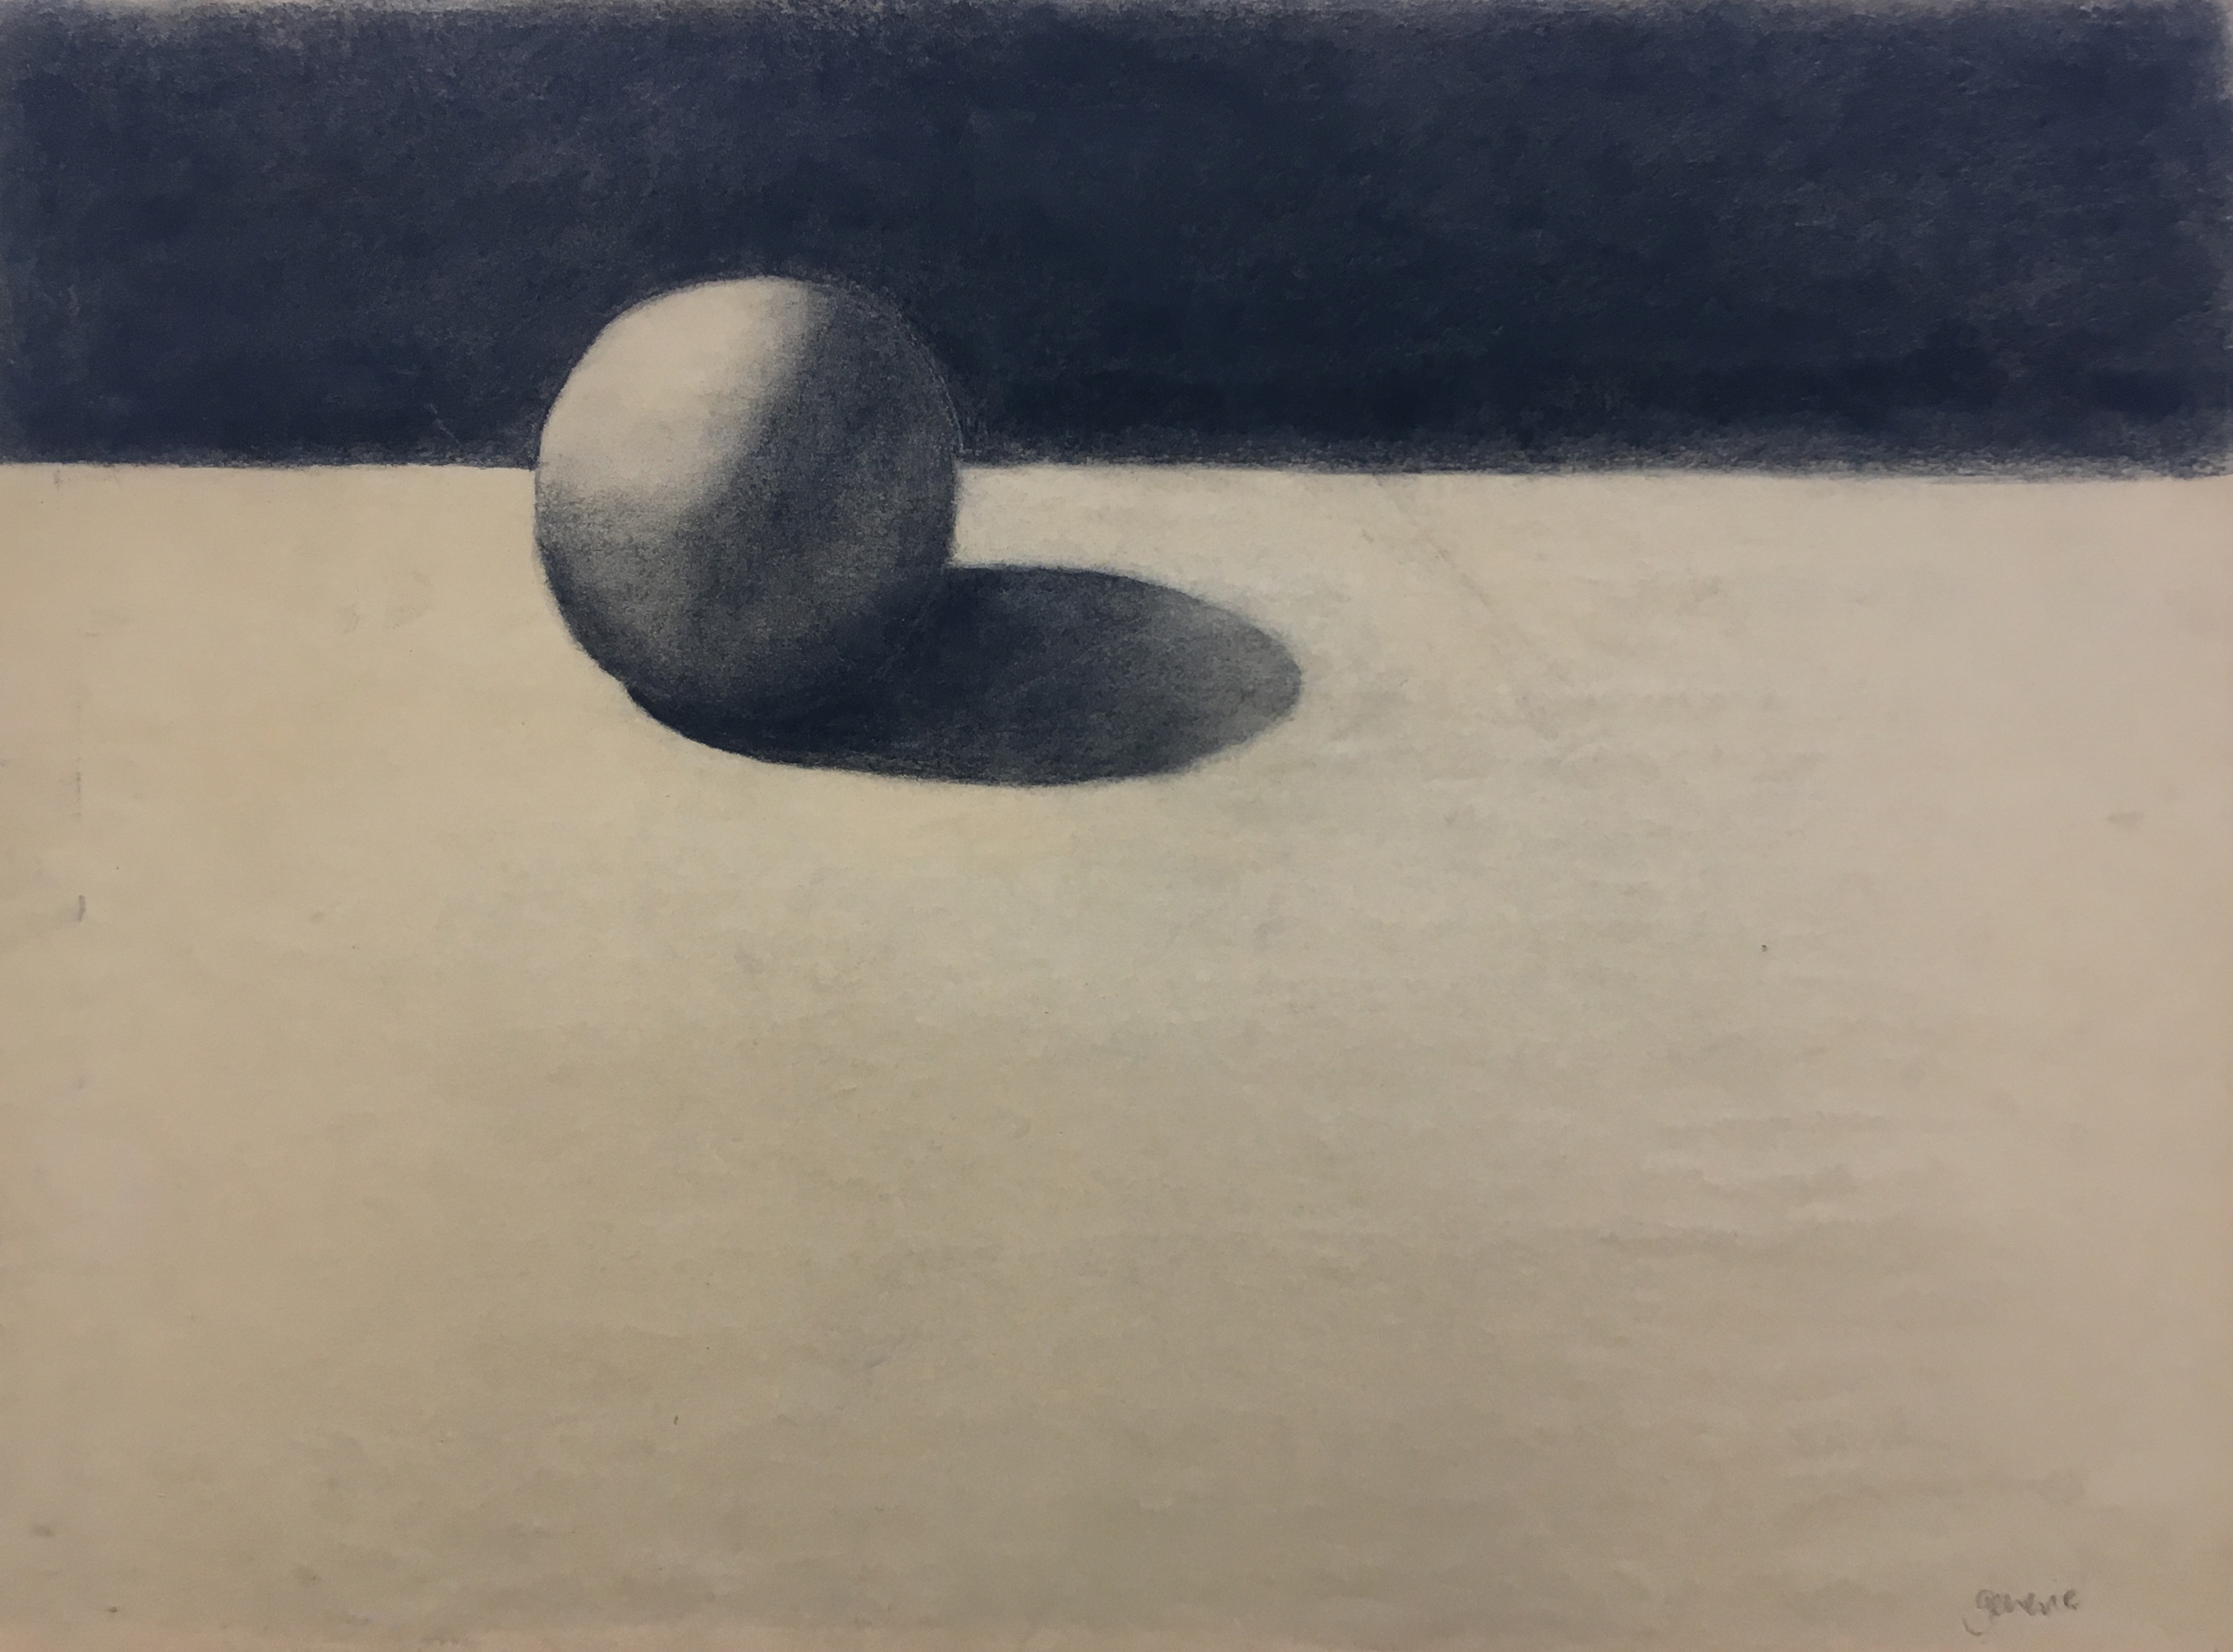
Variety of media with compressed charcoal jet black (on the right)

Demonstration using compressed charcoal (some scrubbing and blending of the charcoal). circa. 2016

Charcoal drawing demonstration (without blending). Conté. 2018
Student Charcoal Drawing on Newsprint. 2012
Charcoal student drawing. 1978

Charcoal "Painting"
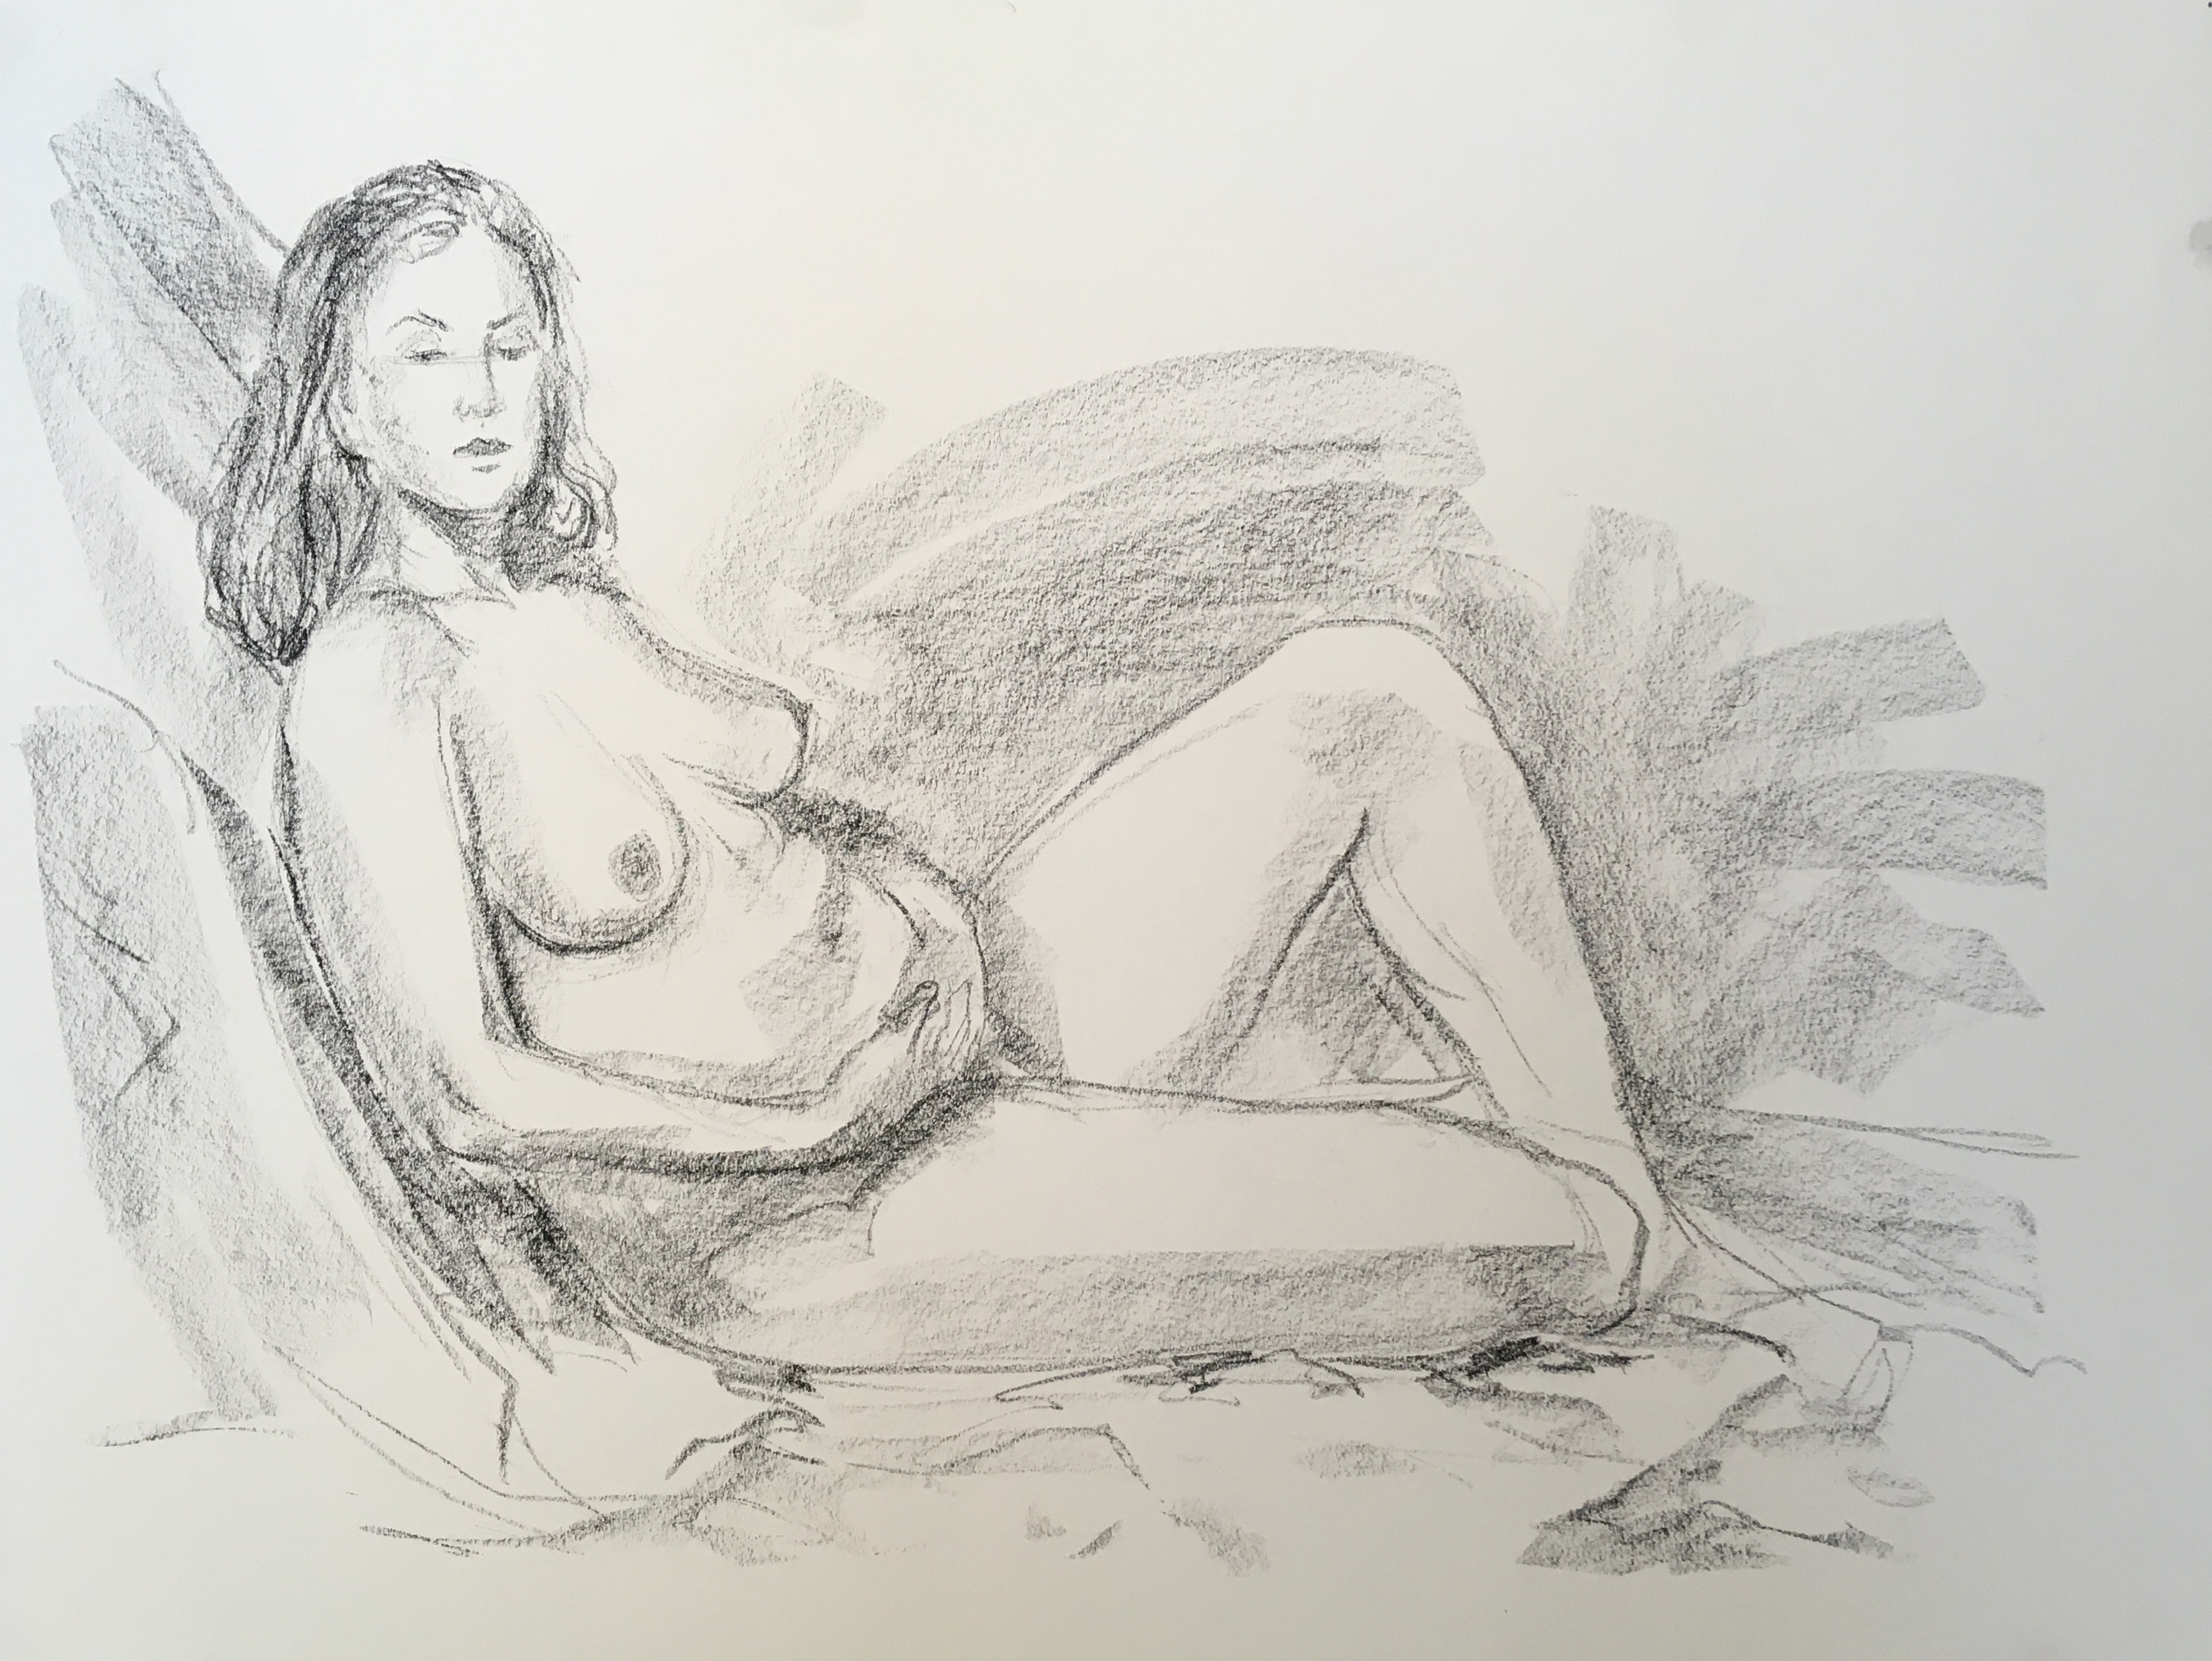
Charcoal and pastels have a unique ability to appear as either a drawing, or as a painting depending on the application. The beautiful drawing above is more like a charcoal painting in the strokes and subtle shifts in value.
Figure Drawing
Drawing the human figure is a difficult task for beginning artists. The complexities of the forms may frustrate the student since the human body is all so familiar. We see our heads, hands, and feet regularly, but try to draw them accurately! A thorough study of the anatomy for artists helps to unlock the mysteries behind drawing this challenging subject. If you really are intent on mastering drawing the human figure, don’t give up. Keep practicing and carefully observing the model. Make connections with the textbooks and other resources and your observations of the figure in the drawing studio. First learn to recognize the bony landmarks. Next, study the muscles, tendons, and fat pads – both the underlying anatomy as well as the surface anatomy. Study the human figure proportional systems associated with the male, female, and children. Do not neglect the most challenging areas of study – head, hands and feet. Devote extra practice time to drawing those parts of the body. Perfect practice makes perfect, so use reliable sources to help guide you in your figure studies.
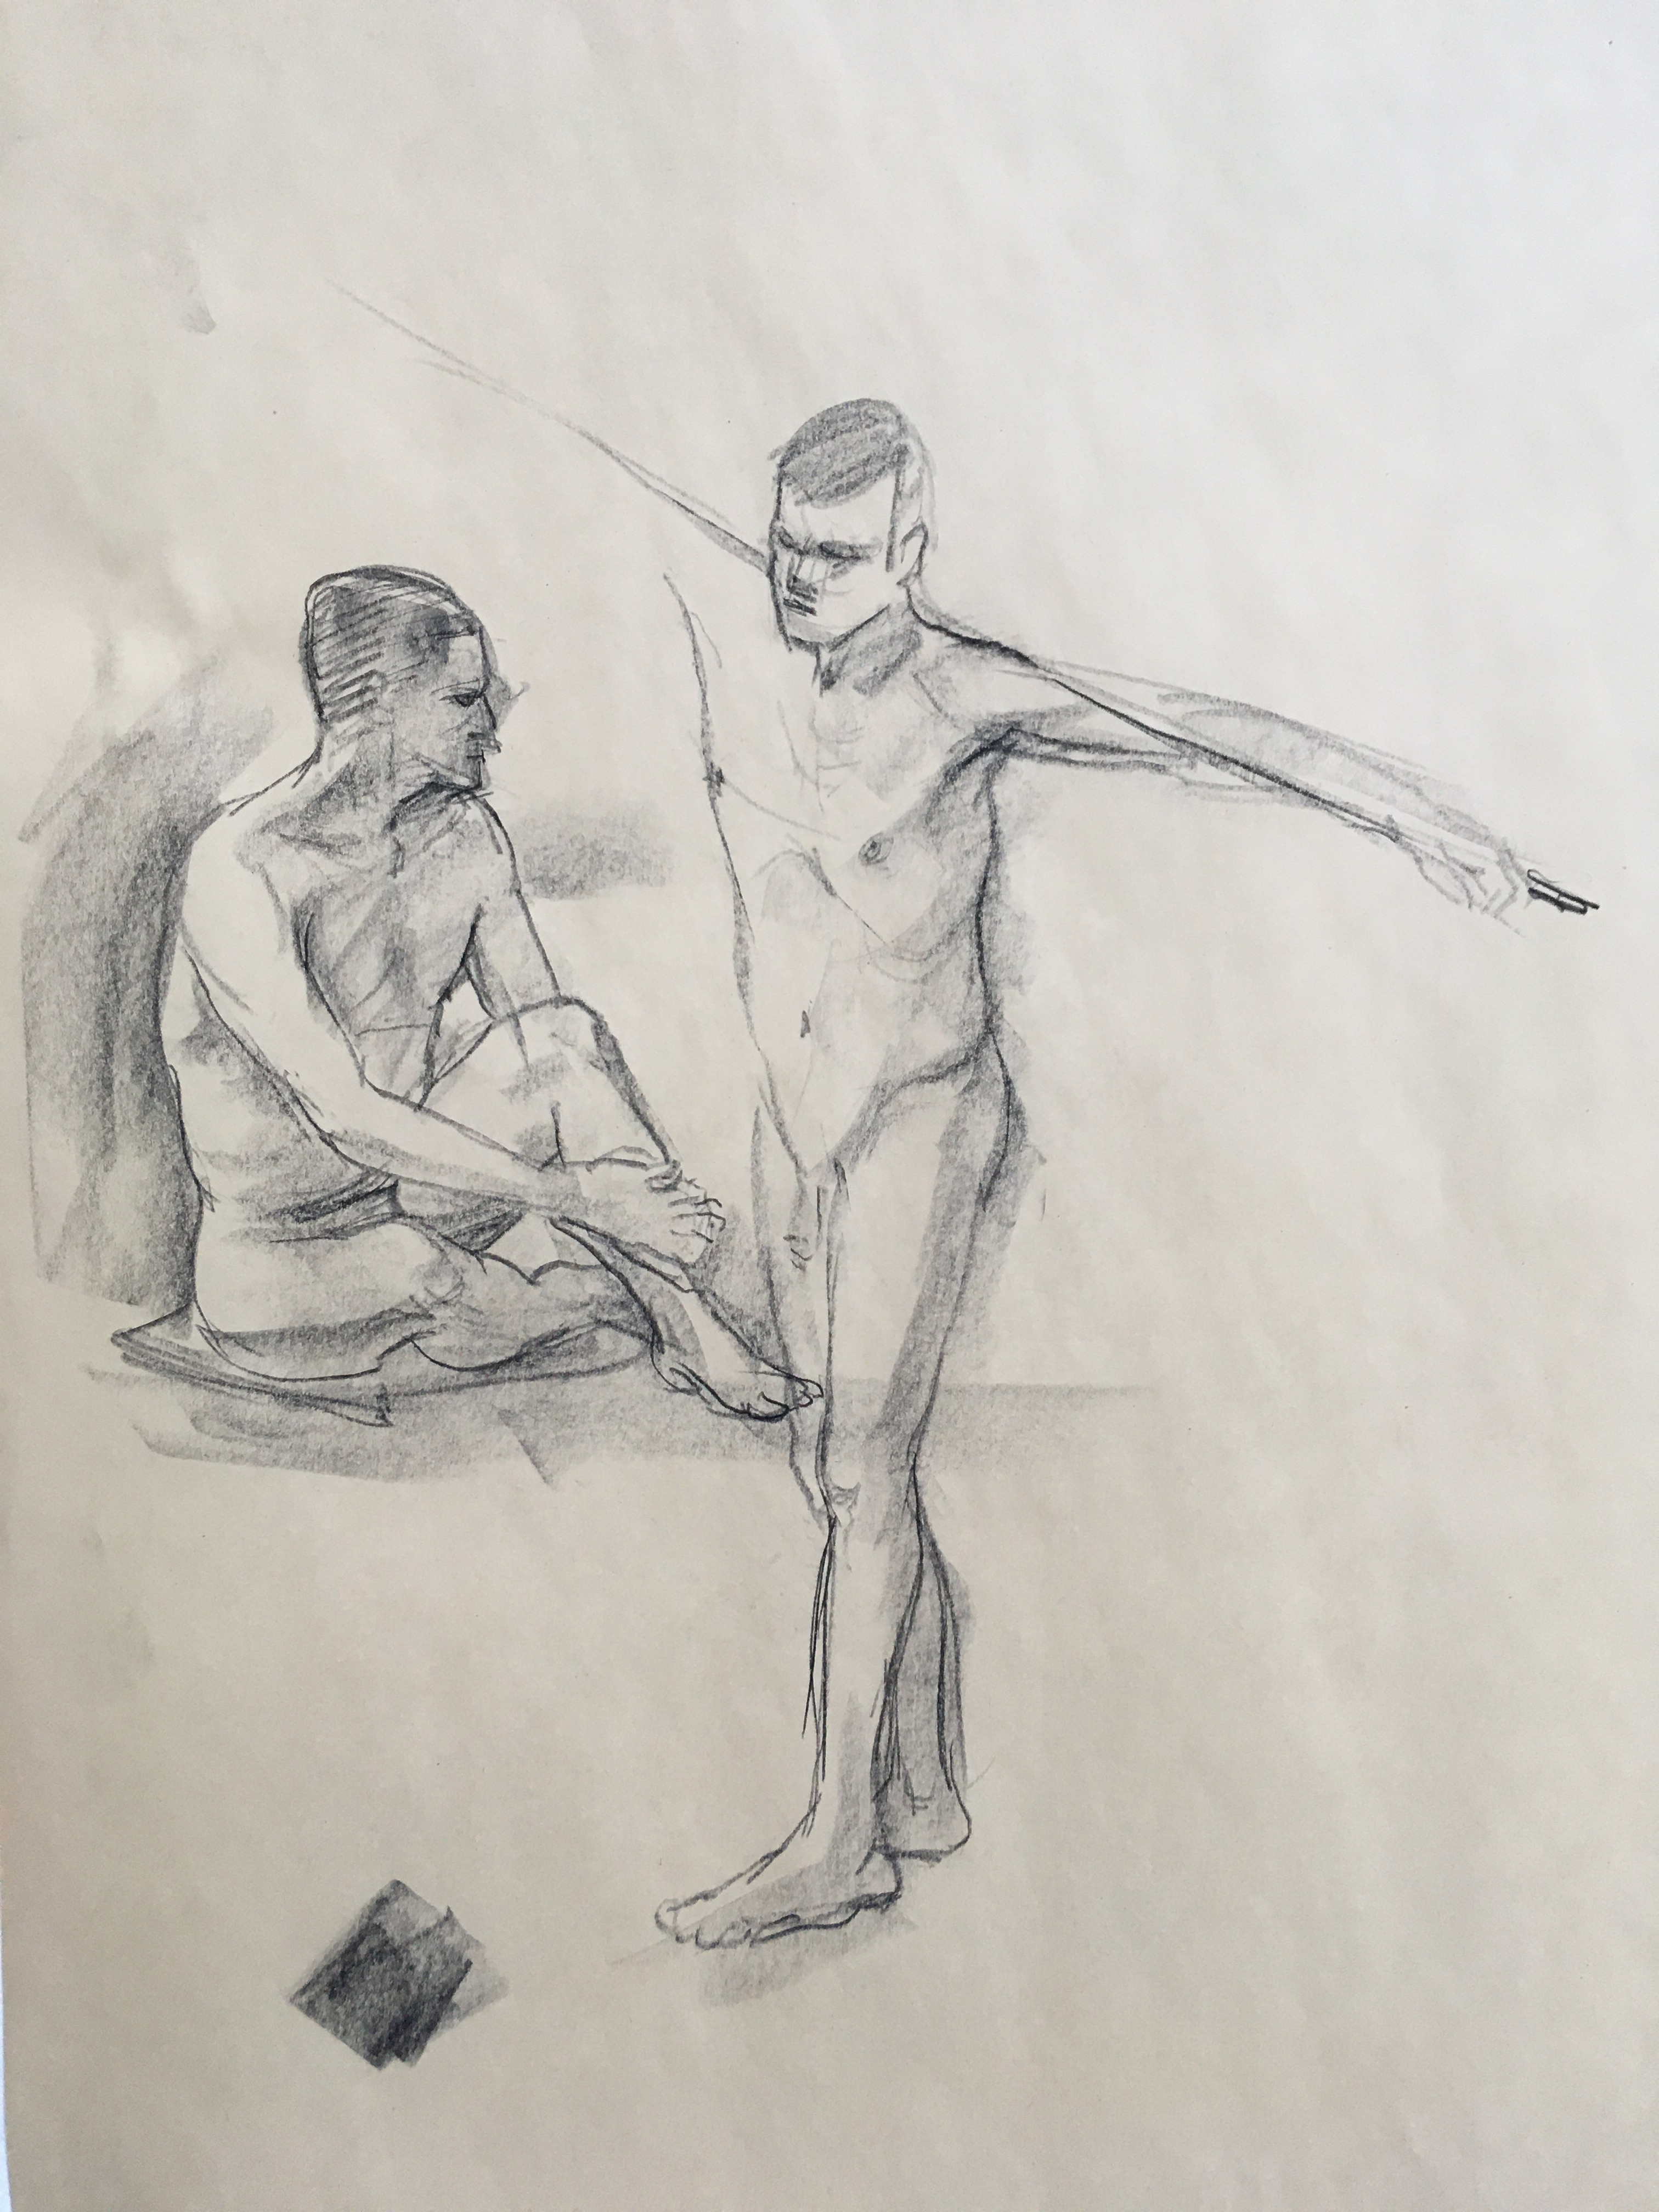

The quick gesture drawing is a staple of the figure drawing studio. In my drawing studio, drawings from the model are timed at 2:00 minute intervals, 5:00 minute intervals, 10 minutes, with a maximum of 20 minutes per model pose. Longer poses can combine 20 minute poses into 40, 60, 80 minutes combined as needed. The above drawing on the left is from the 5:00 minute poses. The drawing on the right demonstrates ways of using geometric shapes to better capture the quick gesture.


The artists of the 1800s were often banned from drawing from nude models. Here are two charcoal drawings from that era.
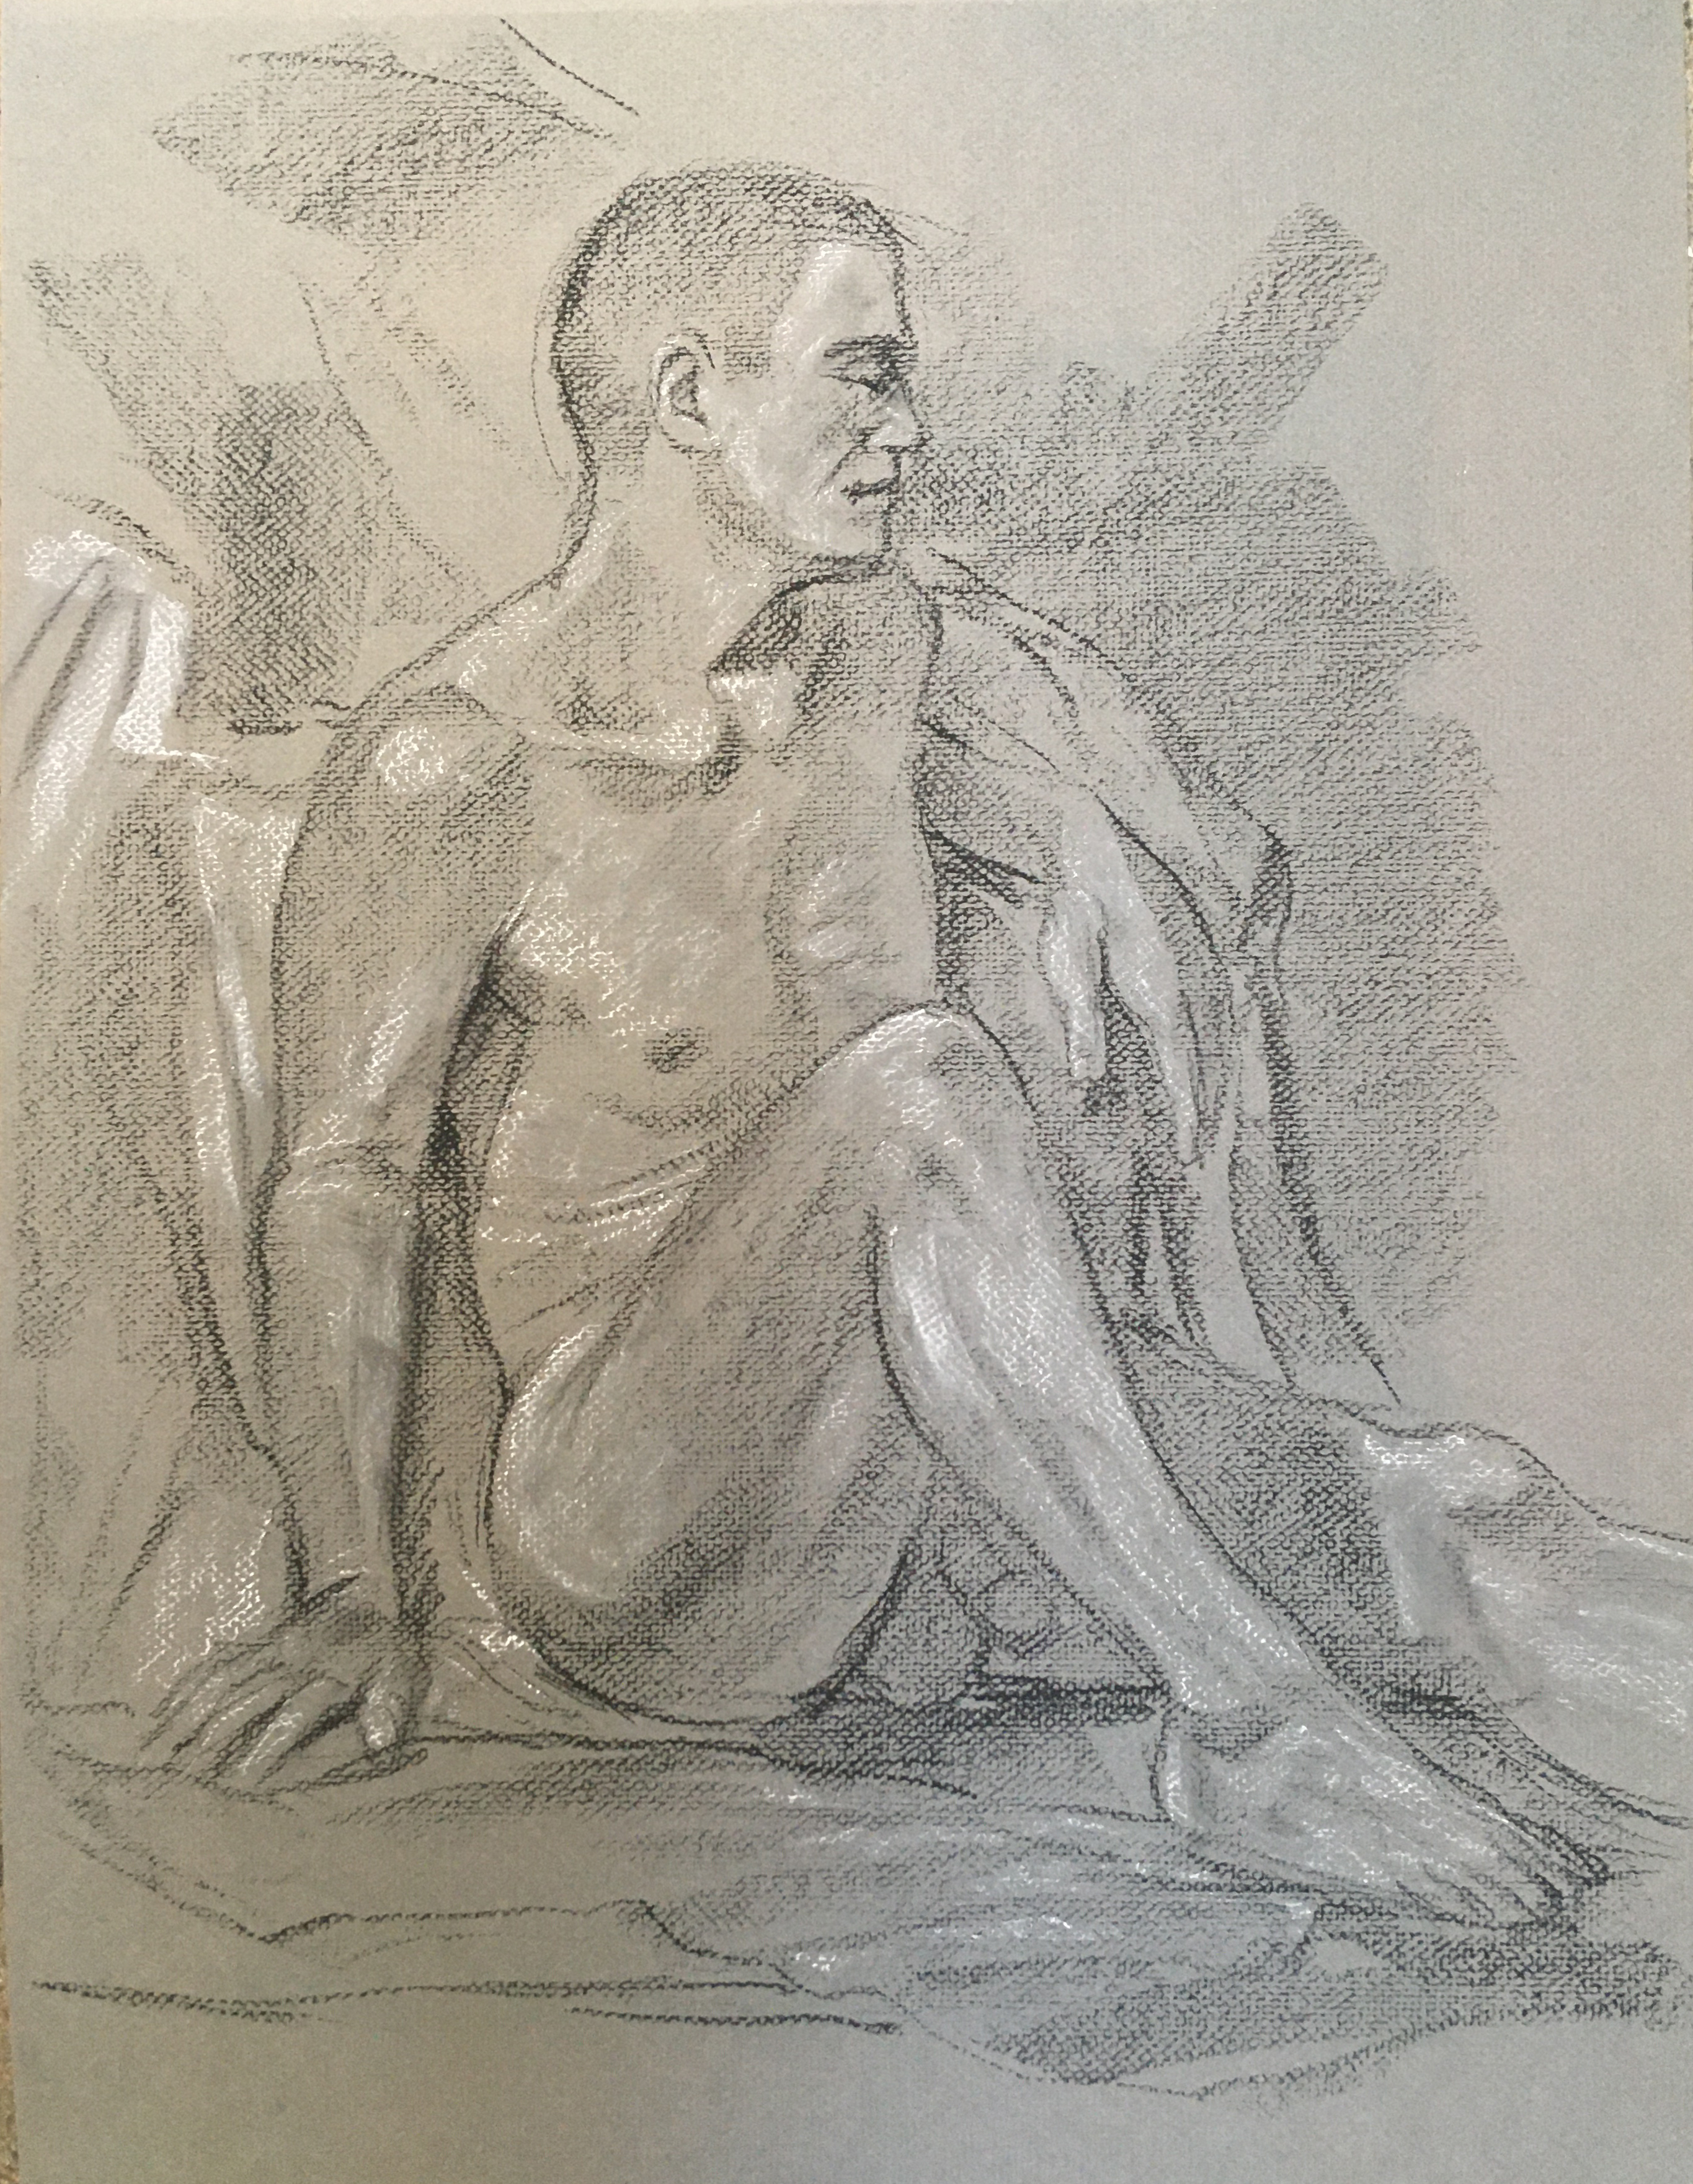
This is a longer drawing demonstration of about 40 minutes. Black and white Conté are used with a middle value of gray established by the paper. 2019
20 minute drawing demonstration using Conté. 2019
10 minute drawing demonstration using Conté. 2019
Carbon Dust
Overview
Carbon dust illustration as developed by Max Brödel is quite similar to charcoal drawing. The difference is the values defining the forms are created by applying a mix of carbon and black Conté dust using soft brushes. Additionally, when applied to a white coated illustration board, the highlights can be scratched out revealing the bright white substrate.
Technique
Sketching and Sketch Transfer
1. Draw using carbon pencils (HB, B or BB) on Canson® Vidalon Vellum tracing paper – I recommend medium or heavy weight tracing paper; when you use 25 lb. tracing paper, it’s a little too thin.Vidalon is an exceptionally translucent paper that is durable and has a very smooth surface. The paper is resistant to scraping and not affected by repeated erasures. It is also acid free.
2. Using white artist tape, tape the drawing to another sheet of the same tracing paper (Transfer Tracing Paper or TTP). Tape on at least two sides to hold the paper in place. Use a short piece of tape (you’re not taping the entire side).
3. Using a bone burnishing tool, transfer the drawing to the second sheet of tracing paper by rubbing the back side of the sketch.
4. Cut the coated illustration board to size, allowing a small amount of bleed area for scanning and handling. An alternative is to cut an even larger photo board (about an inch to two-inch margin all around) and use double stick tape to adhere the illustration board. This provides more support from the photo board and an area you can grasp and rotate the board as you illustrate. NOTE: Never touch the surface of the illustration board with your hands or fingers. Use white photo gloves to keep the board clean. Cut off halfway the cloth thumb, index, and middle finger ends of the glove you place on your drawing hand. Your other hand can use the white glove without alterations.
5. Place the TTP on the illustration board and tape the edges using white artist’s tape.
6. Transfer the drawing from the TTP to the illustration board using the bone burnishing tool.
7. Lift one corner of the paper periodically as you transfer to ensure the amount of transferred carbon pencil drawing is sufficient. Keep the rest of the tape secured so the drawing doesn’t shift.
Carbon Dust Application
8. If you are using pen & ink or Micron™ pens, ink on the illustration board before applying carbon dust
9. Starting with your largest brush loaded with just a small amount of carbon dust, begin to model the largest forms in the drawing consistent with your light source. Work very lightly and gradually, building up the tones throughout the illustration. NOTE: You do not often dip the brush directly in the carbon dust container – instead, you are using the dust from the chamois taped, using double-sided tape, to the underside of the container lid. If you do need more carbon dust on your brush, dip directly into the carbon dust container, then tap on the chamois. Test the brush on a white sheet of paper before applying to the illustration. You do not want to brush on carbon dust on a fully-loaded brush since the effect will likely be uneven.
10. You can reinforce your drawing by using your pencils as needed. Also, by burning or trimming a small flat sable brush to a stump, you can make subtle drawing marks that are smoother than using a pencil. A trimmed cork held in a brass ferrule can also create subtle marks.
11. Erase general highlights using a trimmed and rounded Staedtler Mars® plastic eraser held in a brass ferrule.
12. Begin establishing more focused and brighter highlights using a plastic eraser trimmed to about 1 – 2mm width, again held in a ferrule.
13. The brightest highlights are created using a curved blade held almost parallel (slight angle) with the surface of the illustration board – do not dig into the board, but use a light touch gently scraping out the highlights at the desired width. Blades dull quickly and have to be switched out or they will not be as effective.
14. Check your work to see if it has the desired range of value range and details. Rework if necessary and erase any unwanted marks from the white background.
15. Digitize your work by scanning at 300 dpi or higher on a flatbed scanner. You may have to scan in sections and combine the sections in Photoshop.
Archival Drawing Surfaces:
1. Ross Stipple Board: https://www.princeton.edu/~graphicarts/2010/01/charles_j_rosss_stipple_paper.html
No longer manufactured.
2. Video Media Board: White coated surface. No longer manufactured.
3. Medical Models Dull Finish Stipple Board: White calcium coating, no longer manufactured.
4. Color-Aid MI Illustration Paper (not in production?): https://coloraid.com/allsheets18x24.aspx
5. Laserline Archival 700 Illustration Board (Miller Paper Co. NYC) No longer manufactured.
6. Currently manufactured: Ampersand Claybord – this may work?: https://ampersandart.com/claybord.php
Pencils:
1. Wolff Carbon H, HB, B, BB, BBB: https://www.dickblick.com/items/wolff-carbon-pencil-mulitpack-4/
2. Conté Extra Fine Black (B or softer): https://www.dickblick.com/items/conte-a-paris-sketching-pencil-carbon-3b/
3. Erasers: A. Kneaded eraser: https://www.dickblick.com/products/blick-kneaded-erasers/?clickTracking=true&wmcp=pla&wmcid=items&wmckw=21026-1010&gclid=EAIaIQobChMI8-GLjev38QIVl-azCh1HGgusEAQYBCABEgI2d_D_BwE
B. Staedtler Mars™ White Plastic Eraser: https://www.dickblick.com/products/staedtler-mars-plastic-erasers/
C. Pink Pearl: https://www.dickblick.com/products/pink- pearl-eraser/
Carbon Dust:
Created by using a metal file and mixing carbon pencils BB, BBB, and a soft Conté pencil into a metal or plastic container with a secure lid. Using double sided tape, secure a cut swatch of chamois to the underside of the container lid.
Brushes:
1. One very large (#30), round brush (like a makeup brush) to begin the illustration
2. An assortment of flat brushes – imitation white sable will work
3. One small natural bristle brush – you burn away the natural hairs to create a stump
4. Clean large flat watercolor brush to pick up eraser dust
Other Materials:
1. Plastic or metal container for carbon dust
2. Curved blade - X-acto knife or scalpel
3. Bone burnishing tool
4. White Artist Tape
5. White cotton photographers’ gloves
6. Double-ended brass ferrule pencil extension (for holding custom shaped erasers)
7. Double-sided tape (if mounting illustration board on photographers’ board)
8. Bottle cork (can be trimmed to make marks on illustration board)
9. Pen & ink supplies (if needed)
View additional carbon dust illustrations using this link: