
10.4: Controlling Sound with a Video Camera
- Page ID
- 124352
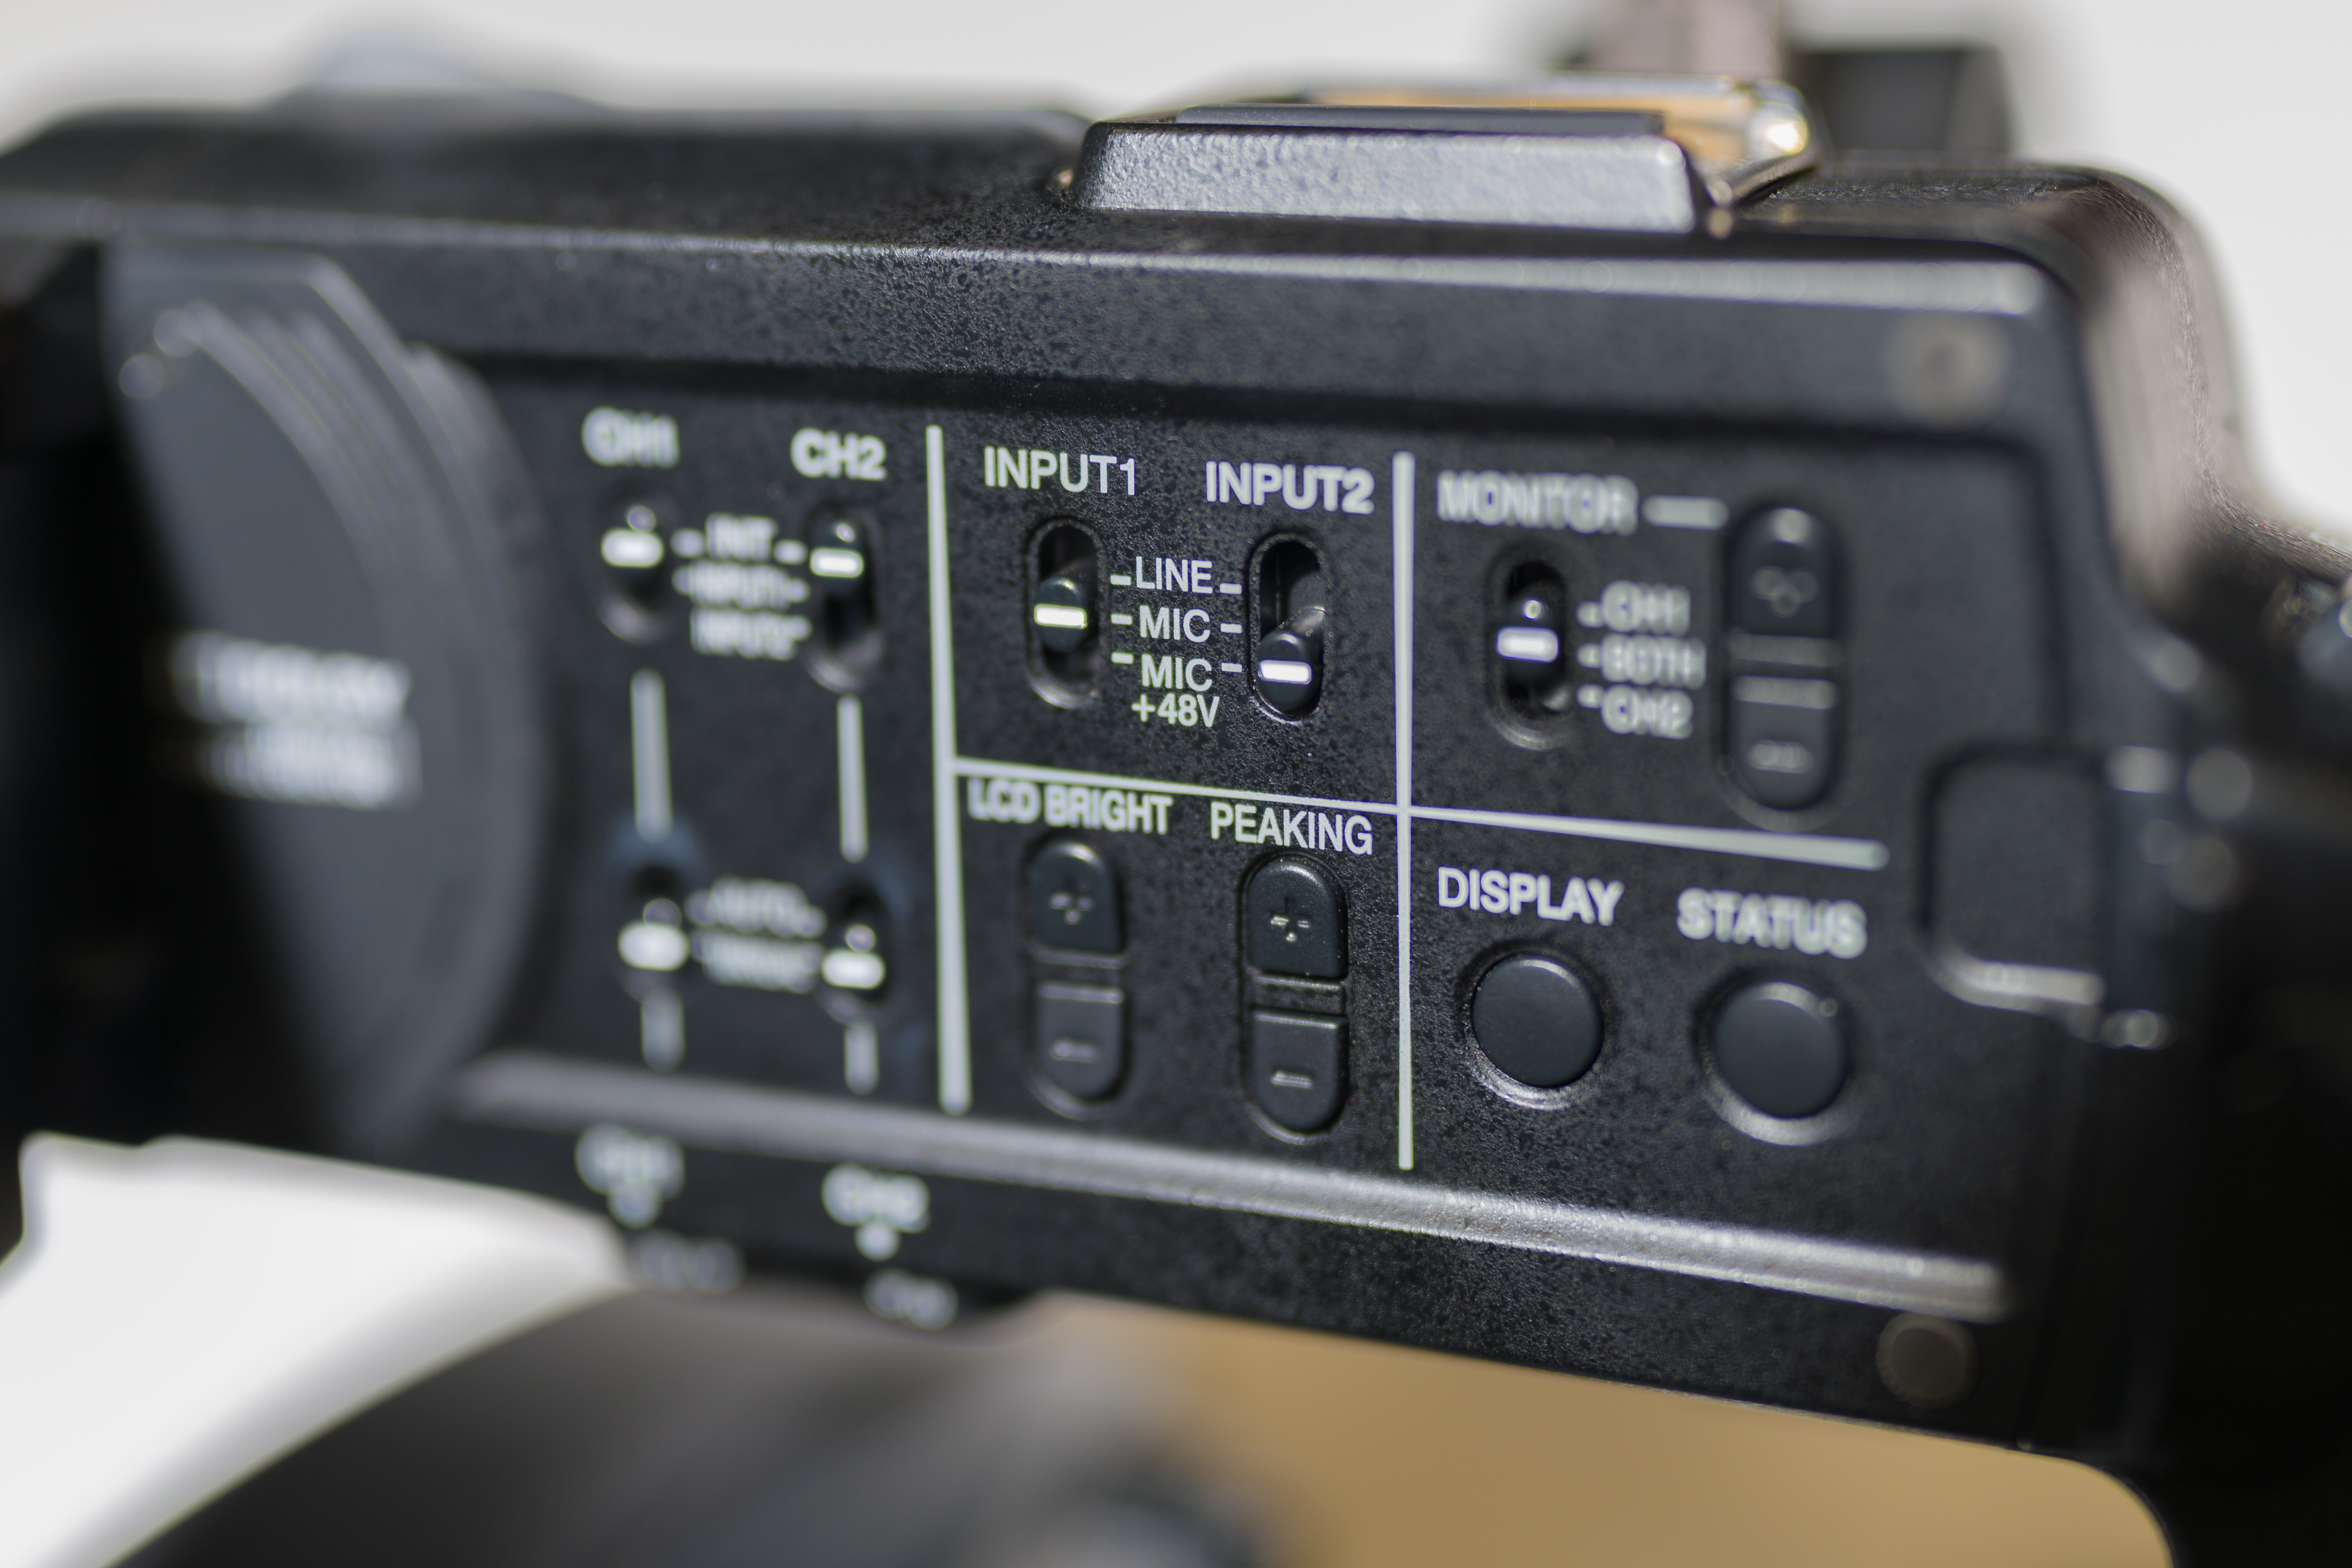
Input Controls
The input controls on the camera let you indicate what source is plugged into the camera (See figure 10.4.1). There are usually three choices, Mic, Mic +48v, and Line. The Mic choice is for microphones, which is where you will leave it most of the time unless you are using a condenser mic without a battery installed.
If you don’t have a battery for a condenser mic, then you will choose Mic +48v, also known as phantom power. 48 volts is required to power condenser microphones. The Mic +48v choice tells the camera to send power to the microphone. Without a battery or phantom power, condenser microphones will not work. Also, keep in mind that the Mic +48v setting will drain the camera battery faster. Make sure that if you are using a microphone, set the Input control to Mic or Mic +48v. If the setting is on Line when you are recording from a microphone, the signal will be too weak, and little to no audio will be recorded.
The line setting is only used when you are plugging in audio coming from a soundboard. When you record a live performance, you can ask the sound person for a line connection for your camera recording. If they grant that request, you will plug an XLR from the audio board into the camera and set the Input set to Line. Audio boards have very strong audio signals that are much more powerful than any microphone. If you leave the Input setting on Mic, the audio you record will be so loud, it will be both distorted and unusable.
Channel controls
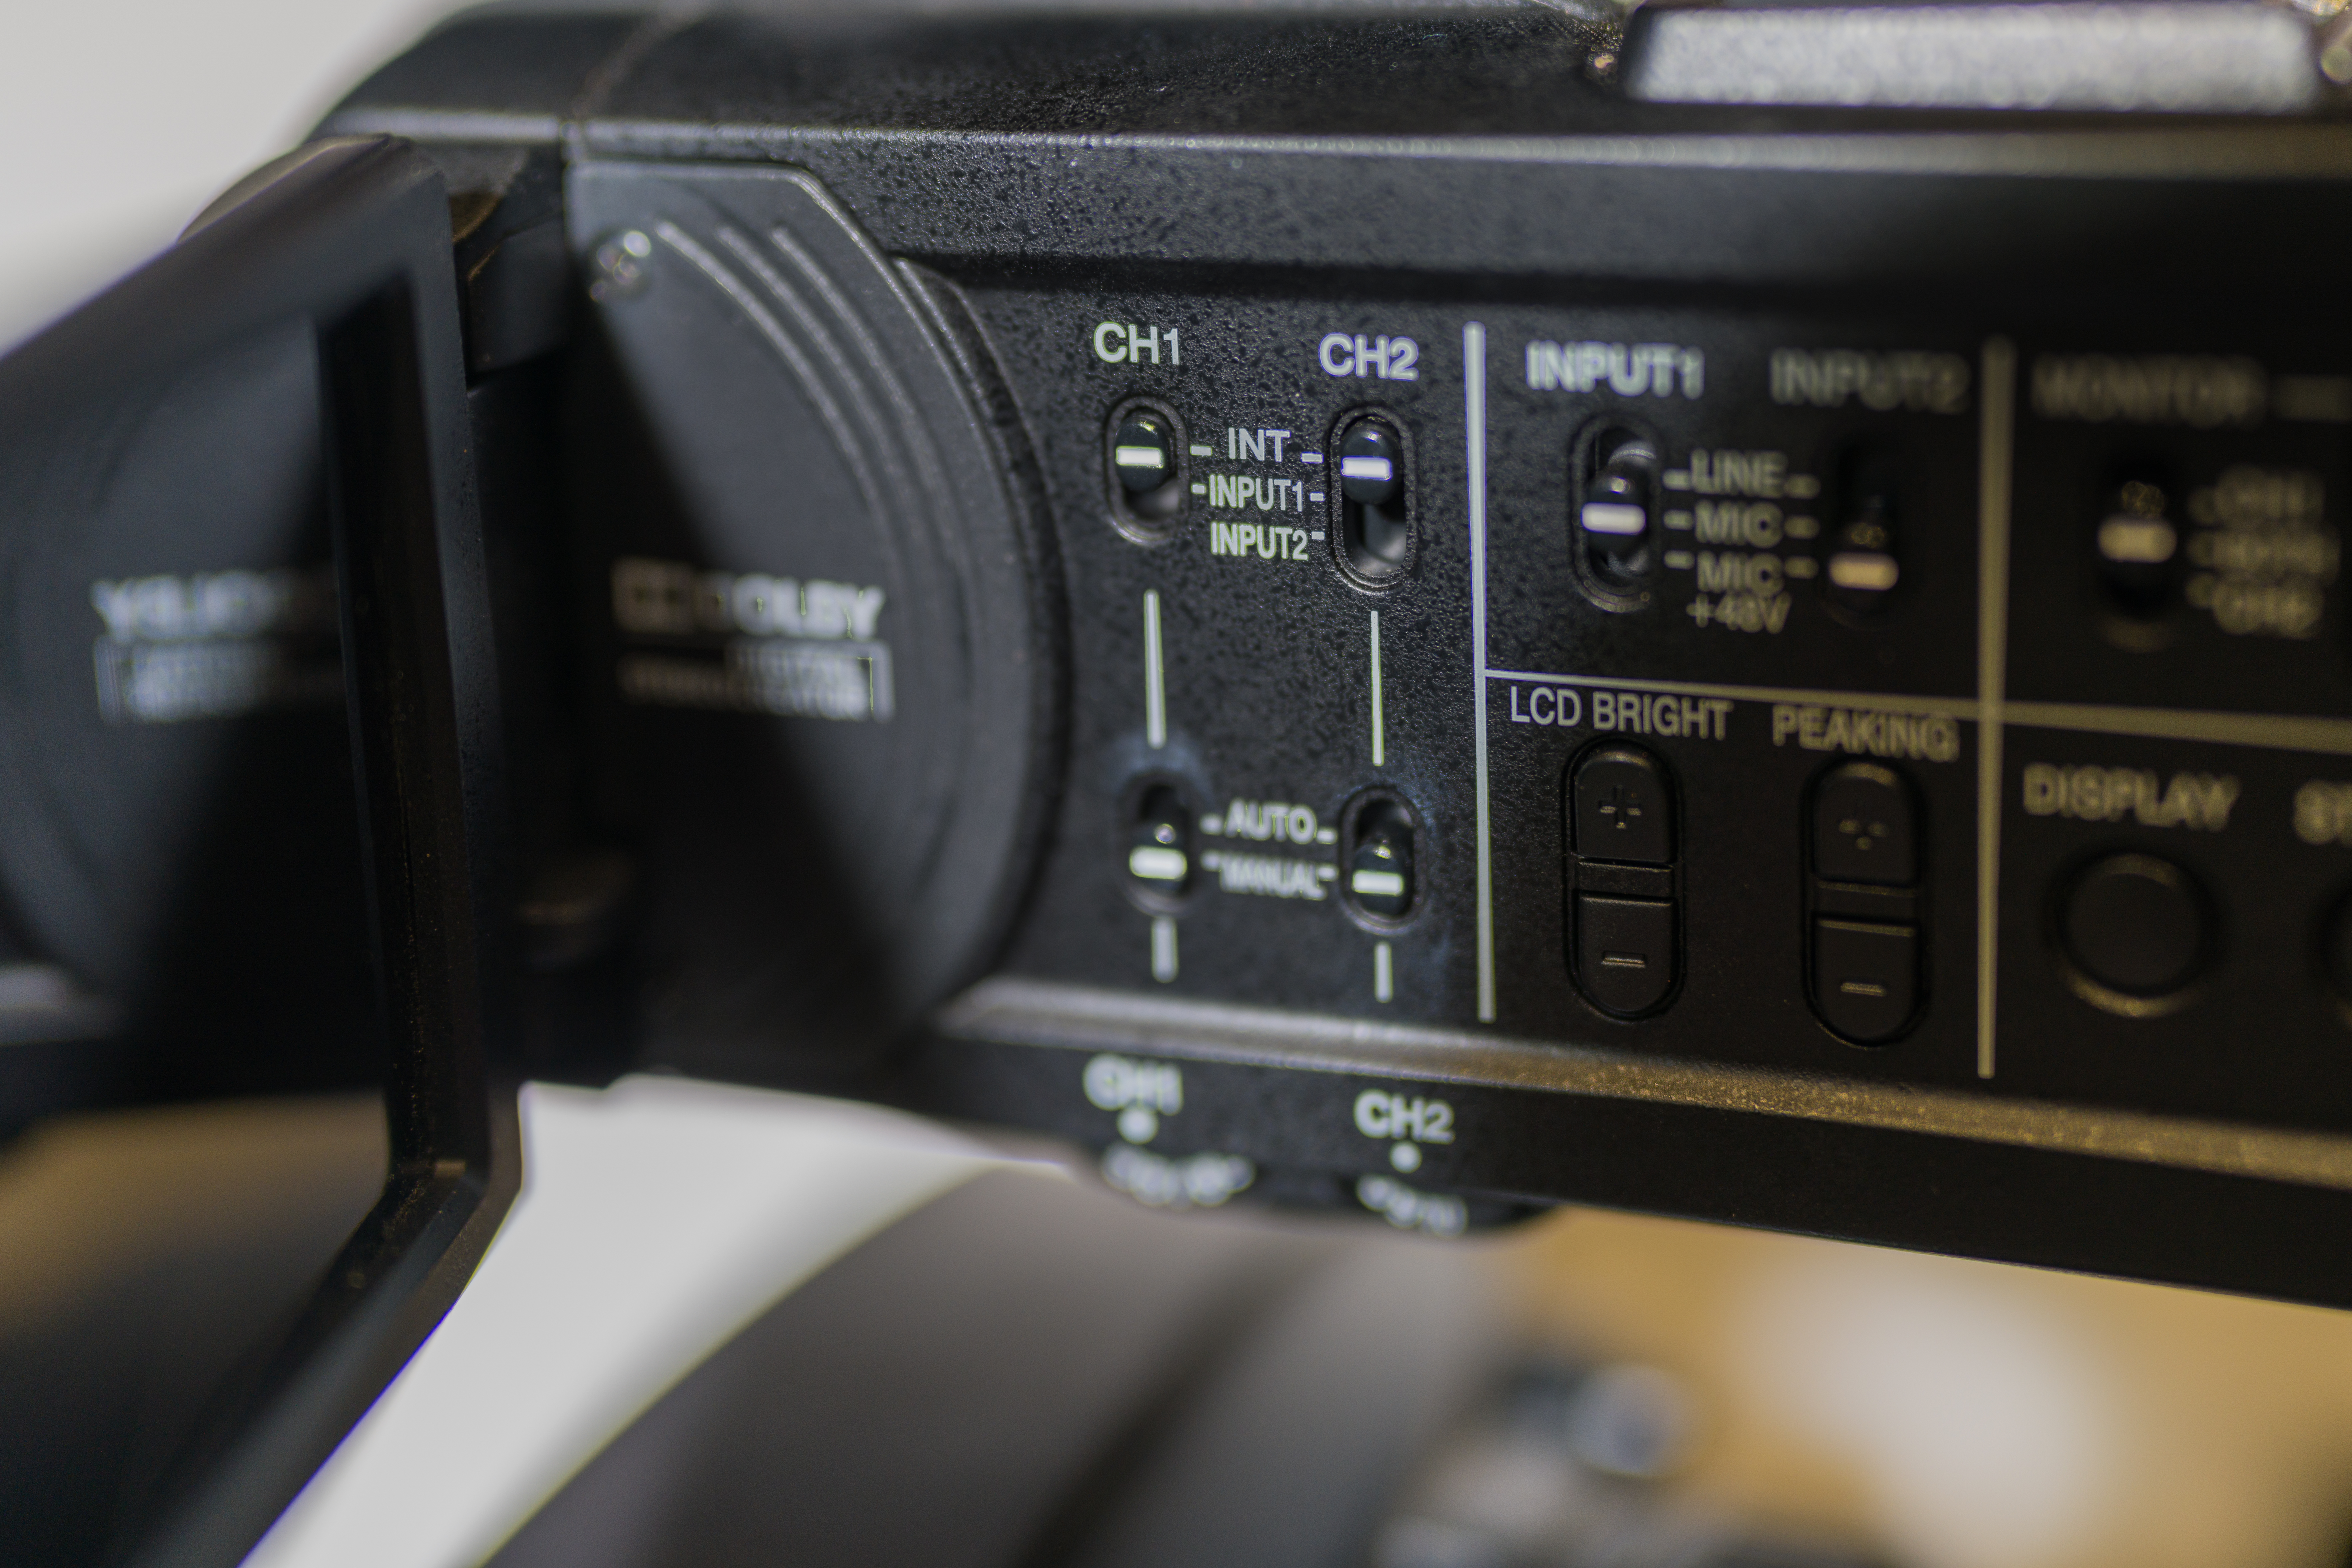
Audio is recorded on most cameras into two separate channels. The audio input controls on the camera let you choose which input (commonly microphones) you want to record on which channel. In figure 10.4.2, channels can be set to INT (Internal microphone on the camera), Input 1, or Input 2. If you have a reporter interviewing someone, you can record the reporter’s audio on one channel and the person they are interviewing on the second channel. If you are using a boom mic, you can record that audio on one channel and have a second microphone as a backup.
VU meter
The VU meter tells you the amplitude (loudness) the sound coming into the camera. Since audio in video cameras is recorded into two channels, there will be two bars of audio, one for each channel (See figure 10.4.3). The bars have numbers between them representing the audio level in decibels. The meter may have colors on it, where red indicates your audio is distorted.
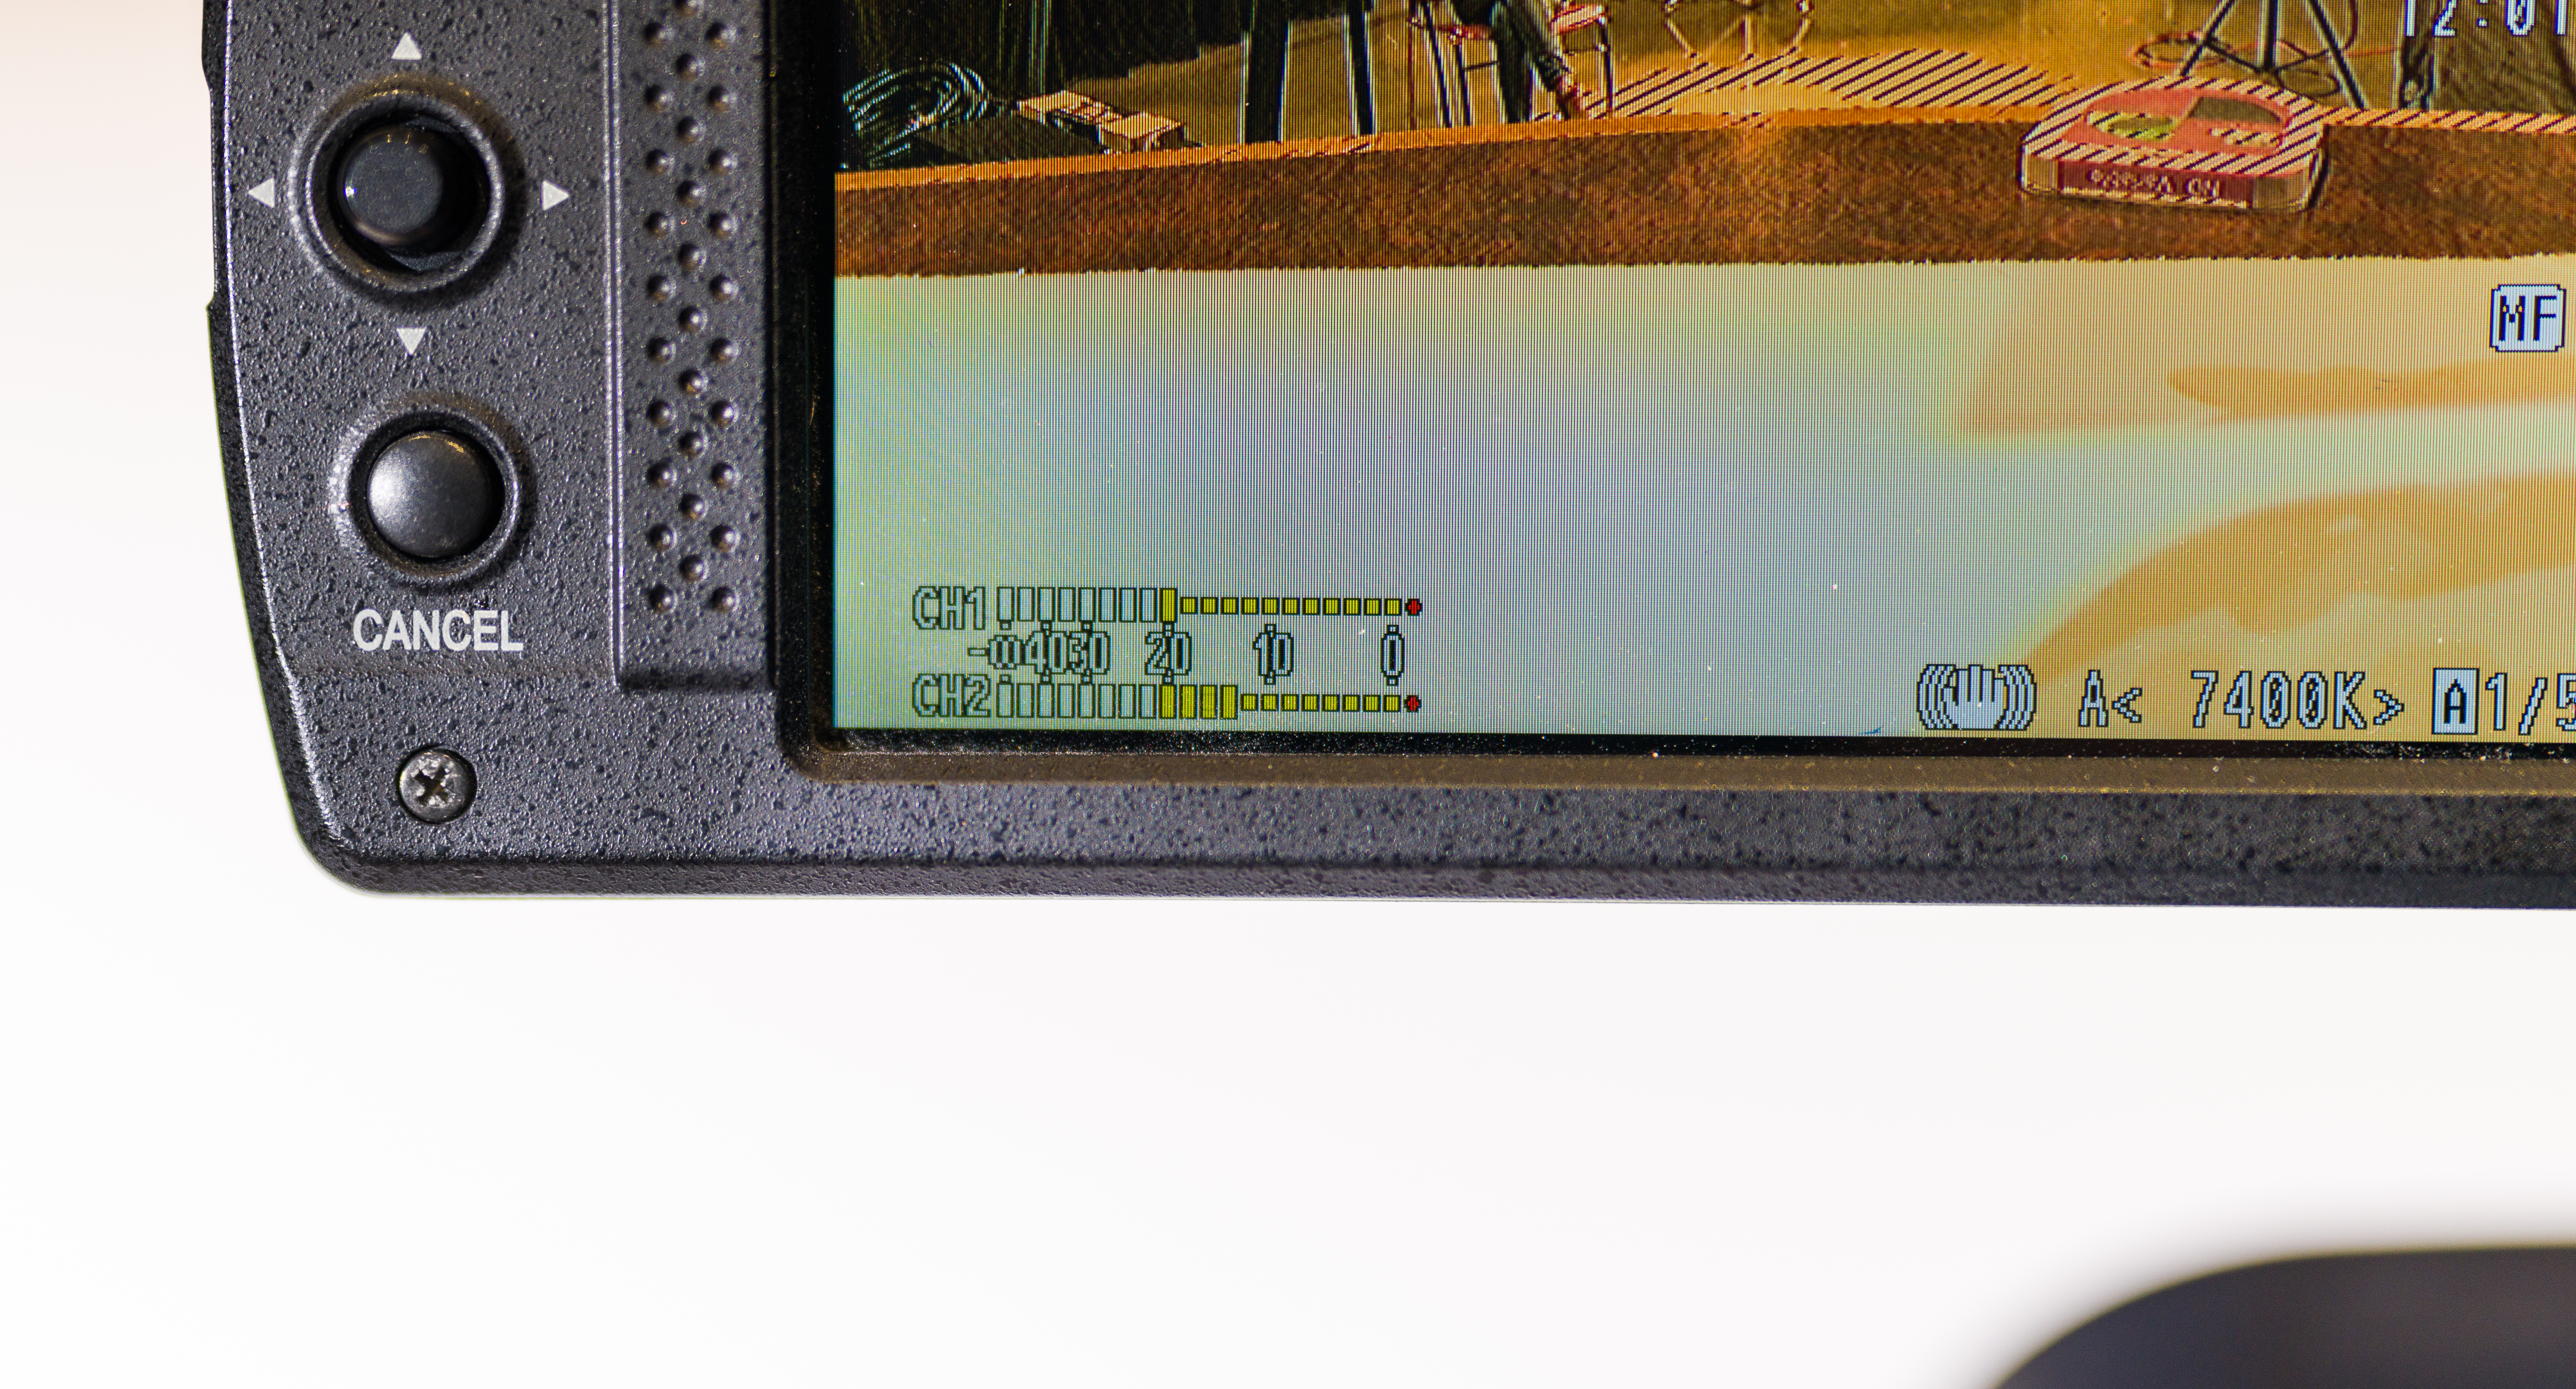
With cameras, you will be working in digital audio, which peaks at -12db. That means if the sound goes too far above -12db, then your sound may be distorted and it will be ruined. The -12db setting is for voices only. When it comes to recording a band or multiple loud sounds, -12db may be too high. This is why it is important to use the VU meter and headphones to monitor whether your sound is too loud or is being distorted.
Volume Controls
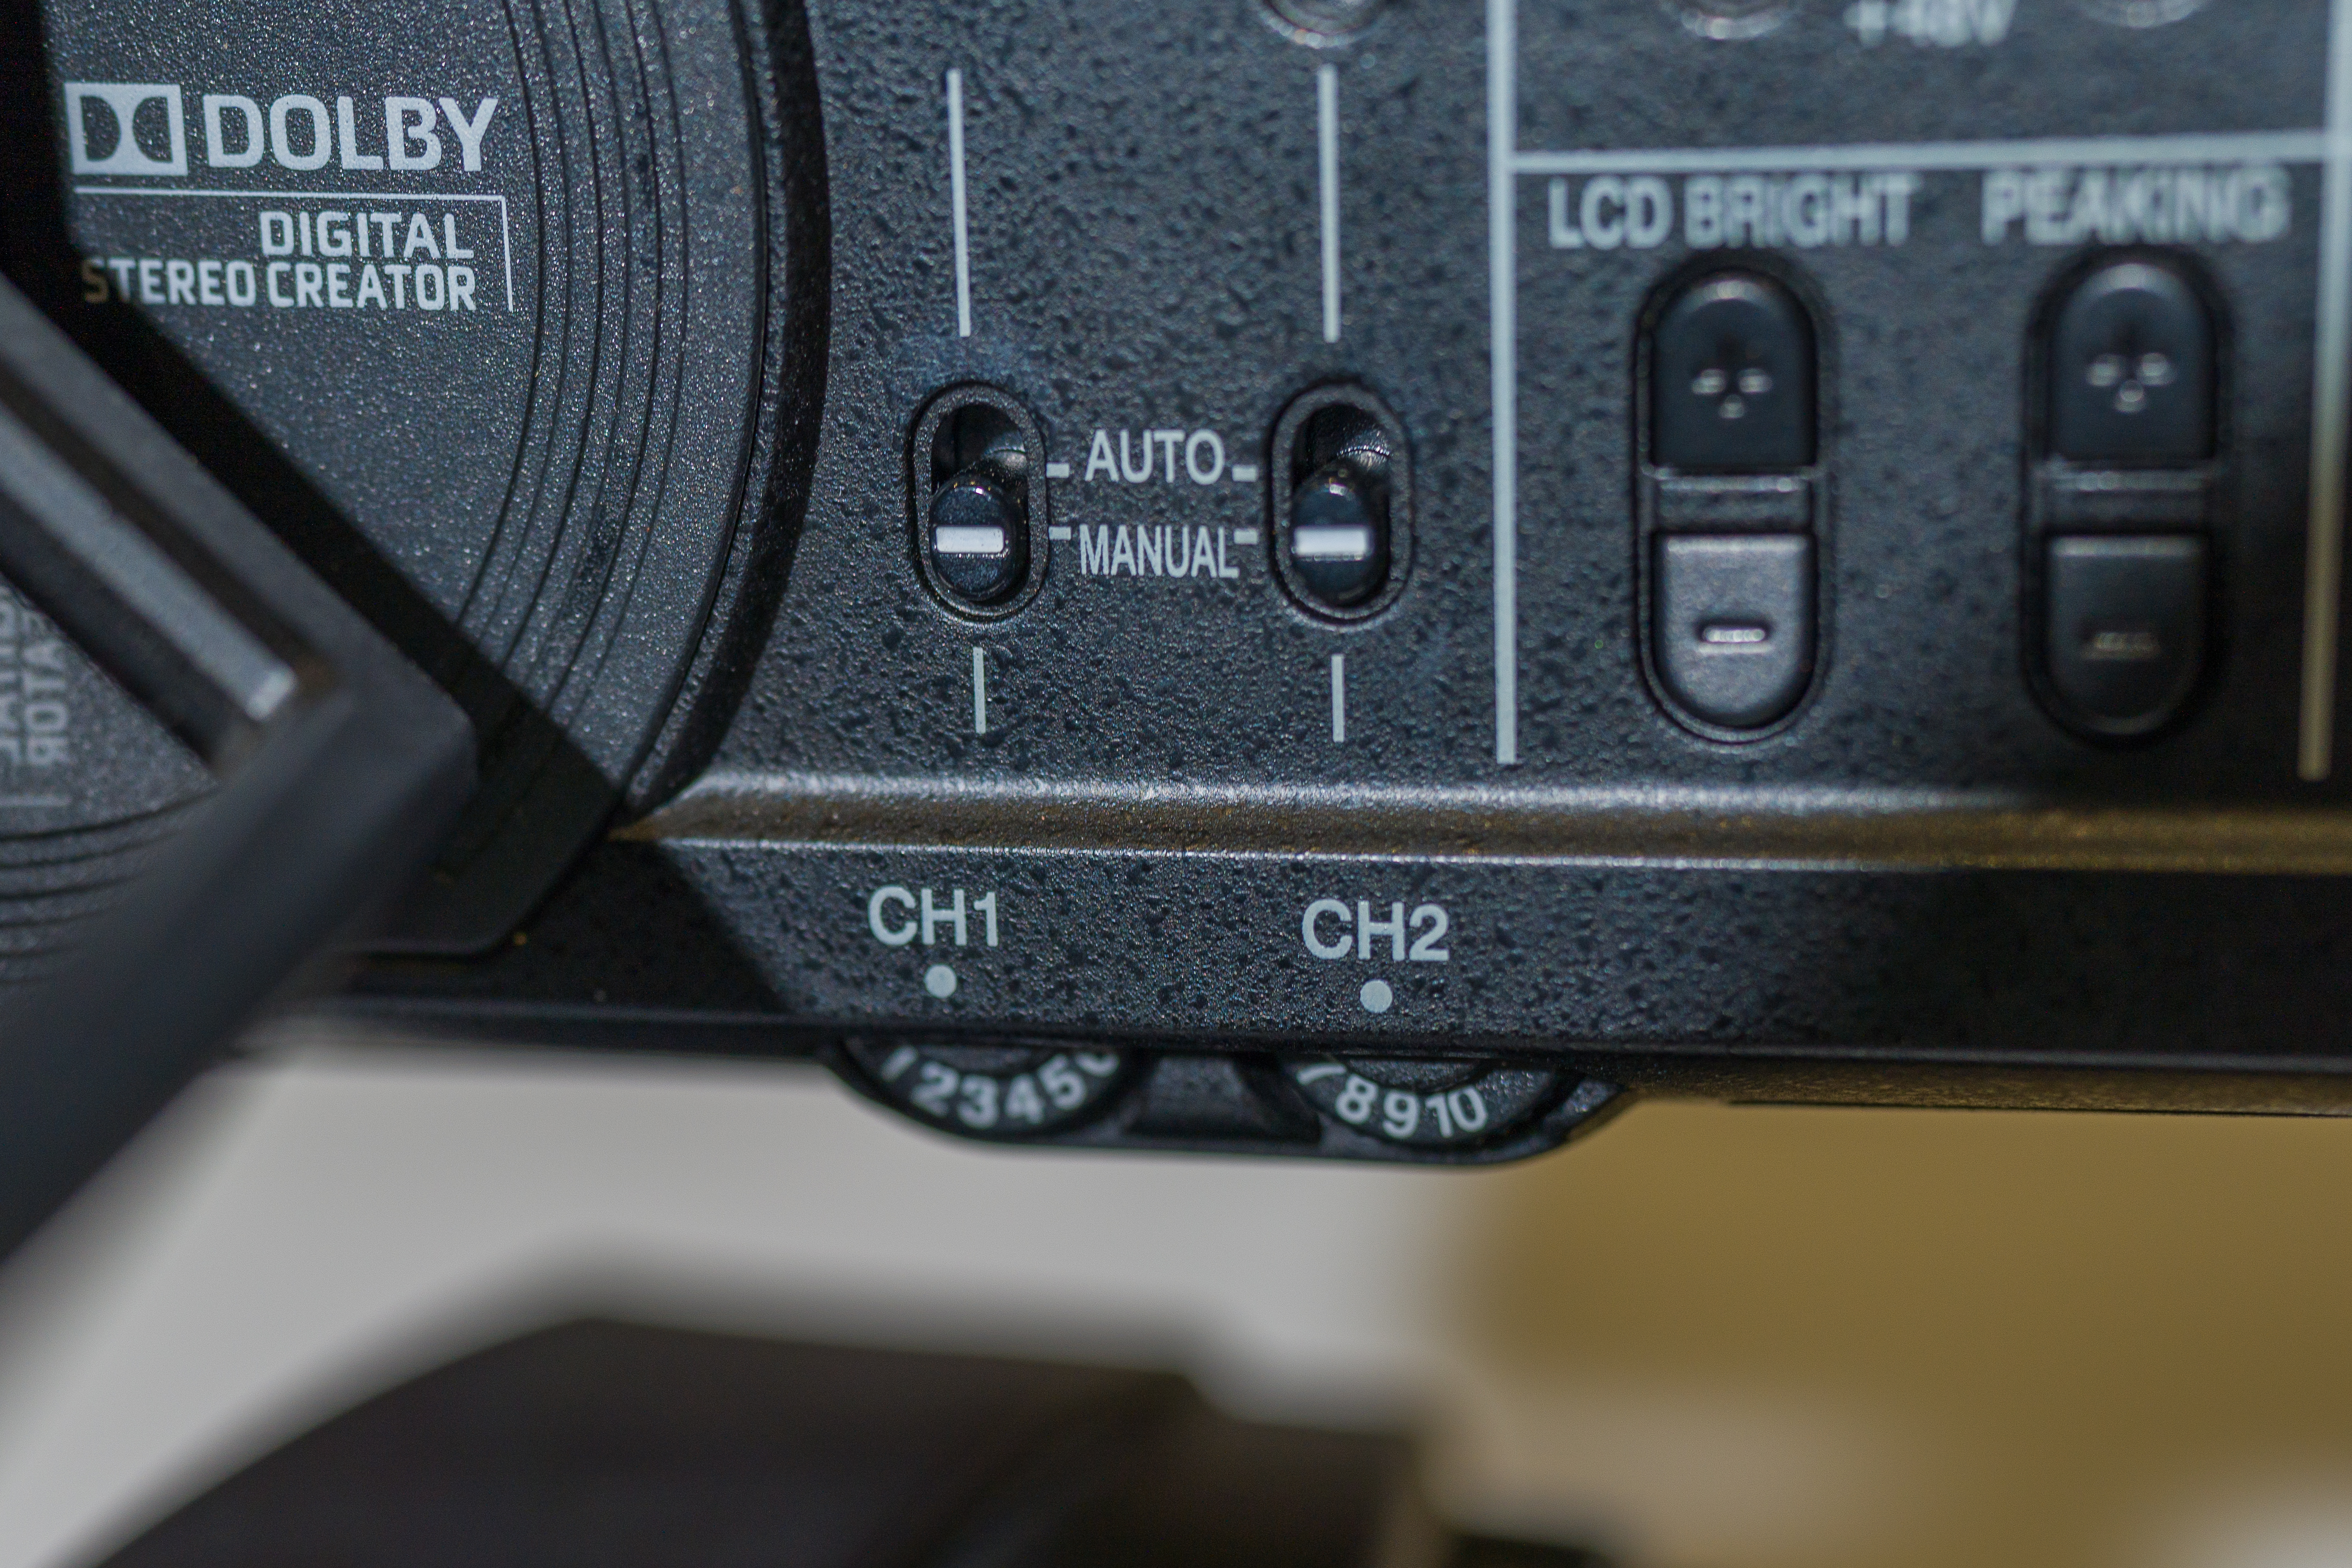
The Volume Controls are what control the volume of the sound being recorded (See figure 10.4.4). If you increase the volume control you will notice the bars on the VU meter getting longer, which indicates the sound that will be recorded is getting louder. When you decrease the volume, the bars will get shorter on the VU meter. Check the manual for your camera for the exact placement of your recording controls.
Headphone Controls
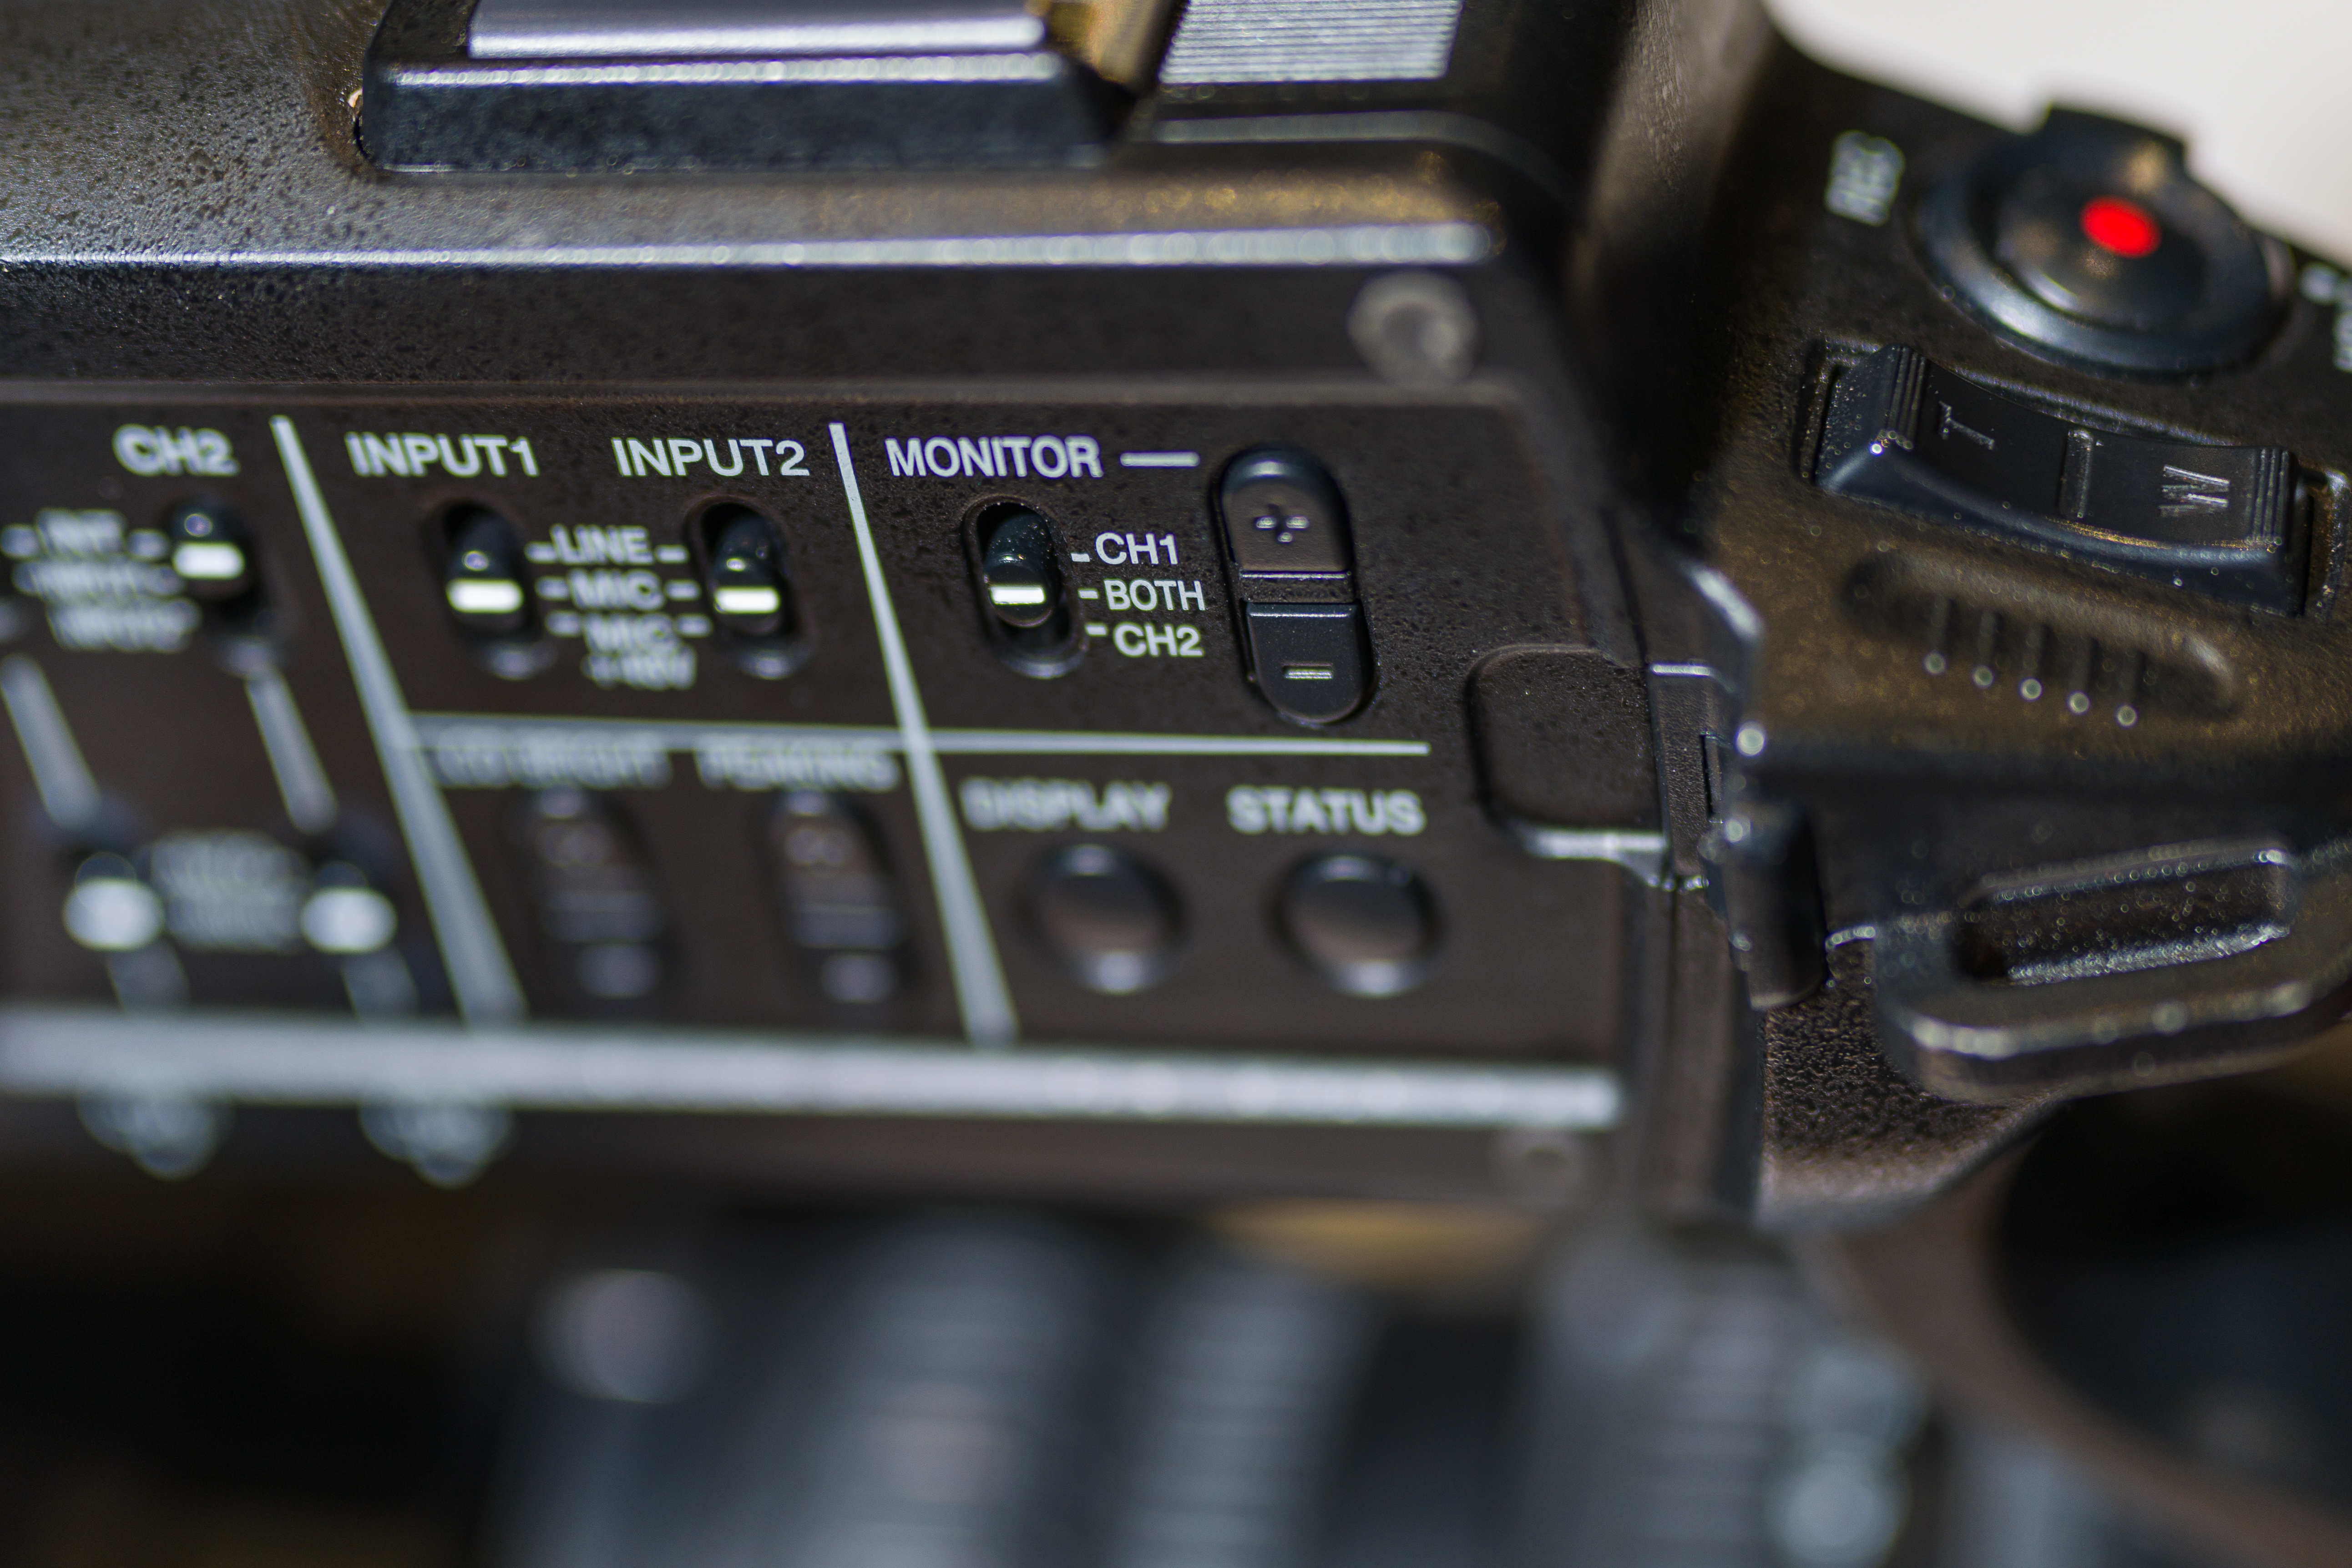
Many video cameras will have Headphone Controls (sometimes called monitor settings). The headphone controls allow you to listen to one channel at a time, both channels together, or to raise and lower the volume in the headphones (See figure 10.4.5). If you raise or lower the volume in the headphones, that does not change the volume at which your audio is being recorded. With headphones listen for the quality of the audio and not the volume because the headphone volume can be adjusted, which can be misleading. Trust your VU meter for volume and your headphones for the quality of the audio.