10.2.1: Microphones Used in Video Production
- Page ID
- 129040
Handheld
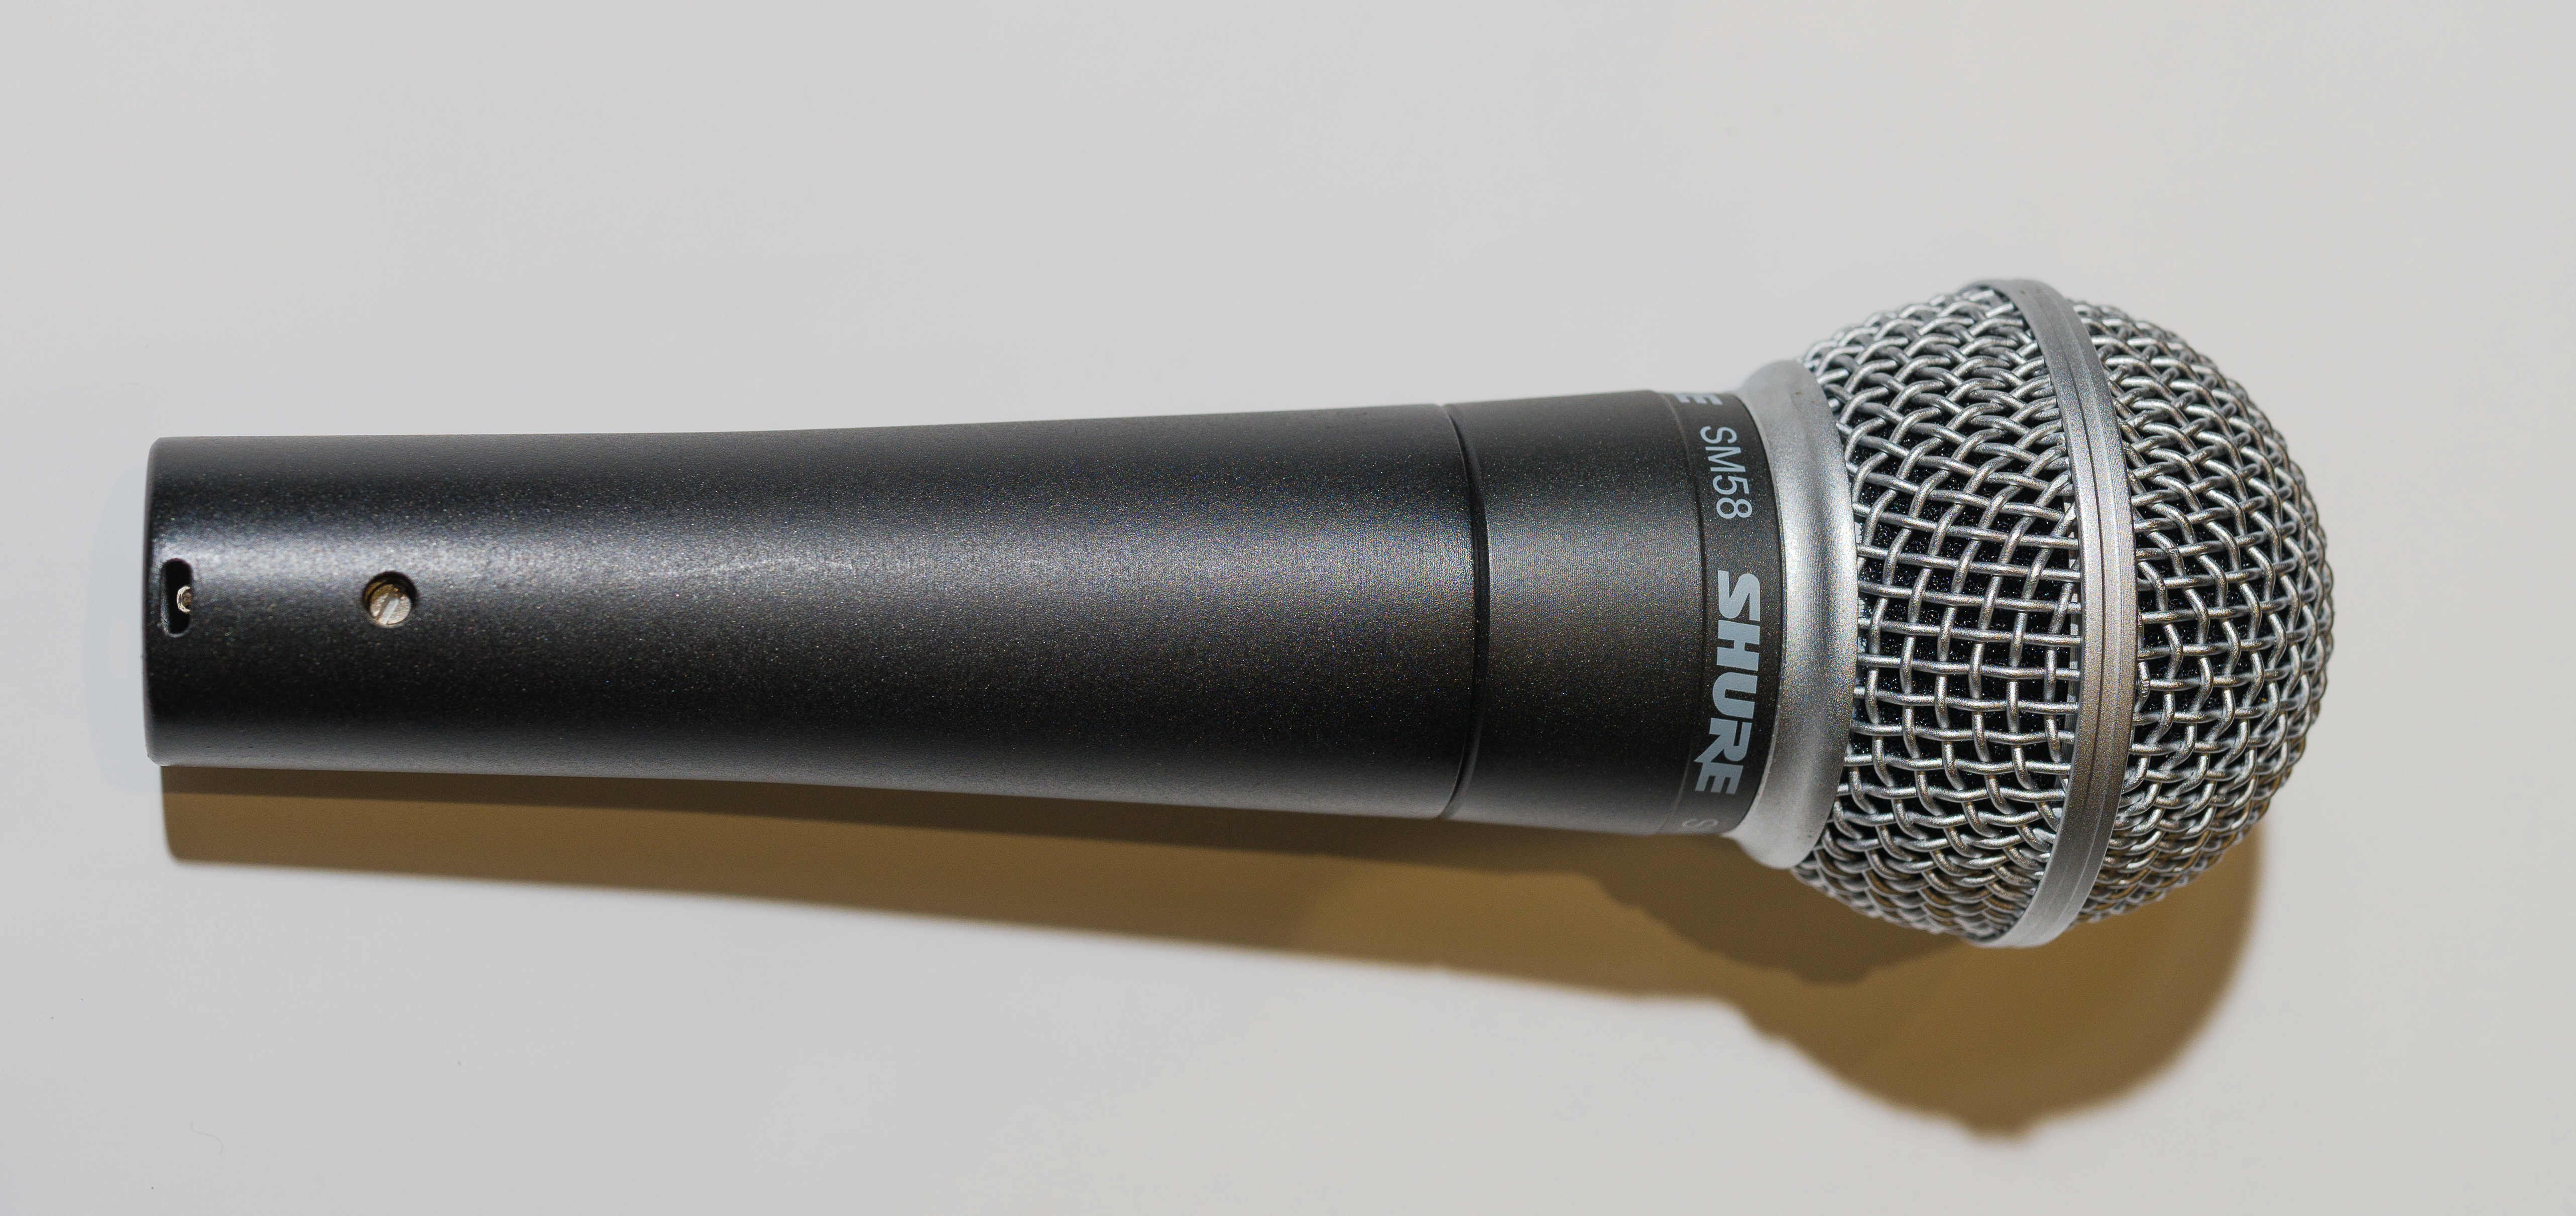
(CC BY-NC 4.0; Sebastian Jimenez via San Francisco State University)
Handheld microphones are held by someone who speaks or sings into it (See figure 10.2.1.1). You will see these microphones on the news when journalists are reporting from the field or in live music productions where the lead singer of a band is singing into the microphone.
Shotgun
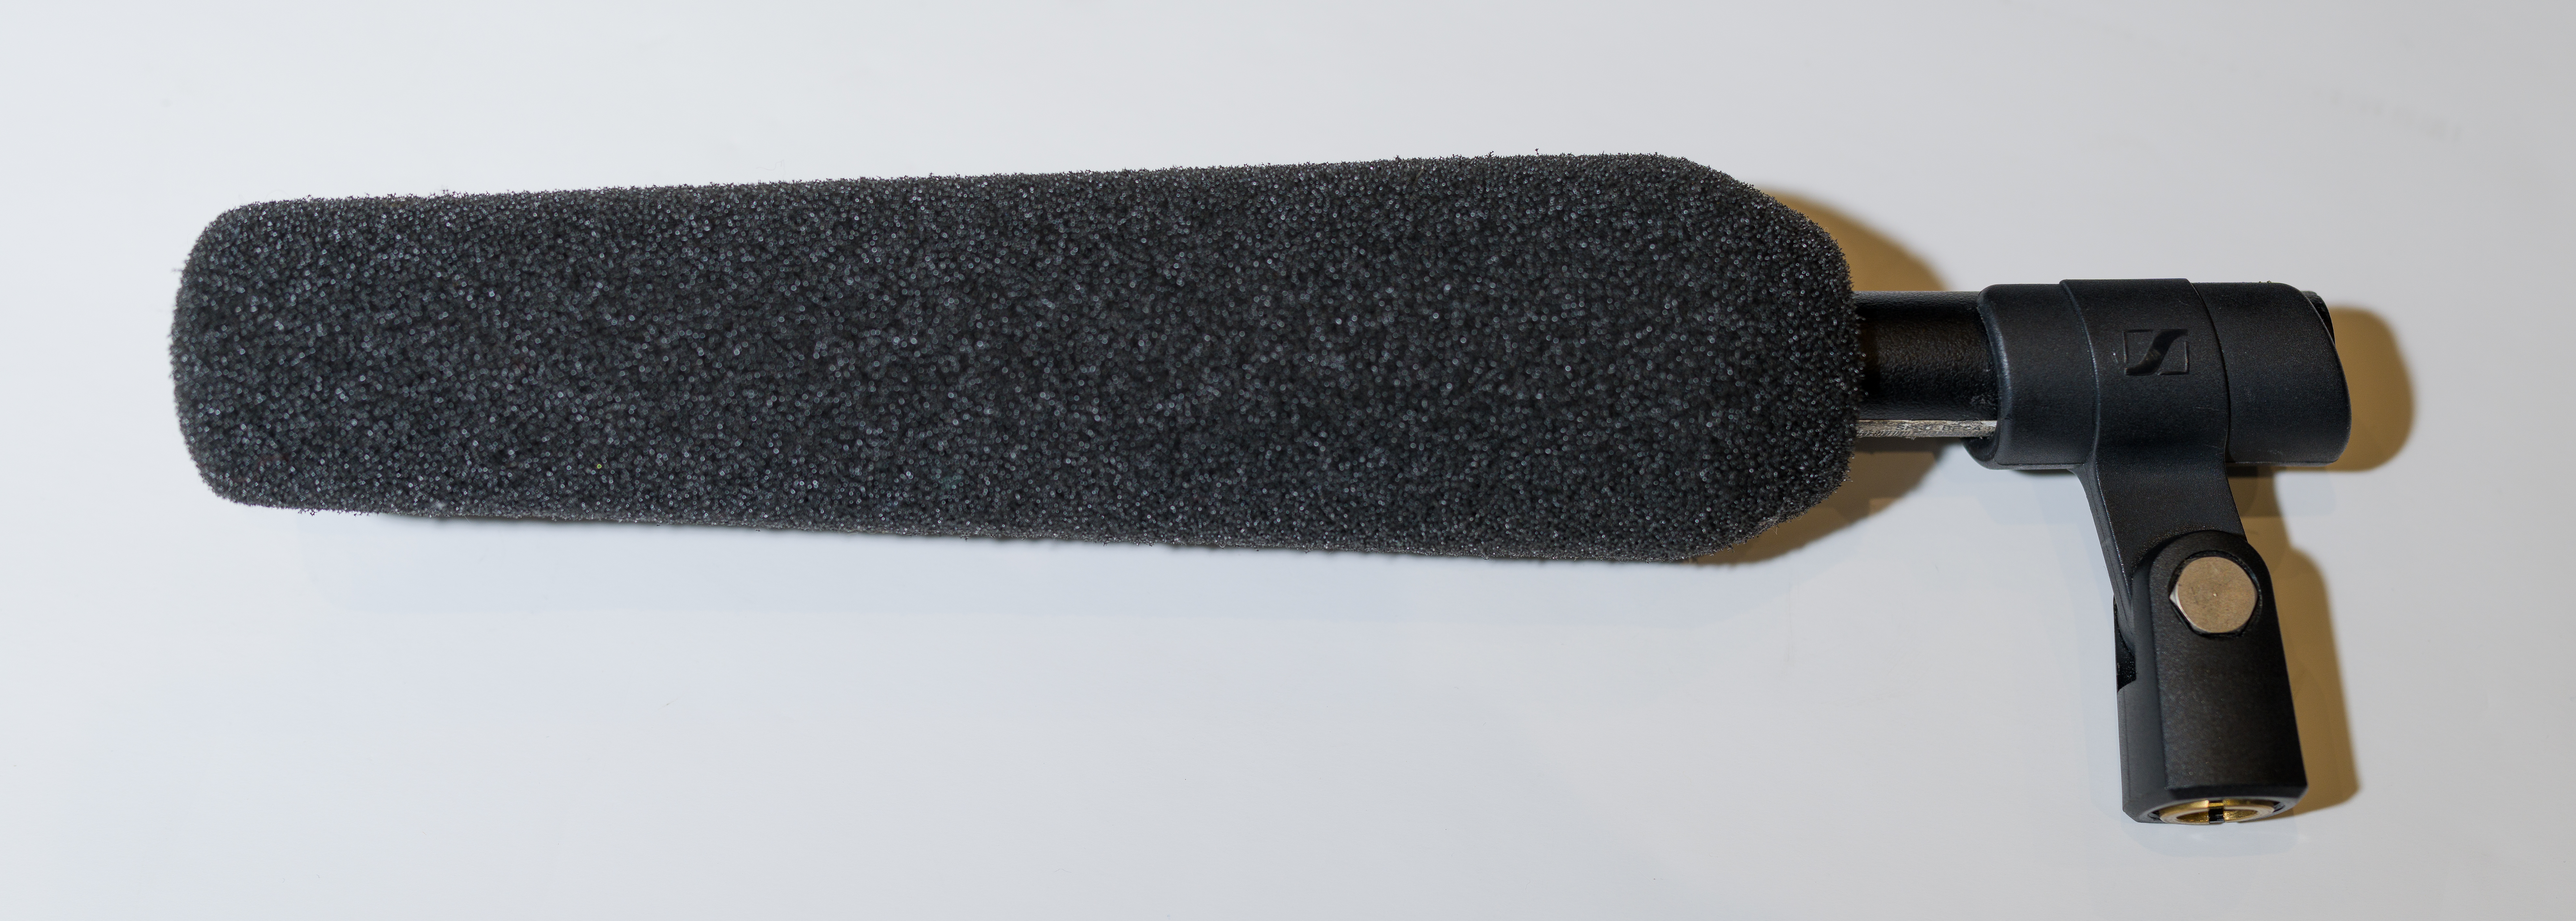
(CC BY-NC 4.0; Sebastian Jimenez via San Francisco State University)
A shotgun microphone is commonly used in fiction shows on television and in films (See figure 10.2.1.2). These mics are commonly placed on boom poles (and referred to as a boom mic), which allow them to be extended from off-camera and brought closer to talent by a boom operator. This gives the talent freedom to move around and not have to wear a microphone.
Boom Mics
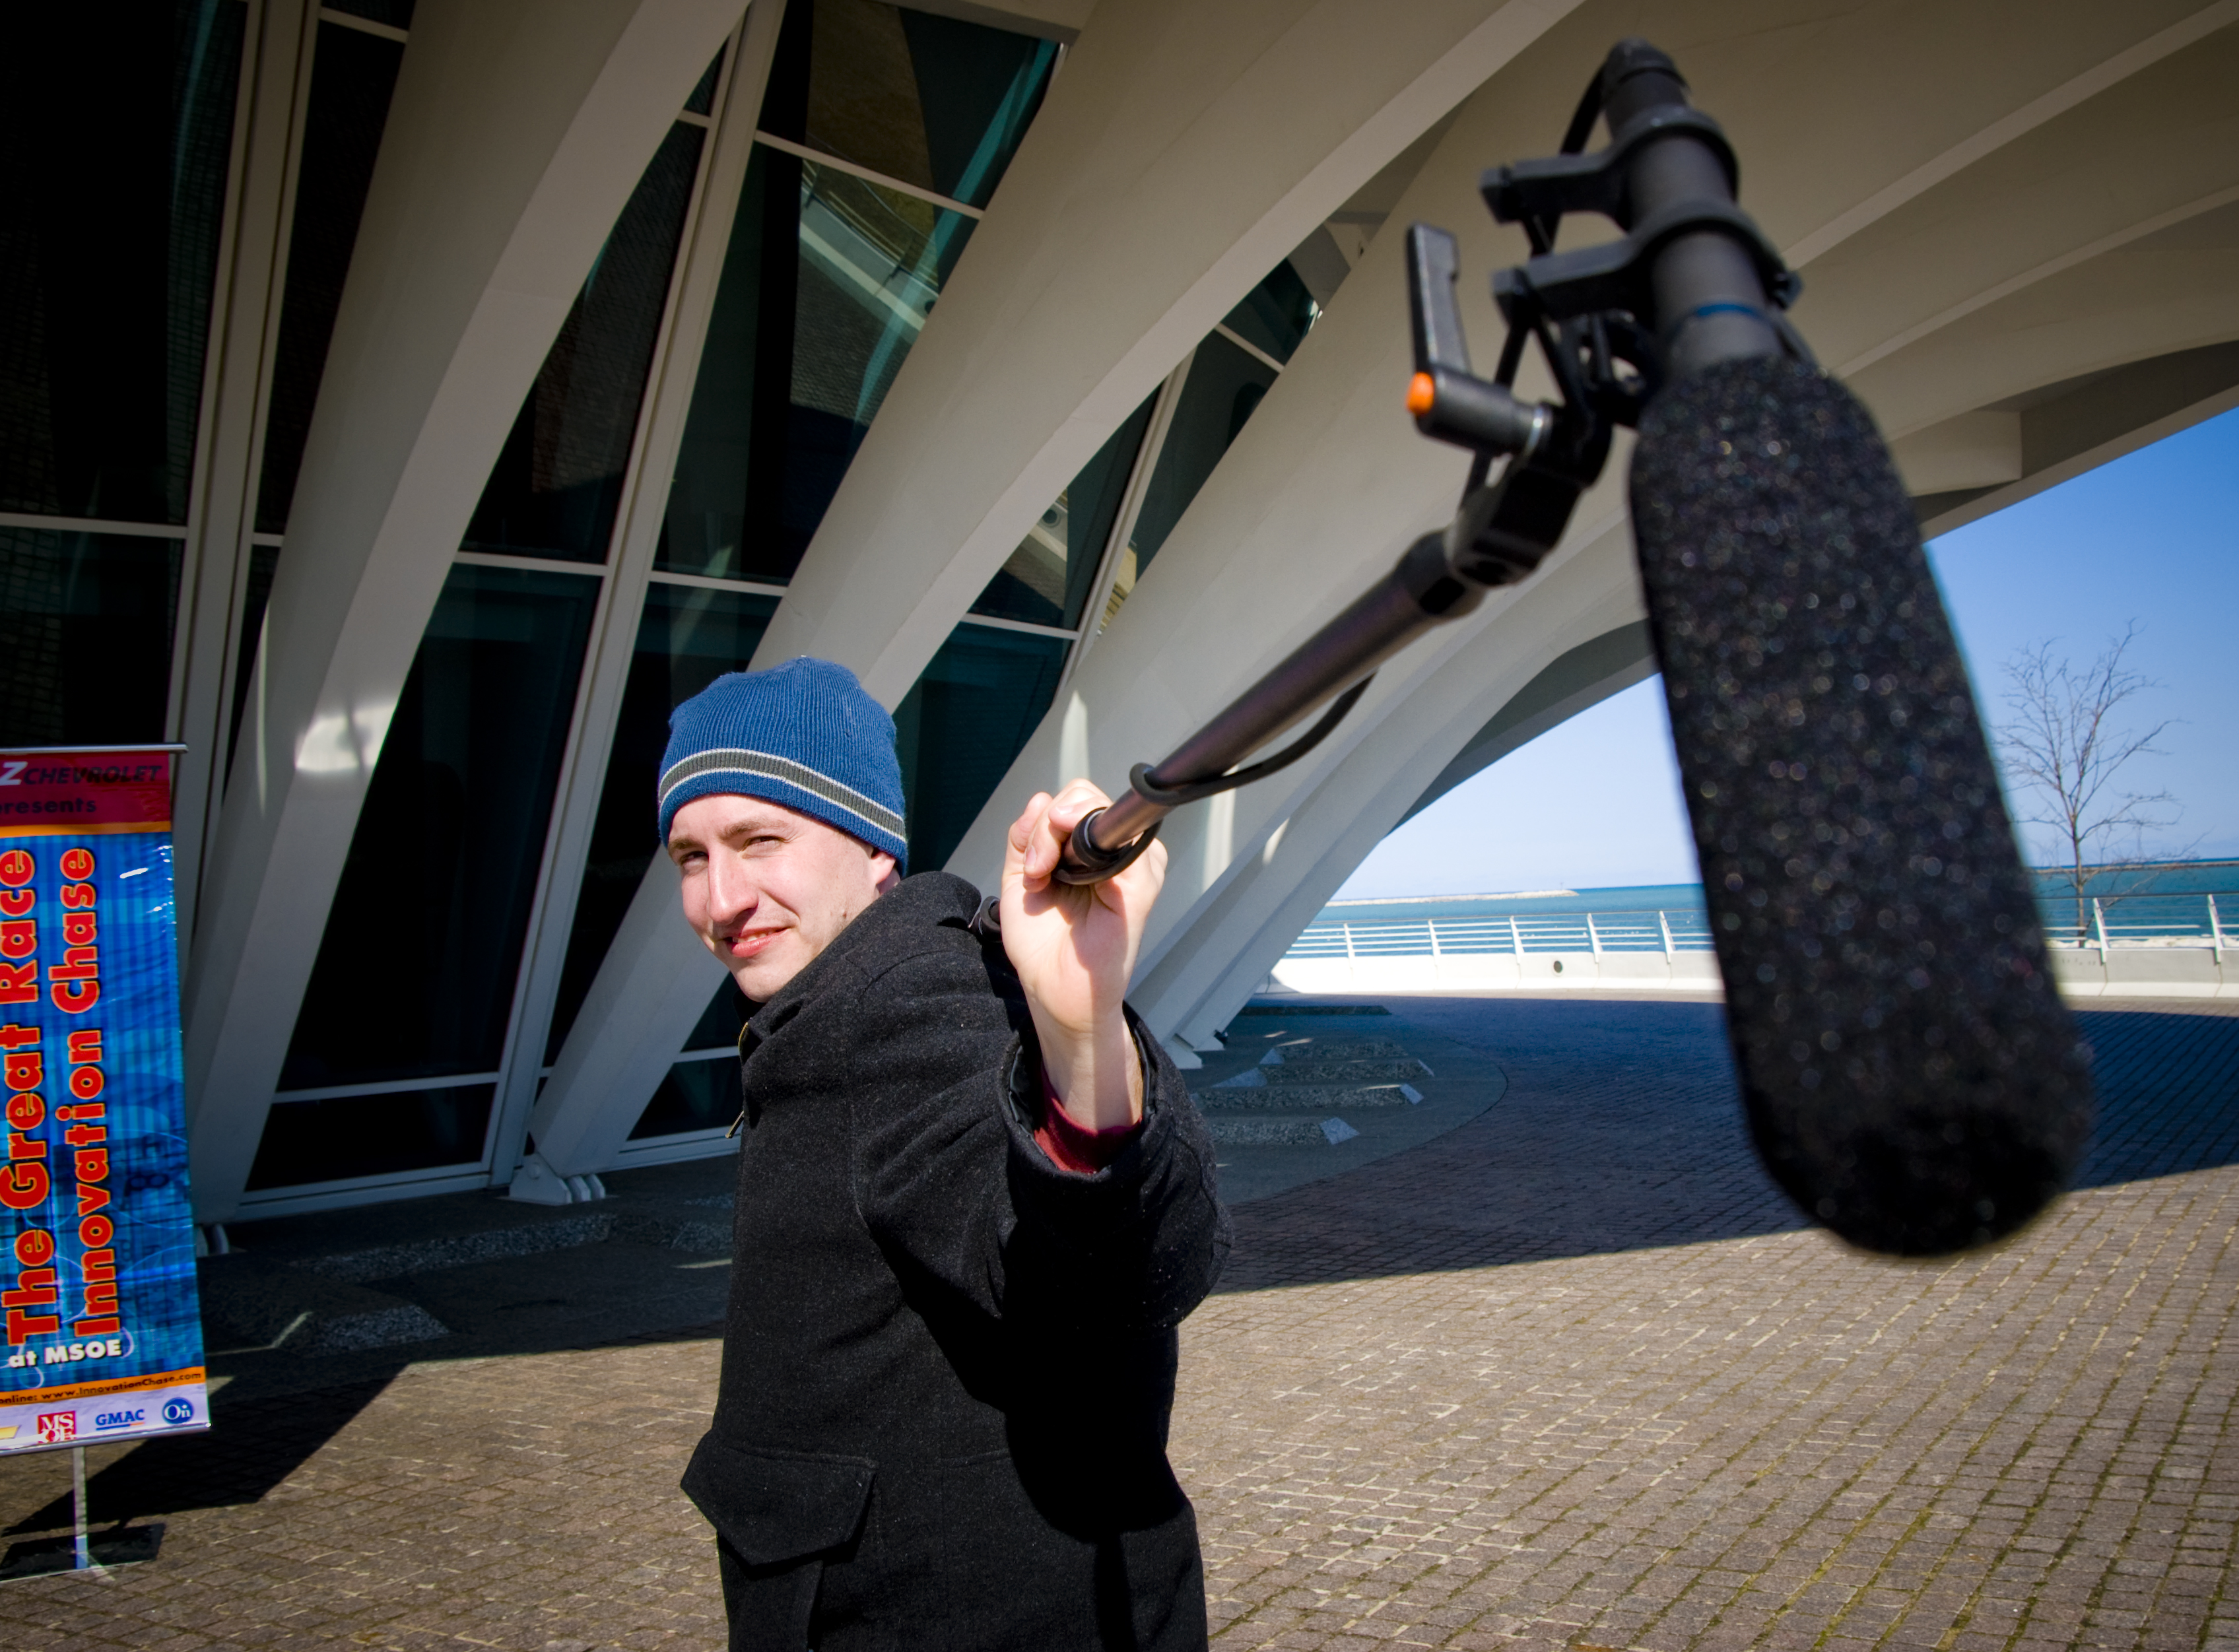
When a shotgun mic is put on a boom pole, it is commonly referred to as a boom mic (See figure 10.2.1.3). They are great for picking up sound when the subjects of the shot cannot wear a microphone, like in fiction shows. Seeing a microphone on a fictional character could take the viewer out of the story unless the script calls for it.
Booming the Mic
Boom poles have to be handled with two hands to keep them steady and to make sure the microphone is facing the talent. Boom operators usually position the mic above and slightly in front of the talent either by resting the pole on their shoulders and behind their neck (See figures 10.2.1.3 and 10.2.1.5) or by raising their arms up (See figure 10.2.1.4). Boom operators have to be careful not to have the mic appear on camera or have a shadow cast on the set from the boom. They usually work with the camera person to determine how close they can get to the talent without being in the shot.
(CC BY-NC 4.0; Sebastian Jimenez via San Francisco State University)
(CC BY-NC 4.0; Sebastian Jimenez via San Francisco State University)
(CC BY-NC 4.0; Sebastian Jimenez via San Francisco State University)
A boom operator can also position the mic under the talent (See figure 10.2.1.6), once again being cautious not to be in the shot. Although this technique removes the shadow casting issues of the above-the-head technique, having the microphone face upwards also increases the likelihood of capturing any sound happening above the talent. If you are recording outdoors and the mic faces upwards toward a tree, it will pick up the rustling of leaves and any birds chirping since shotgun microphones are highly directional in how they pick up sound. Since the sound is really important, most boom operators use the over-the-head technique more often.
Lavalier
(CC BY-NC 4.0; Sebastian Jimenez via San Francisco State University)
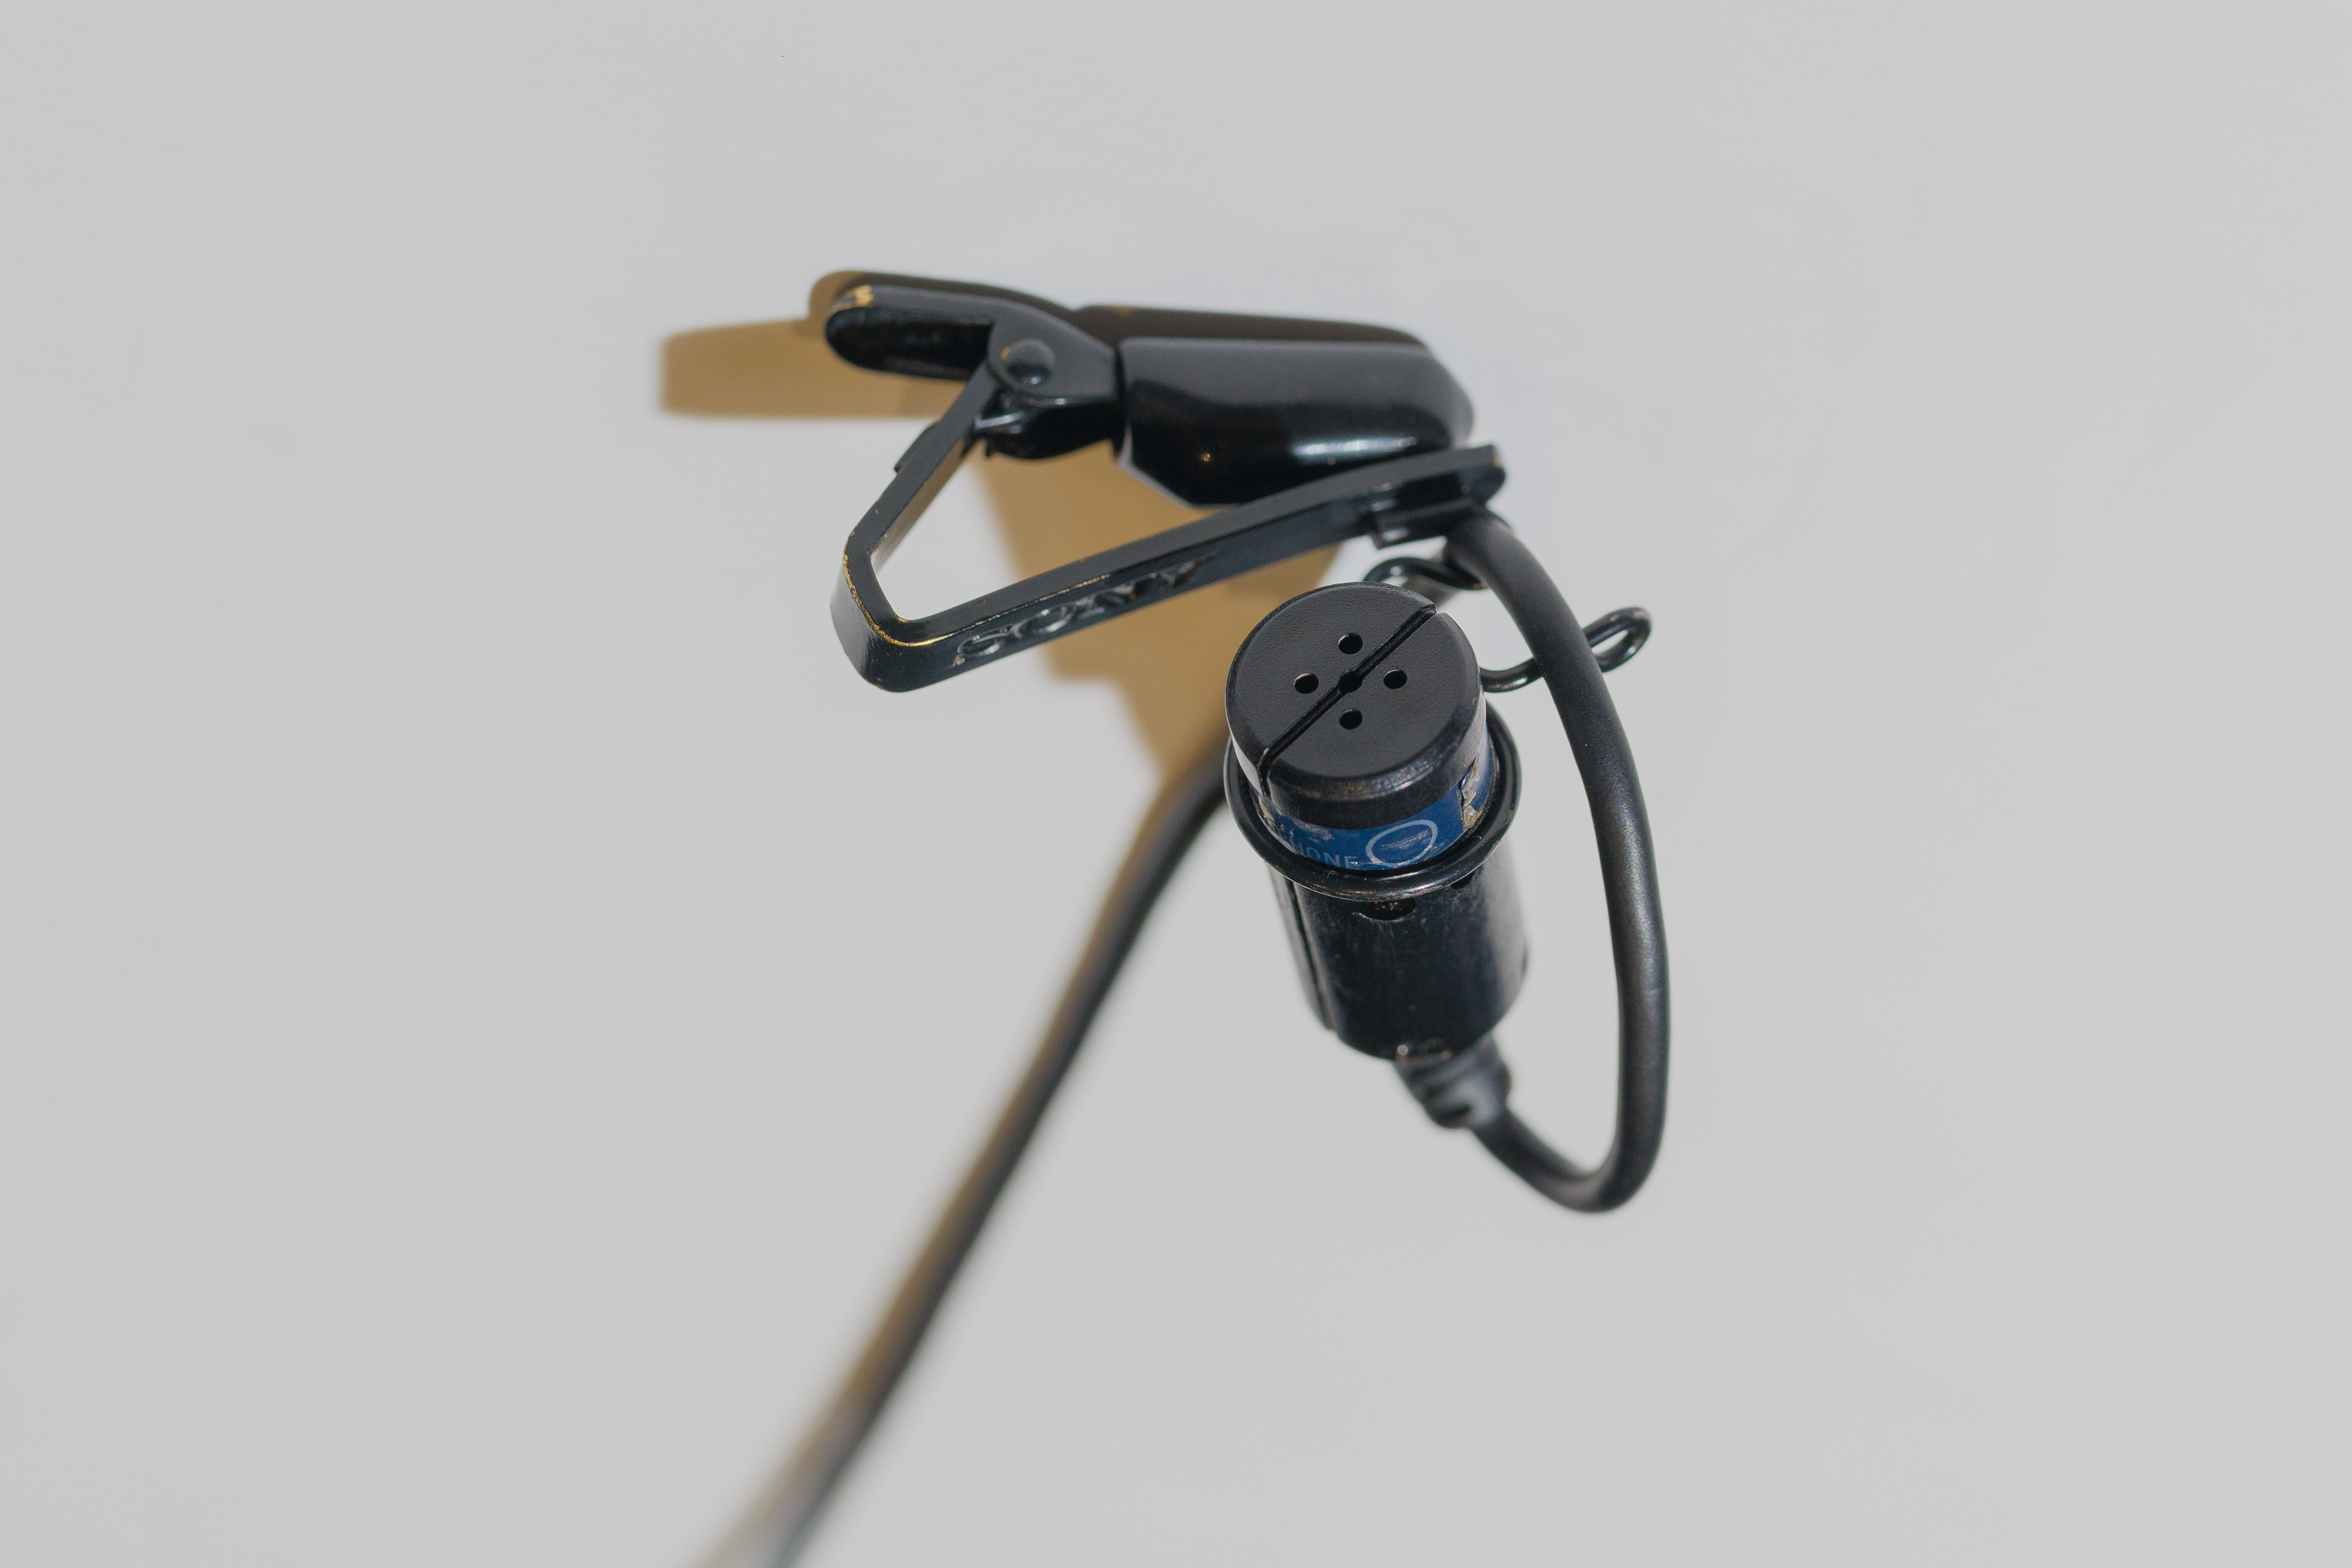
Lavalier microphones are small microphones that are usually attached to talent. They are most commonly used in news programs and any interviews that take place indoors. These mics are placed on a clip and attached to the clothing of the talent.
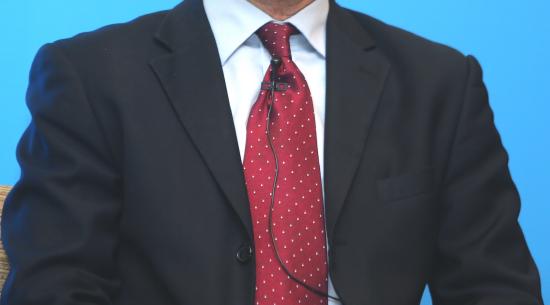
In most cases, the lavalier mic can be seen on the person wearing them, but the wires are hidden as best as possible. Since these mics are tiny and fragile, we need to reduce the tension in the area where the wire connects to the mic. This is the most fragile area of a lavalier. You’ll notice when you watch the news, the microphone will be on the clip on the anchor’s clothing and there will be a small half-loop going underneath it that disappears behind the clothing inside the clip.
Broadcast Loop
To reduce the tension on the connection of the wire and lavalier, to look professional (see how unprofessional the mic looks in figure 10.2.1.8), and to hide as much of the wire as possible, we use what is called the Broadcast Loop. To create the loop, place the microphone on the clip and create a half loop underneath, putting the wire inside the clip. Let the wire complete the loop, but place the top of the loop behind the clothing letting the clip hold the end of the loop as demonstrated below in Figure 10.2.1.9 below.
(CC BY 2.0; ITU Pictures via flickr)
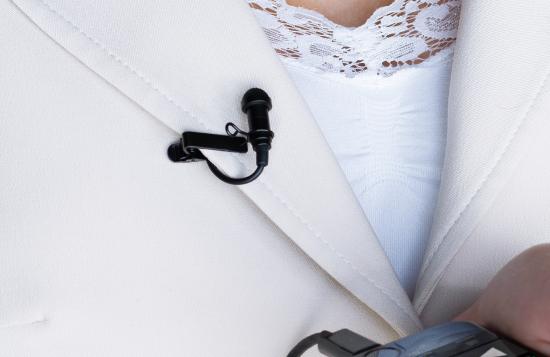
The video below will demonstrate how to create a broadcast loop using a lapel clip to hide most of the wire from a lavalier microphone.
To watch this video with Closed Captions: https://amara.org/en/videos/AvOwC2FqCQeC/info/60-seconds-on-set-lavalier-mounting-basics/
PZM
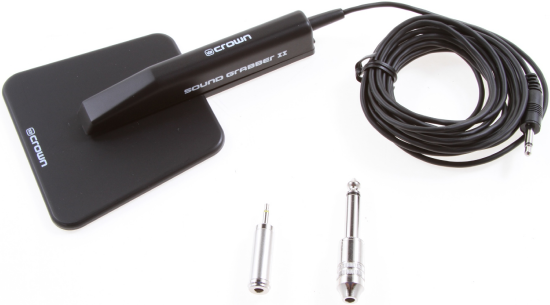
(CC BY-SA 4.0, Terodaktil via Wikimedia Commons)
PZM stands for Pressure Zone Microphone and is sometimes referred to as a Boundary microphone (See figure 10.2.1.10). This microphone is used to hear multiple people at once. It can be placed on the front of a stage to hear actors or the footwork of tap dancers. Several can be placed in front of a large chorus to capture all the rich sounds. It can also be placed inside of the cover of a grand piano when doing a live piano performance. PZM microphones are also commonly used as conference call microphones because they will pick up everyone sitting around a conference table well.


