Humanities LibreTexts

8.2: Camera Position

  • Page ID
    124331
  • \( \newcommand{\vecs}[1]{\overset { \scriptstyle \rightharpoonup} {\mathbf{#1}} } \) \( \newcommand{\vecd}[1]{\overset{-\!-\!\rightharpoonup}{\vphantom{a}\smash {#1}}} \)\(\newcommand{\id}{\mathrm{id}}\) \( \newcommand{\Span}{\mathrm{span}}\) \( \newcommand{\kernel}{\mathrm{null}\,}\) \( \newcommand{\range}{\mathrm{range}\,}\) \( \newcommand{\RealPart}{\mathrm{Re}}\) \( \newcommand{\ImaginaryPart}{\mathrm{Im}}\) \( \newcommand{\Argument}{\mathrm{Arg}}\) \( \newcommand{\norm}[1]{\| #1 \|}\) \( \newcommand{\inner}[2]{\langle #1, #2 \rangle}\) \( \newcommand{\Span}{\mathrm{span}}\) \(\newcommand{\id}{\mathrm{id}}\) \( \newcommand{\Span}{\mathrm{span}}\) \( \newcommand{\kernel}{\mathrm{null}\,}\) \( \newcommand{\range}{\mathrm{range}\,}\) \( \newcommand{\RealPart}{\mathrm{Re}}\) \( \newcommand{\ImaginaryPart}{\mathrm{Im}}\) \( \newcommand{\Argument}{\mathrm{Arg}}\) \( \newcommand{\norm}[1]{\| #1 \|}\) \( \newcommand{\inner}[2]{\langle #1, #2 \rangle}\) \( \newcommand{\Span}{\mathrm{span}}\)\(\newcommand{\AA}{\unicode[.8,0]{x212B}}\)

    What are Camera Positions?

    Camera Position refers to the height of the camera in relation to the subject of the shot. Each level gives a different aesthetic feel based on the context of the shot and the story.

    Eye Level

    A man standing in front of a stone wall. We see him as if we were standing in front of him at the same height.
    Figure \(\PageIndex{1}\): Eye-level shot. (CC BY-NC 4.0; Shelley Ho via San Francisco State University)

    At the Eye Level, the camera is around the same height as the subject’s eyes (See figure 8.2.1). This gives the viewer the impression they are equal to the subject in the shot.

    High Angle

    A women on stairs. We are on a higher step looking down at her.
    A man standing in front of an elevator. We are looking down on him as if we were two feet taller.
    Figure \(\PageIndex{2}\): High Angle Shots. (CC BY-NC 4.0; Shelley Ho via San Francisco State University)

    From a High Angle, the viewer is looking down at the subject (See figure 8.2.2). The subject in the shot can appear small and weak. Sometimes it can also give the impression that the subject is lonely.

    Low Angle

    A man and woman standing in a hall looking down at us as if we were on the floor in front of them.
    Figure \(\PageIndex{3}\): Low Angle Shot. (CC BY-NC 4.0; Shelley Ho via San Francisco State University)

    As opposed to a High Angle, a Low Angle shot looks up at a subject (See figure 8.2.3). This makes the subject seem powerful and dominant.

    Aerial

    We have a top-down view of two woman greeting each other near a car as if we were floating over them.
    Figure \(\PageIndex{4}\): Aerial Shot. (Pexels License; The Lazy Artist via Pexels)

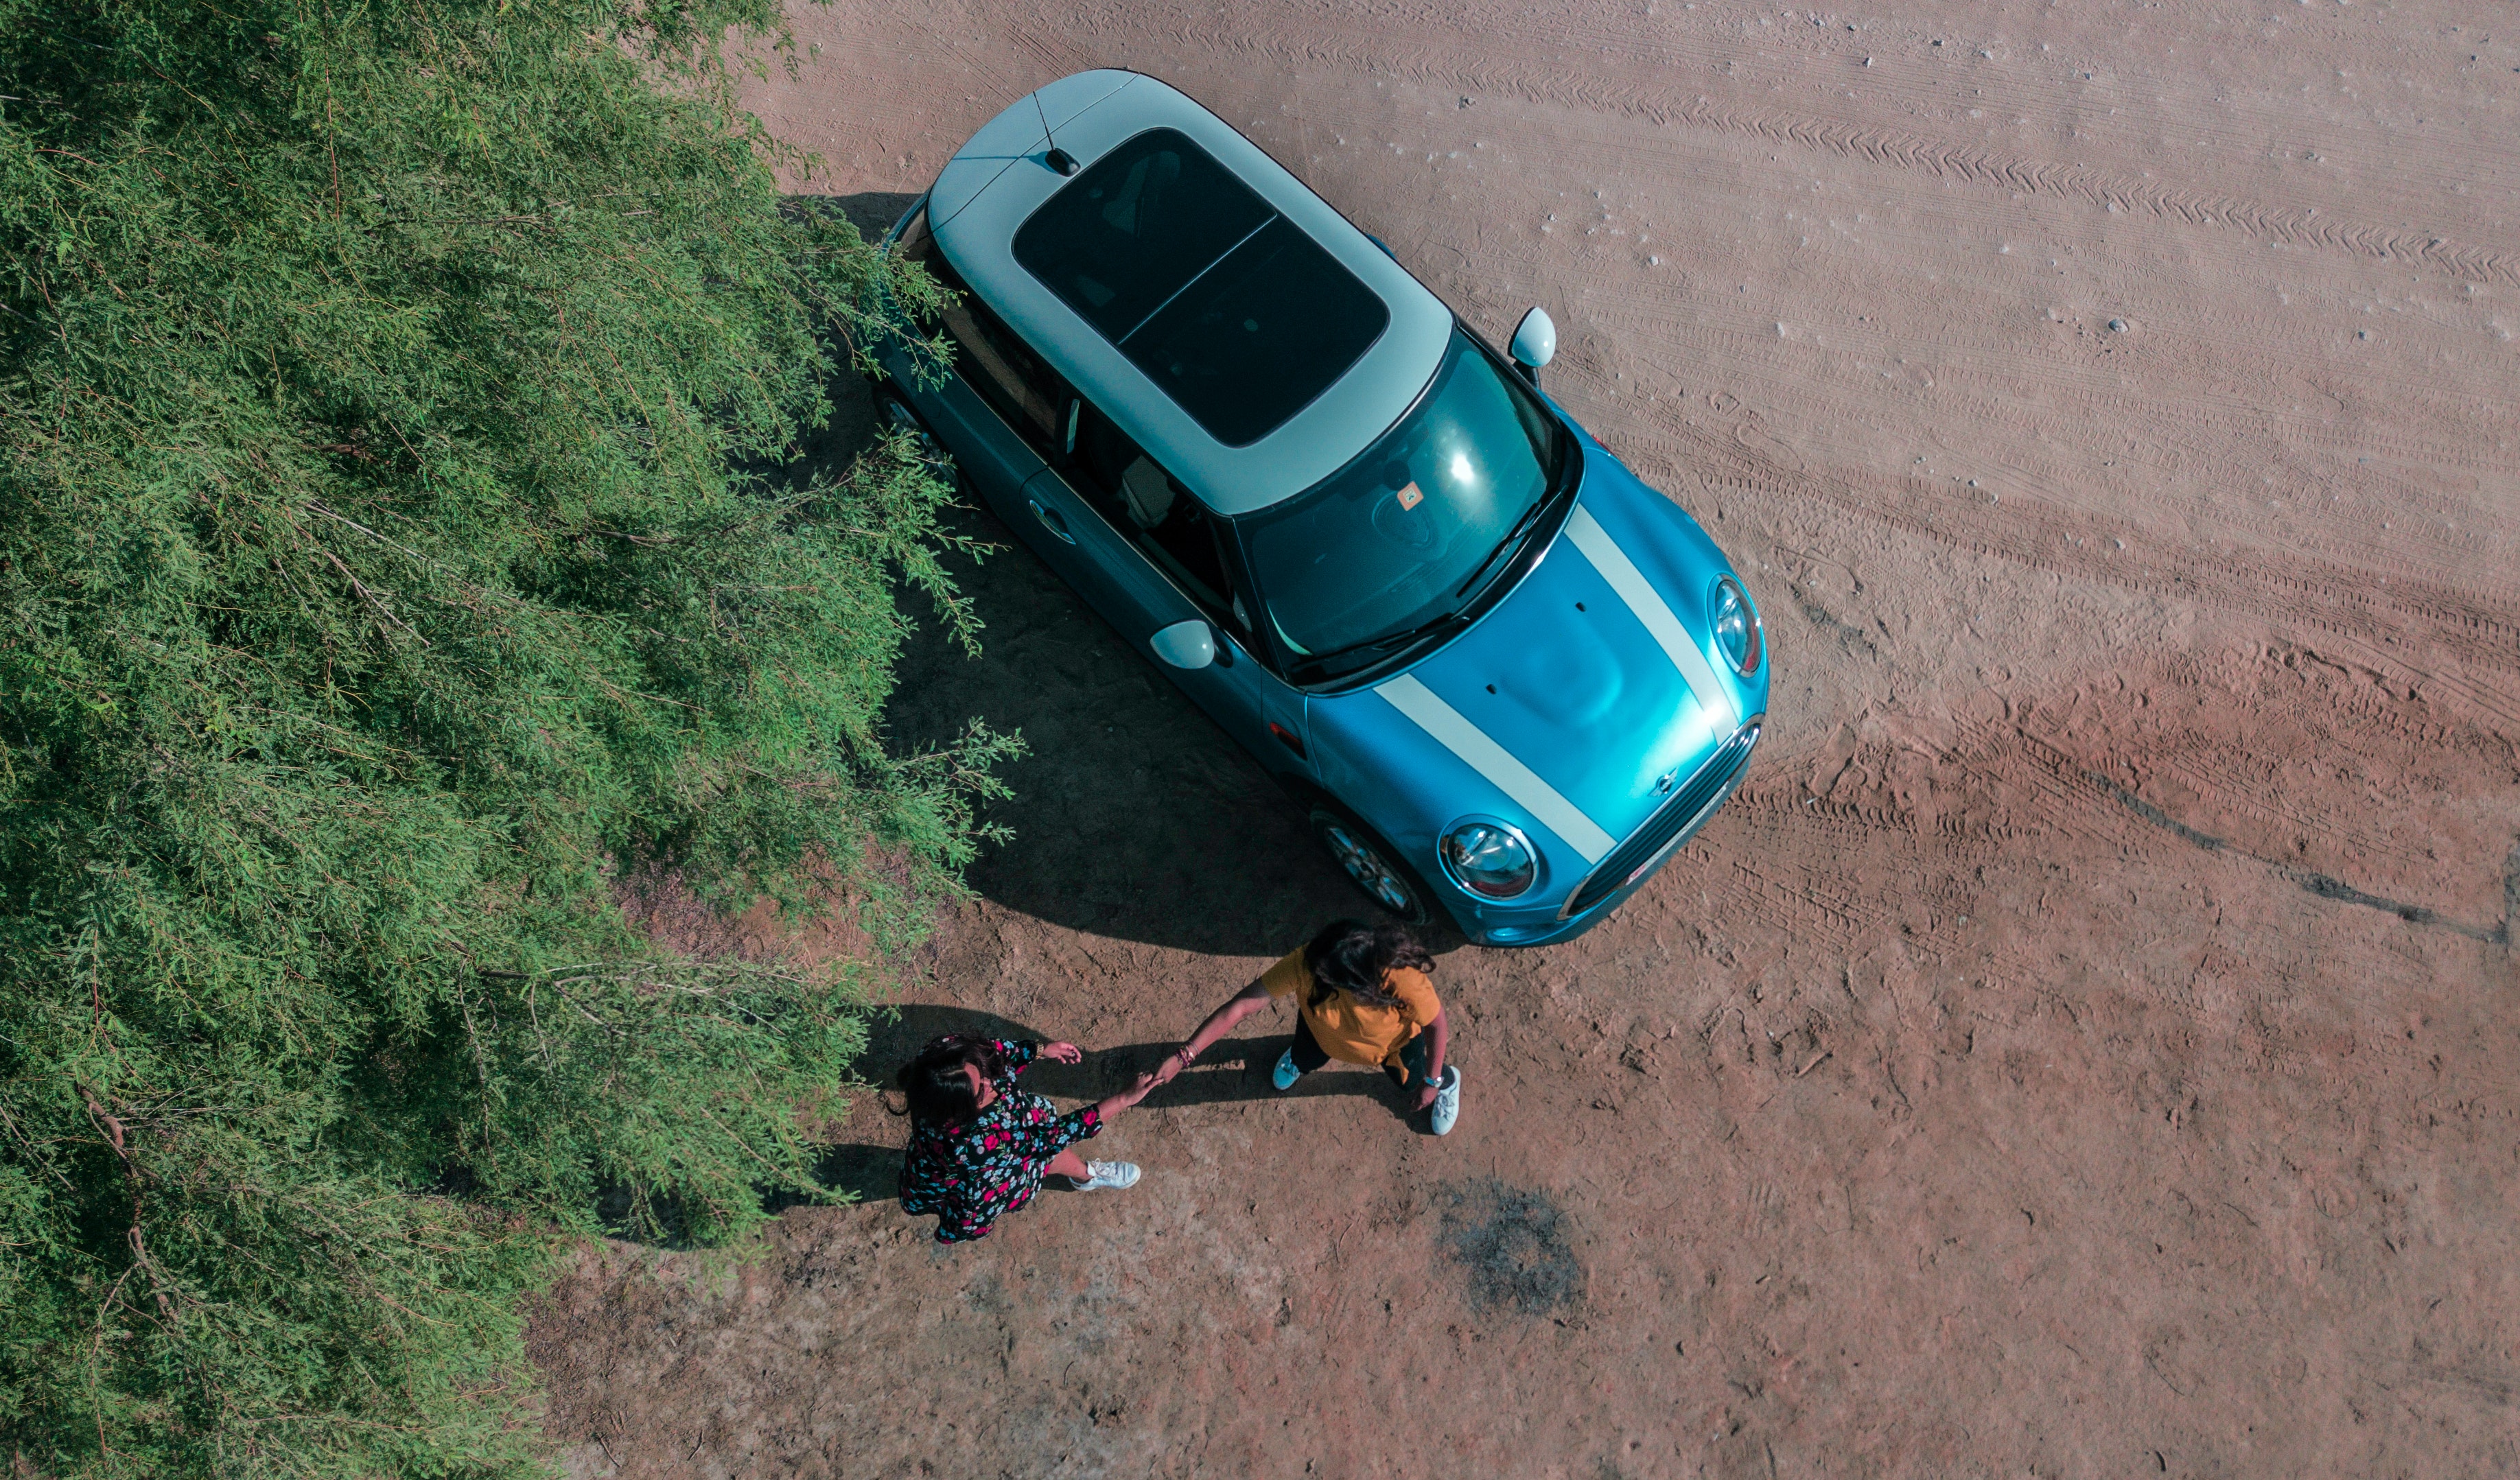
    Aerial shots use helicopters or drones to get shots from directly above the subject of the shot (See figure 8.2.4). These shots are commonly used in shots where the subject is falling, like jumping out of a plane and falling to the ground below. They are also used to show the subject in relation to the ground itself, like being stuck in traffic. This shot is also known as a god’s eye view shot, birds-eye view shot, aerial view, raised shot, elevated shot, or overhead shot.

    Dutch/Canted

    A man and woman talking to each other. We are seeing them as if we tilted our head to the side.
    Figure \(\PageIndex{5}\): Canted Shot. (CC BY-NC 4.0; Shelley Ho via San Francisco State University)

    Canted/Dutch angle are shots where the camera is tilted right or left on its axis to make it look like one side of the frame is going up while the other side is going down (See figure 8.2.5). This shot is used to make a shot more dynamic and interesting.
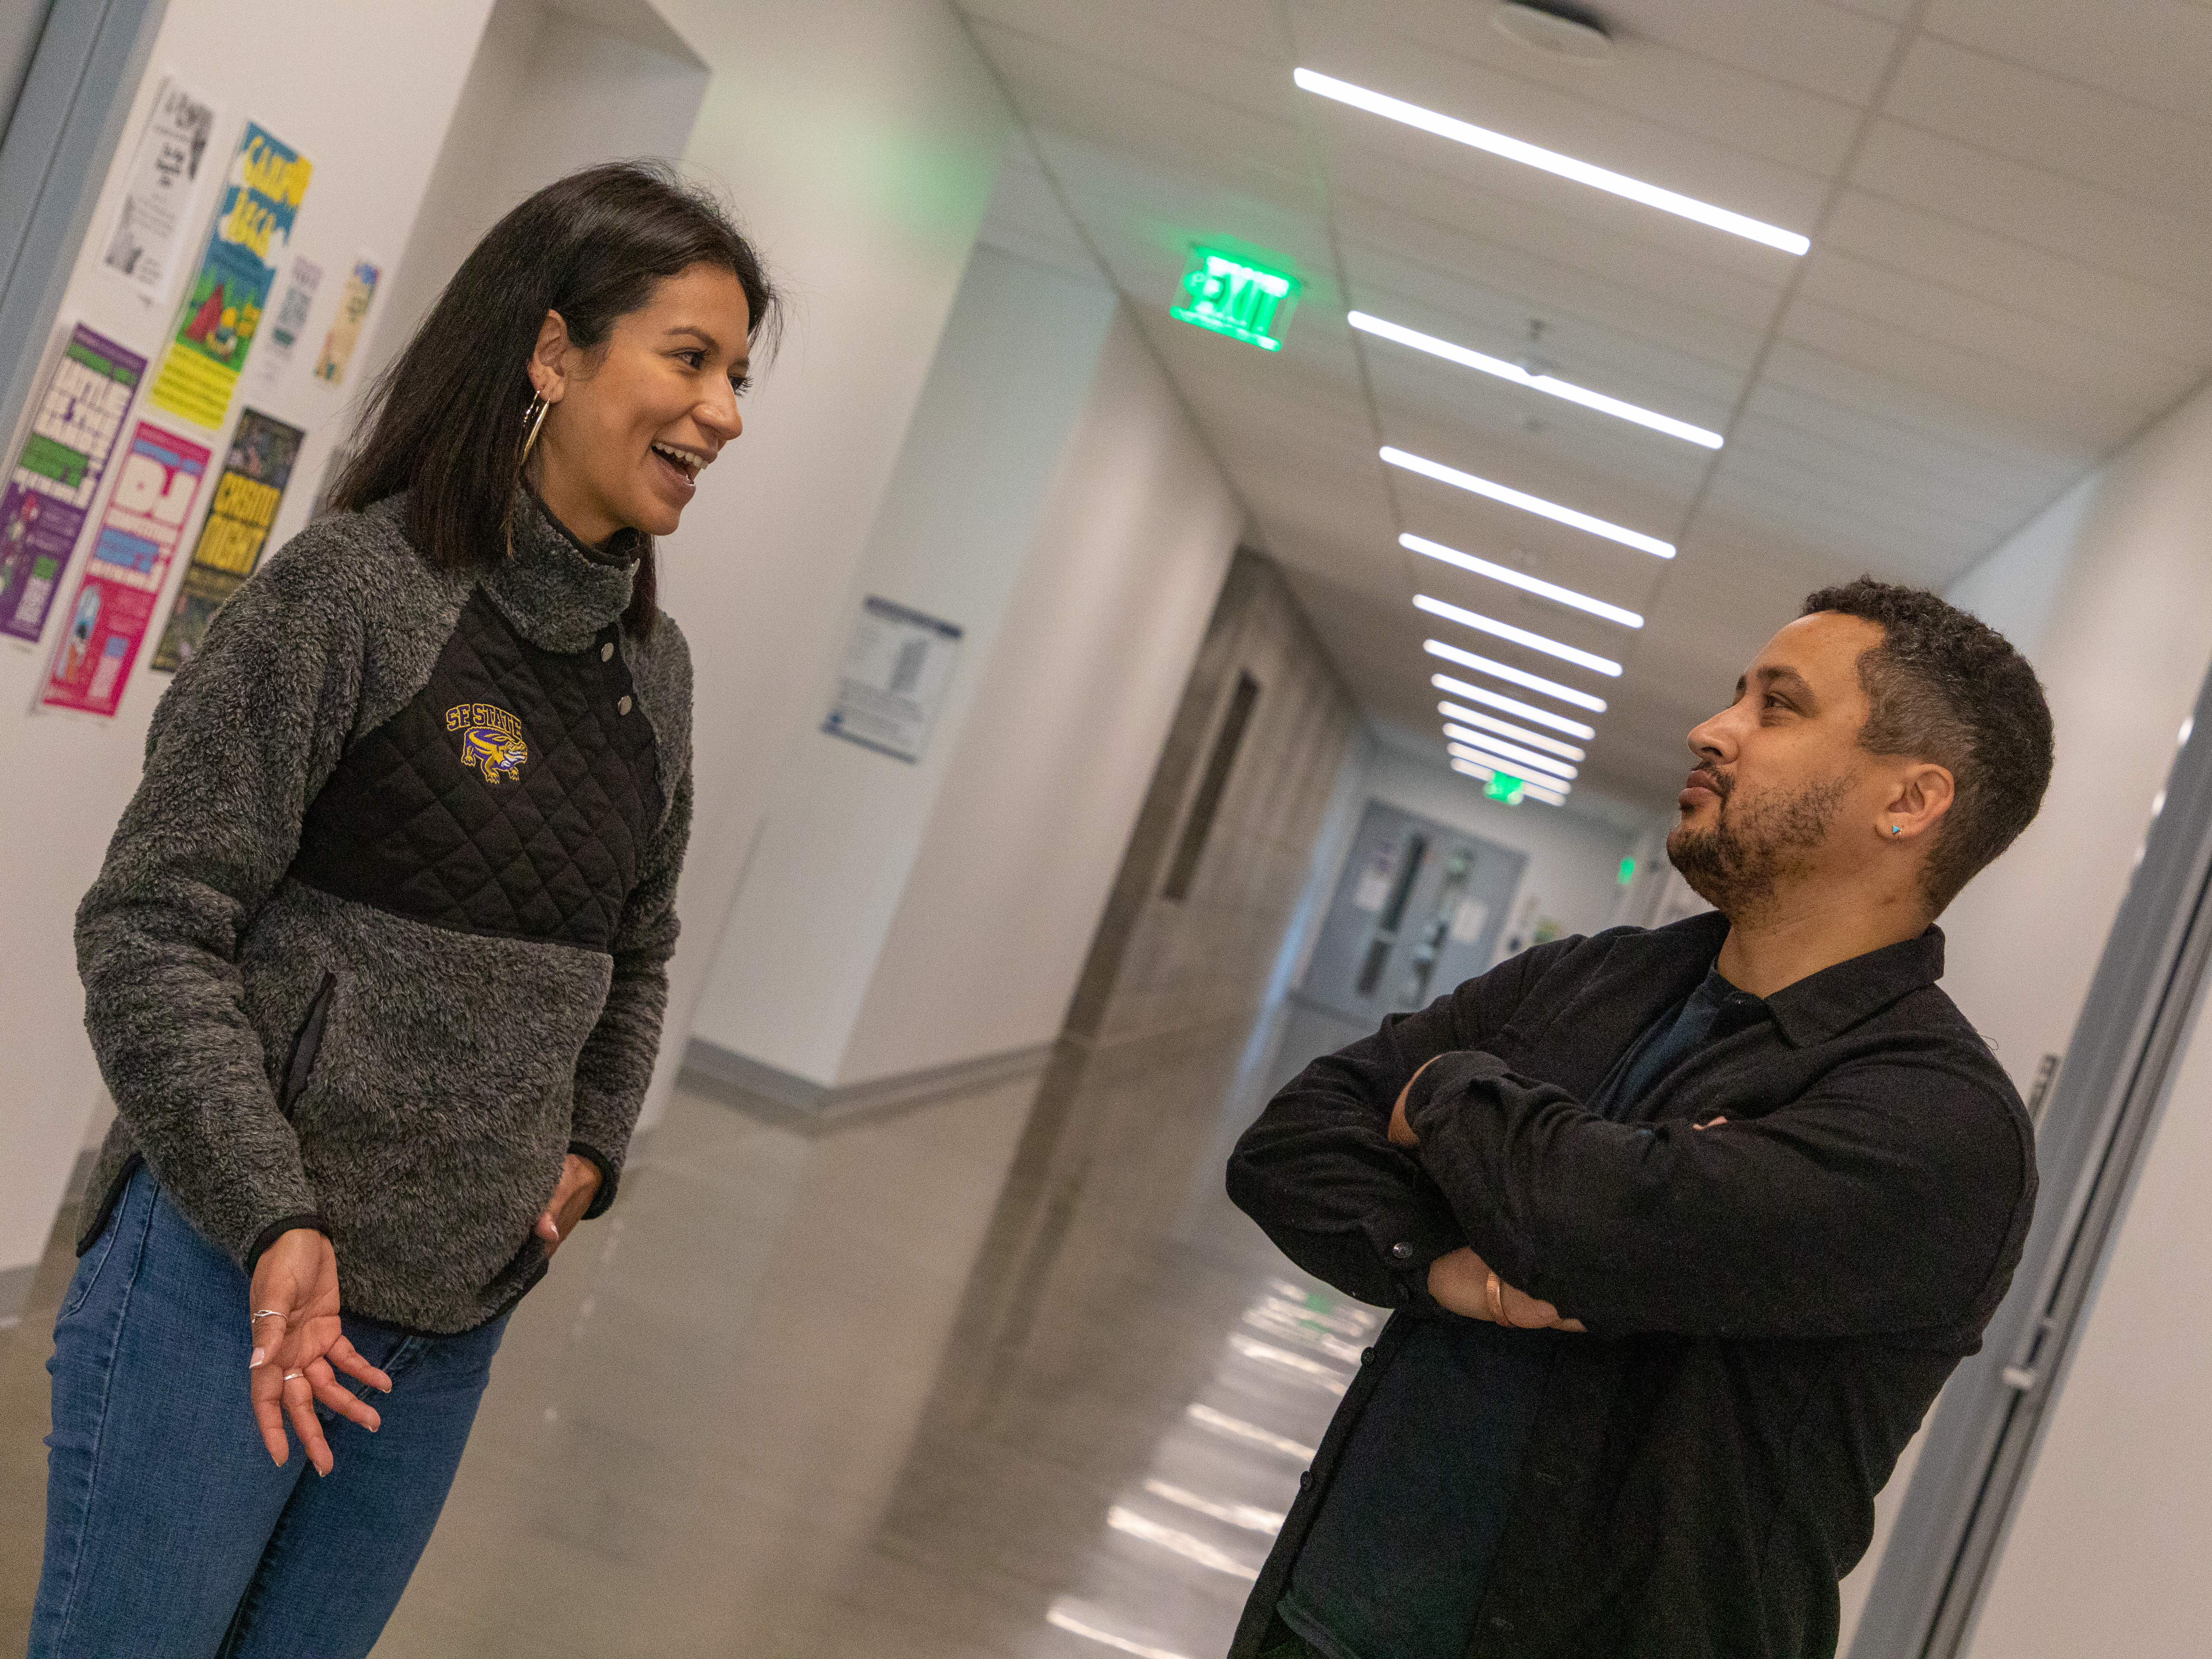
    Over The Shoulder

    A man facing the camera and we see him past the left shoulder of a woman facing him.
    Figure \(\PageIndex{6}\): Over the shoulder shot. (CC BY-NC 4.0; Shelley Ho via San Francisco State University)

    In an Over the Shoulder (OTS) shot the viewer sees one subject from the back with only the side of the head and shoulder showing (See figure 8.2.6). The second subject is facing the first subject and we see their face and part of their body. This shot is used most often when two subjects in a shot are having a conversation. It is also usually the first shot you try before you do a Point of View (POV) shot.


    This page titled 8.2: Camera Position is shared under a CC BY-NC 4.0 license and was authored, remixed, and/or curated by Christopher Clemens (ASCCC Open Educational Resources Initiative (OERI)) .

    • Was this article helpful?